Listen up, kitchen technicians. We are moving beyond the era of soggy, bitter seeds and entering the realm of precision grain architecture. The humble Chenopodium quinoa is not just a health food staple; it is a structural marvel that requires a rigorous engineering approach to unlock its true potential. When we discuss Quinoa Hydration, we are talking about the delicate balance of osmotic pressure and thermal energy. Most home cooks treat this process like a laundry chore, but you are an auditor of flavor. You are here to manage the removal of saponins, those bitter, soapy glycosides that nature designed as a chemical defense system. Without a proper rinse and a calculated water-to-seed ratio, you are essentially serving a bowl of botanical soap. We want individual pearls that pop against the palate, each one a tiny vessel of nutty, toasted perfection. It is time to stop guessing and start measuring. We are building a foundation of texture that will support any flavor profile you choose to infuse into the matrix.
THE DATA MATRIX
| Metric | Specification |
|---|---|
| Prep Time | 10 Minutes |
| Execution Time | 20 Minutes |
| Yield | 750ml / 3 Cups |
| Complexity (1-10) | 3 |
| Estimated Cost per Serving | $0.85 |
THE GATHERS
Ingredient Protocol:
- 185g / 1 cup Organic White or Tri-Color Quinoa
- 475ml / 2 cups Filtered Water or Low-Sodium Vegetable Stock
- 2.5g / 0.5 tsp Fine Sea Salt
- 15ml / 1 tbsp Extra Virgin Olive Oil or Ghee
- 1 clove Fresh Garlic, smashed (optional for aromatics)
Section A: Ingredient Quality Audit:
If your raw materials are compromised, your final output will fail the audit. Check your grain for a dusty, greyish residue; this indicates an excess of surface saponins that will require an extended rinse cycle. If the grains appear shriveled or discolored, they may be oxidized, leading to a rancid aftertaste that no amount of seasoning can fix. To remediate sub-par grains, perform a "hot soak" for five minutes before the final rinse to loosen the outer coating. If your water is excessively hard, the mineral content can interfere with the softening of the grain husk. In this case, use filtered water to ensure the Quinoa Hydration process occurs at a molecularly consistent rate.
THE MASTERCLASS
1. The Saponin Extraction
Place your dry grains into a fine-mesh stainless steel strainer. Use cold, high-pressure water to agitate the seeds, rubbing them between your palms for at least sixty seconds. You will notice the water running cloudy and potentially foaming; this is the saponin being stripped away.
Pro Tip: Use a digital scale to measure your grains rather than a volume cup. Weight-based measurements eliminate the variables of air pockets and grain density, ensuring your water ratio is mathematically perfect every time.
2. The Maillard Pre-Toast
Place a heavy-bottomed saucier over medium-high heat. Add your fat source and the rinsed, drained grains. Stir constantly with a silicone spatula or bench scraper to move the grains across the hot surface until they emit a nutty aroma and begin to crackle.
Pro Tip: This step initiates the Maillard reaction, transforming simple sugars and amino acids into complex flavor compounds. Toasting the grain also creates a hydrophobic barrier that prevents the seeds from becoming mushy during the simmer.
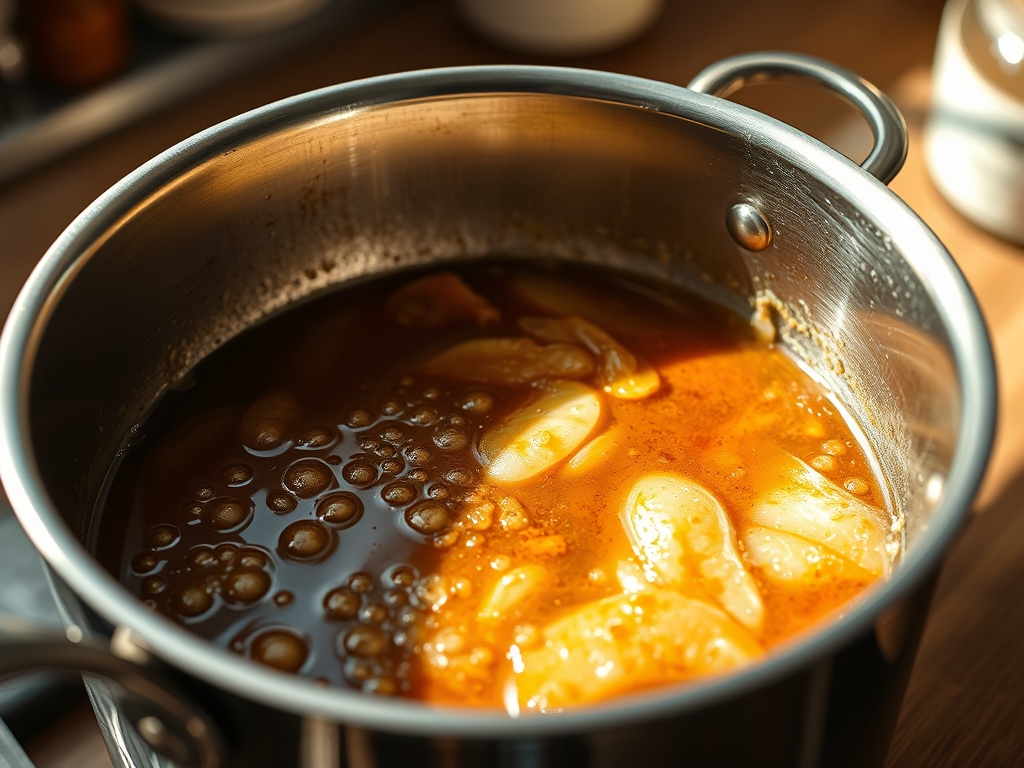
3. The Thermal Infusion
Pour your measured liquid into the saucier. The mixture will hiss and release steam; this is a sign of immediate energy transfer. Add your salt and aromatics, then bring the liquid to a rolling boil before immediately dropping the heat to the lowest possible setting.
Pro Tip: A saucier is superior to a straight-sided saucepan because its curved bottom prevents grains from getting trapped in the corners, ensuring even heat distribution and preventing localized scorching.
4. The Hydration Phase
Cover the vessel with a tight-fitting lid to trap the steam. Let the grains simmer undisturbed for exactly fifteen minutes. Do not lift the lid; every time you peek, you lose the pressure required for optimal Quinoa Hydration and internal steam circulation.
Pro Tip: If your lid is not airtight, place a clean kitchen towel between the pot and the lid to create a gasket-like seal. This ensures the steam is forced back into the grains rather than escaping into the atmosphere.
5. The Steam Rest and Aeration
Remove the heat source but leave the lid on for an additional five minutes. This allows the residual moisture to redistribute evenly through the grain bed. Finally, remove the lid and use a fork or a small offset spatula to gently fluff and aerate the pearls.
Pro Tip: Aeration is critical. By lifting and separating the grains, you allow excess steam to evaporate, which prevents the residual heat from overcooking the starch and turning your fluffy masterpiece into a viscous mass.
Section B: Prep & Timing Fault-Lines:
The most common failure in this protocol is the "Premature Agitation" error. If you stir the quinoa while it is simmering, you break the delicate husks and release starch into the liquid, resulting in a gummy texture. Another frequent fault is "Thermal Overrun," where the heat is kept too high, evaporating the liquid before the grain centers have fully hydrated. If you find the liquid is gone but the grains are still crunchy, add 30ml of boiling water, seal the lid, and let it sit off the heat for ten minutes to finish the hydration process via residual steam.
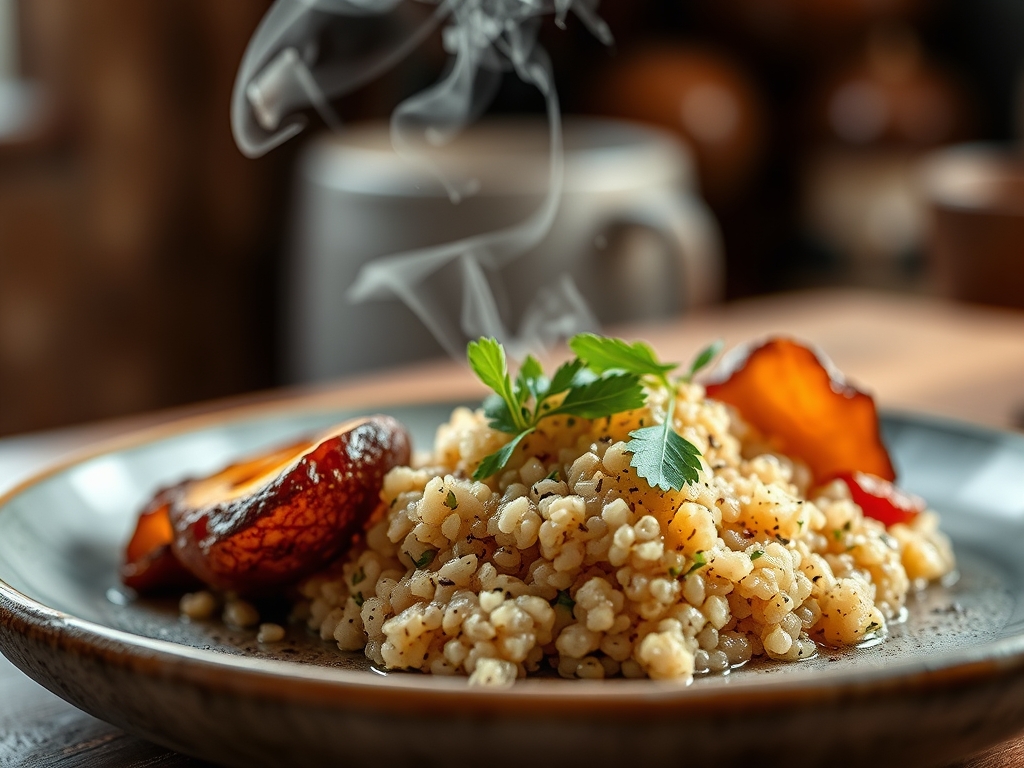
THE VISUAL SPECTRUM
Section C: Thermal & Visual Troubleshooting:
Referencing the Masterclass photo, you are looking for the "Halo Effect." This is the visible white germ that detaches slightly and curls around the translucent grain. If your quinoa looks opaque and solid, it is undercooked. If the grains have lost their spherical shape and appear exploded, they are over-hydrated. Uneven browning usually stems from a failure to agitate the grains during the pre-toast phase in the saucier. If the color is dull, you likely skipped the fat-based toast entirely. A perfect batch will shimmer with a light coating of oil and show distinct, individual pearls that do not clump when moved with a fork.
THE DEEP DIVE
Macro Nutrition Profile:
Quinoa is a nutritional powerhouse, offering a complete protein profile containing all nine essential amino acids. A standard 185g serving provides approximately 8g of protein, 5g of fiber, and significant levels of magnesium and manganese. Its low glycemic index makes it an ideal fuel source for sustained energy without the insulin spikes associated with refined grains.
Dietary Swaps:
This protocol is naturally gluten-free. For a vegan profile, ensure you use vegetable stock and olive oil. If you are attempting a keto-adjacent lifestyle, keep portions small, as quinoa is carbohydrate-dense despite its high fiber content. For an extra piquant kick, deglaze the toasted grains with a splash of dry white wine before adding your primary hydration liquid.
Meal Prep & Reheating Science:
To maintain molecular structure during storage, spread the cooked quinoa on a sheet tray to cool rapidly before refrigerating. This prevents "carry-over cooking." When reheating, add a teaspoon of water per cup of grain and cover tightly to re-introduce steam, which prevents the starch from becoming brittle and dry.
THE KITCHEN TABLE
Why is my quinoa still bitter after rinsing?
You likely didn't agitate the grains enough. Saponins are stubborn; you must physically rub the seeds under running water to break the chemical bond. A quick soak is not a substitute for a high-pressure mechanical rinse.
Can I use a rice cooker for this?
Yes, but you sacrifice the control of the Maillard toast. If using a cooker, use a 1:1.75 ratio of grain to liquid to account for the sealed environment and prevent the grains from becoming overly viscous or mushy.
What liquid provides the best flavor?
While water is neutral, a fortified bone broth or a mushroom dashi will infuse the grains with deep umami notes. Always ensure your liquid is seasoned properly, as the grain absorbs salt during the hydration phase.
How do I get that restaurant-style fluffiness?
The secret is the five-minute rest after the heat is turned off. This allows the starch to stabilize. If you fluff it immediately, the grains are too fragile and will clump together into a heavy mass.