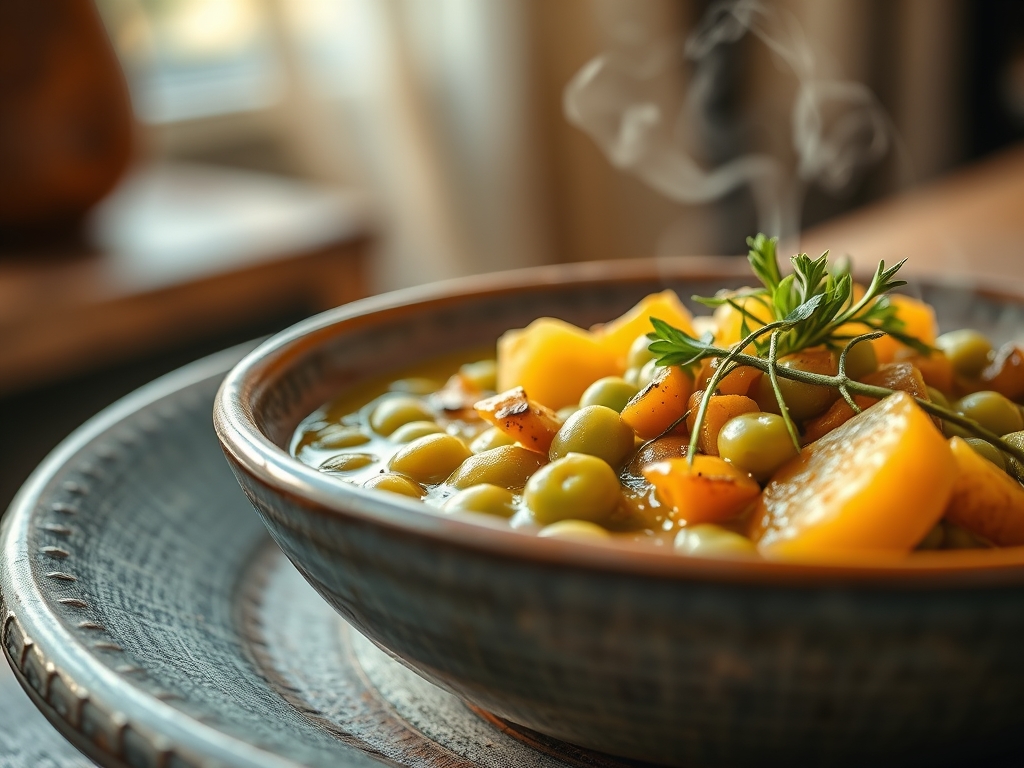
Listen up, flavor engineers. We are not merely making soup; we are architecting a high-viscosity suspension of legume solids within a lipid-fortified aqueous phase. The standard Split Pea Boil is the ultimate test of patience and pectin degradation. When you drop those dried, emerald discs into a simmering bath, you are initiating a structural collapse that, if managed correctly, results in a luxurious, velvet-thick broth that coats a silver spoon like molten silk. If you fail, you end up with a watery slurry of grit and regret. We are looking for total starch gelatinization. We want the kind of piquant depth that only comes from a slow-motion collision between smoke-cured proteins and cellular cellulose. This is culinary infrastructure at its most primal level. We are going to render fat, infuse aromatics, and manipulate the very molecular bonds of the Pisum sativum until they surrender their structural integrity for our gastronomic pleasure. Strap in; we are about to optimize your liquid assets.
THE DATA MATRIX
| Metric | Specification |
|---|---|
| Prep Time | 20 Minutes |
| Execution Time | 90 to 120 Minutes |
| Yield | 2.5 Liters / 10.5 Cups |
| Complexity (1-10) | 4 (Thermal Discipline Required) |
| Estimated Cost per Serving | $0.85 USD |
THE GATHERS
Ingredient Protocol:
- 500g / 2.25 cups Dried Green Split Peas (Rinsed and sorted)
- 350g / 1 Large Smoked Ham Hock (The structural anchor)
- 200g / 1.5 cups Yellow Onion (Finely diced)
- 150g / 1 cup Carrots (Small dice)
- 120g / 0.75 cups Celery (Small dice)
- 30g / 2 tbsp Unsalted Butter or Rendered Bacon Fat
- 30ml / 2 tbsp Extra Virgin Olive Oil
- 1.5L / 6.3 cups Low-Sodium Chicken Stock or Filtered Water
- 3g / 1 tsp Dried Thyme
- 2 Large Bay Leaves
- 5g / 1 tsp Freshly Ground Black Pepper
- Salt (To be adjusted post-reduction)
Section A: Ingredient Quality Audit:
The primary failure point in any Split Pea Boil is the age of the legume. If your peas have been sitting in a pantry since the previous administration, they will never soften, regardless of how long you subject them to thermal stress. This is due to the "hard-to-cook" phenomenon where cell walls lignify beyond repair. Technical Fix: If your peas remain stubborn after 90 minutes, add 1.25g (1/4 tsp) of baking soda to the pot. This increases the pH level, which accelerates the breakdown of hemicellulose in the cell walls. Furthermore, ensure your ham hock is not overly desiccated. A quality hock should feel heavy for its size, indicating a high collagen content that will render into gelatin to provide that essential mouthfeel.
THE MASTERCLASS
Step-by-Step Execution:
1. The Aromatic Foundation
Heat your butter and oil in a heavy-bottomed saucier or Dutch oven over medium heat. Add the onions, carrots, and celery. Sauté until the onions are translucent but not browned. We are looking for sweat, not caramelization, to preserve the vibrant green hue of the final product.
Pro Tip: Use a bench scraper to transfer your meticulously diced mirepoix from the cutting board to the pot. This prevents "stray-cut" syndrome where uneven vegetable sizes lead to inconsistent textures in the final broth.
2. The Deglaze and Infuse
Add the dried thyme and black pepper to the fat. Let them bloom for 60 seconds until fragrant. This process allows fat-soluble flavor compounds to infuse into the oil, ensuring an even distribution of spice throughout the suspension.
Pro Tip: If the bottom of the pot shows any browning, deglaze with a splash of the stock immediately. Use a wooden spatula to scrape up those Maillard solids; they are concentrated flavor packets.
3. The Primary Hydration
Incorporate the rinsed peas and the smoked ham hock. Pour in your 1.5 liters of stock. Ensure the hock is submerged at least halfway to maximize collagen extraction. Bring the mixture to a rolling boil, then immediately drop the temperature to a low simmer.
Pro Tip: Accuracy matters. Use a digital scale to weigh your peas rather than relying on volume. Variations in pea size can change the density of a cup measurement by up to 15 percent, throwing off your liquid-to-solid ratio.
4. The Long Decay
Cover the pot partially and let the Split Pea Boil proceed for 75 to 90 minutes. Stir every 15 minutes to prevent the heavy starch solids from settling at the bottom and scorching. The peas should begin to lose their shape and dissolve into the liquid.
Pro Tip: This is where the amylose suspension happens. As the starch granules swell and burst, they release amylose molecules that thicken the liquid. If the broth looks too thin, use a potato masher to crush a portion of the peas against the side of the pot.
5. The Protein Integration
Once the peas have reached a state of total collapse, remove the ham hock. Shred the meat from the bone, discarding excess fat and gristle. Return the shredded protein to the pot and stir to integrate.
Pro Tip: Taste for salinity only at this final stage. The ham hock and stock reduction will naturally increase salt concentration. Seasoning too early is a rookie error that leads to an inedible, sodium-heavy disaster.
Section B: Prep & Timing Fault-Lines:
The most common human error in this protocol is "Thermal Impatience." If you attempt to rush the boil by increasing the heat, you will evaporate the aqueous phase before the starch has fully gelatinized. This results in a thick paste that tastes raw. Technical Fix: Maintain a "lazy bubble." If you see the liquid reducing too quickly, add 125ml of boiling water to maintain the volume without dropping the internal temperature of the pot.
THE VISUAL SPECTRUM
Section C: Thermal & Visual Troubleshooting:
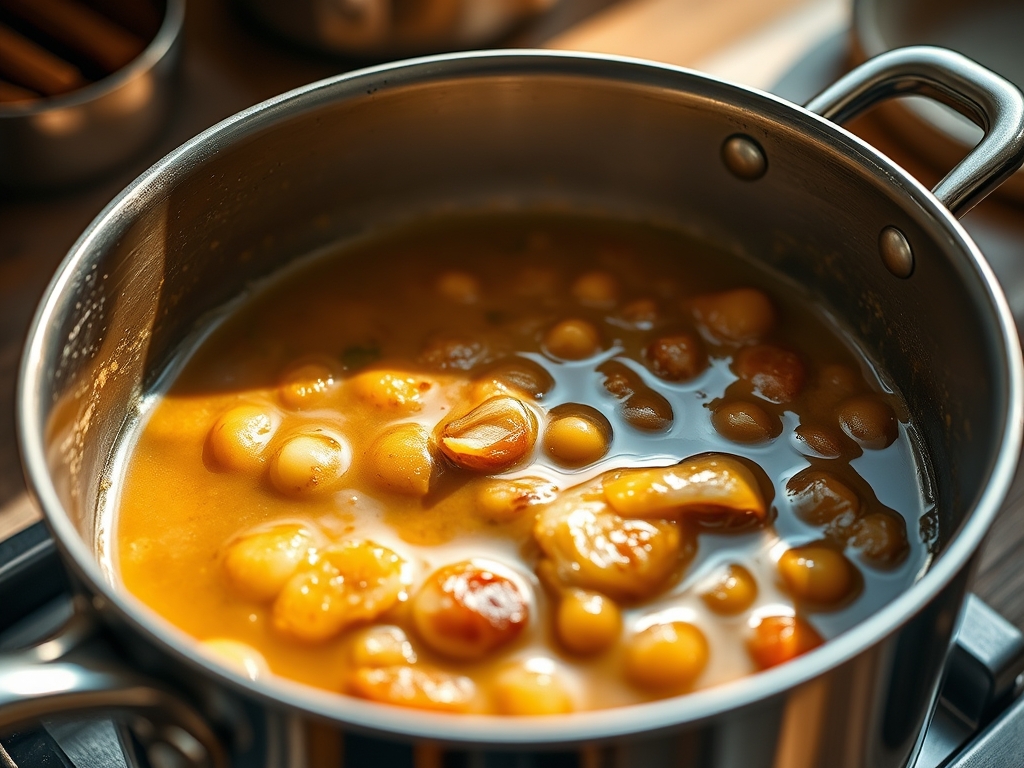
Referencing the Masterclass photo above, notice the deep, matte finish and the "lava-like" flow of the broth. If your soup looks dull or grey, you likely over-oxidized the peas or used a stock that was too dark. To fix a dull appearance, stir in a teaspoon of lemon juice or apple cider vinegar just before serving; the acid brightens the flavor and the visual profile. If you see uneven browning on the surface, your heat was too high during the initial sauté. If the texture looks "broken" or watery on top, the emulsification of the fats and starches has failed. Give it a vigorous whisk to aerate and recombine the suspension.
THE DEEP DIVE
Macro Nutrition Profile:
A standard 250ml serving provides approximately 220 calories, 15g of protein, 30g of complex carbohydrates, and 12g of dietary fiber. It is a high-satiety index food, meaning it keeps the biological engine running longer per calorie than refined grain alternatives.
Dietary Swaps:
- Vegan: Replace the ham hock with 10ml of liquid smoke and 5g of smoked paprika. Use vegetable stock and olive oil.
- Keto: This is difficult due to the starch content of peas. Limit serving size to 100ml and increase the ratio of ham and healthy fats.
- GF: Naturally gluten-free, provided your chicken stock is certified.
Meal Prep & Reheating Science:
Upon cooling, the amylose molecules will form a gel-like structure (retrogradation). When reheating, the broth will appear solid. Do not add excessive water immediately. Heat slowly; as the kinetic energy increases, the molecular bonds will loosen, and the soup will return to its original viscous state.
THE KITCHEN TABLE
Why are my peas still hard after two hours?
Your peas are likely old or your water is "hard" (high mineral content). Minerals bind to the pea skins, preventing hydration. Use filtered water and a pinch of baking soda next time to soften the infrastructure.
Can I use a pressure cooker for this?
Yes. A high-pressure environment accelerates pectin breakdown. Set for 20 minutes with a natural release. However, you lose the subtle flavor development that occurs during a traditional open-air simmer and reduction.
How do I get that perfectly smooth texture?
If you prefer a bisque-like consistency over a rustic mash, use an immersion blender. Pulse until the desired micron-level of smoothness is achieved. Be careful not to over-process, or it may become gummy.
Is it better to soak the peas overnight?
For split peas, soaking is optional but not strictly necessary like it is for whole beans. A soak can reduce cooking time by 20 percent, but it often results in a less flavorful broth as some solutes leach out.