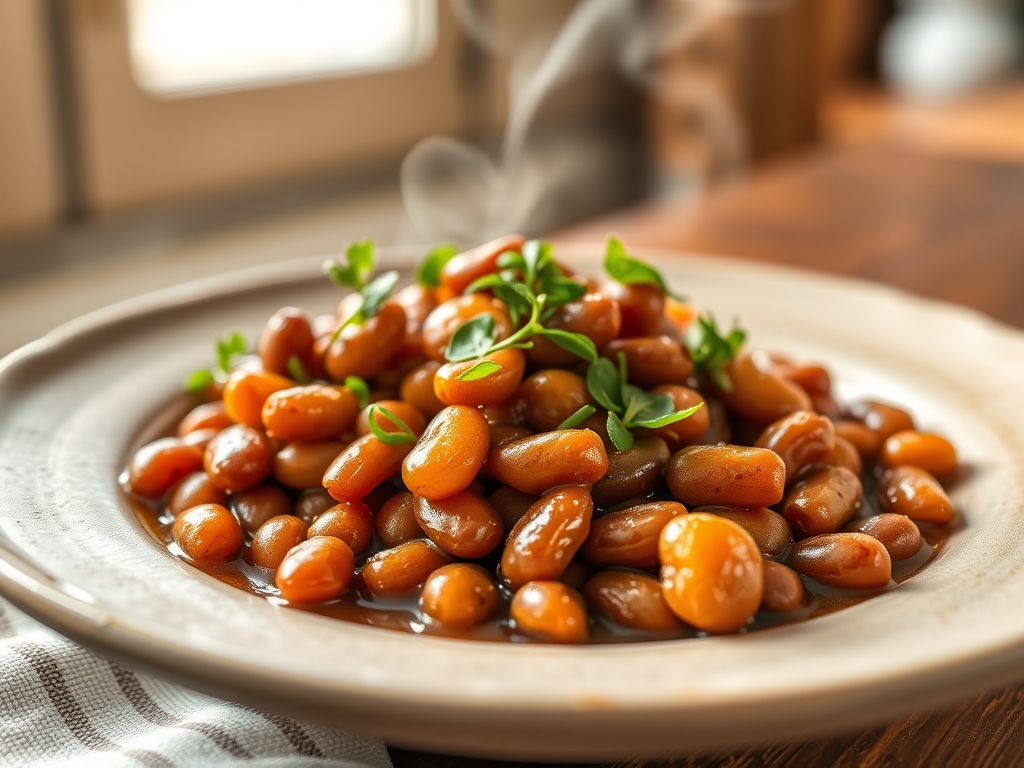
Stop treating your pantry staples like background noise. We are entering the realm of structural gastronomy where the humble legume is the undisputed monarch of the fiber kingdom. When we discuss Boiled Navy Beans, we are not merely talking about a side dish; we are analyzing a complex carbohydrate matrix that requires precision thermal management to achieve a state of buttery, ivory perfection. Imagine the steam rising from a heavy-bottomed pot, carrying the faint, earthy scent of minerals and slow-simmered protein. The skin must remain intact, a delicate tension holding back a flood of cream-textured starch. Most home cooks commit atmospheric crimes against these pulses by treating them with apathy, resulting in a gritty, disintegrated mess. We are here to audit that process. We are here to ensure every bean reaches its maximum potential through controlled hydration and enzymatic breakdown. This is high-stakes pulse infrastructure. It is time to stop boiling and start engineering the perfect bite through rigorous application of heat and moisture.
THE DATA MATRIX
| Metric | Specification |
|---|---|
| Prep Time | 12 Hours (Soak) / 15 Minutes (Active) |
| Execution Time | 60 to 90 Minutes |
| Yield | 6 to 8 Servings |
| Complexity (1-10) | 3 (Precision Dependent) |
| Estimated Cost per Serving | $0.45 USD |
THE GATHERS
Ingredient Protocol:
- 450g / 1 lb Dry Navy Beans (Triple-sorted)
- 2.5L / 10 cups Filtered Water (Alkalinity adjusted)
- 15g / 1 tbsp Kosher Salt (Diamond Crystal preferred)
- 2 Large Bay Leaves (Freshly dried)
- 3 Garlic Cloves (Smashed to release oils)
- 15ml / 1 tbsp Extra Virgin Olive Oil (High polyphenol count)
- 1 Small Yellow Onion (Halved, skin removed)
Section A: Ingredient Quality Audit:
If your raw materials are older than a mid-range sedan, they will never soften regardless of how long you apply heat. Old beans suffer from hard-to-cook (HTC) defect, where the cell walls become lignified and impervious to water. If your beans remain chalky after two hours, the fault lies in the supply chain. Technical fix: Add 2g / 0.5 tsp of Sodium Bicarbonate (Baking Soda) to the soaking liquid. This increases the pH, which helps to dissolve the hemicellulose in the cell walls, forcing the fiber to yield to thermal pressure. Furthermore, avoid "hard" tap water. High calcium and magnesium levels cross-link with the pectin in the bean skins, creating an impenetrable armor. Use filtered water to ensure a clean infuse of seasoning.
THE MASTERCLASS
1. The Hydration Phase
Begin by placing your sorted beans into a large stainless steel bowl. Cover with three times their volume in filtered water. This is not just a soak; it is a critical rehydration event. Allow them to sit for 12 hours. Use a digital scale to ensure your salt-to-water ratio for the soak is exactly 1 percent. This facilitates a process called ion exchange, where sodium ions replace magnesium in the skins, making them more supple for the eventual boil.
Pro Tip: Use a bench scraper to move your beans from the sorting surface to the bowl to avoid losing any small, high-density pulses. This ensures a uniform cook time across the entire batch.
2. The Aromatics Integration
Drain the soaking water and rinse the beans thoroughly. Transfer them to a heavy-duty saucier or Dutch oven. Add the onion, garlic, and bay leaves. Pour in the fresh filtered water until the beans are submerged by at least two inches. Add the olive oil now; this acts as a surfactant, breaking the surface tension of the water and preventing the starchy foam from boiling over your pristine cooktop.
Pro Tip: The olive oil also helps to render the fat-soluble compounds in the garlic and bay leaves, ensuring the flavor molecules are evenly distributed throughout the cooking liquid.
3. Thermal Acceleration and Maintenance
Place the pot over high heat until it reaches a rolling boil. Immediately reduce the heat to the lowest possible setting that maintains a gentle simmer. You are looking for "lazy bubbles" breaking the surface. Cover the pot with a tight-fitting lid, but leave a microscopic gap for steam to escape. High-velocity boiling will cause the beans to collide, damaging the delicate skins and leading to a viscous slurry rather than individual beans.
Pro Tip: Use an infrared thermometer to verify the liquid temperature stays between 185 and 200 degrees Fahrenheit. This is the sweet spot for starch gelatinization without structural collapse.
4. The Seasoning Calibration
After 45 minutes, begin testing for tenderness. Once the beans offer only slight resistance, add your salt. Adding salt too early can sometimes toughen the skins, but adding it too late prevents the core of the bean from being properly seasoned. Continue simmering until the texture is creamy throughout. Remove the onion, garlic, and bay leaves using a slotted spoon.
Pro Tip: Use a fine-mesh chinois if you wish to strain the liquid for a concentrated bean liquor, which can be used to deglaze pans for subsequent culinary operations.
Section B: Prep & Timing Fault-Lines:
The most common failure in human timing is the "Set and Forget" fallacy. If the water level drops below the bean line, the exposed pulses will dry out and harden while the submerged ones overcook. Check the pot every 20 minutes. If you must add water, ensure it is boiling water from a kettle. Adding cold water shocks the beans and resets the thermal clock, leading to uneven textures. If your beans are "explosive" (bursting skins), your simmer is too aggressive. Lower the BTUs immediately.
THE VISUAL SPECTRUM
Section C: Thermal & Visual Troubleshooting:
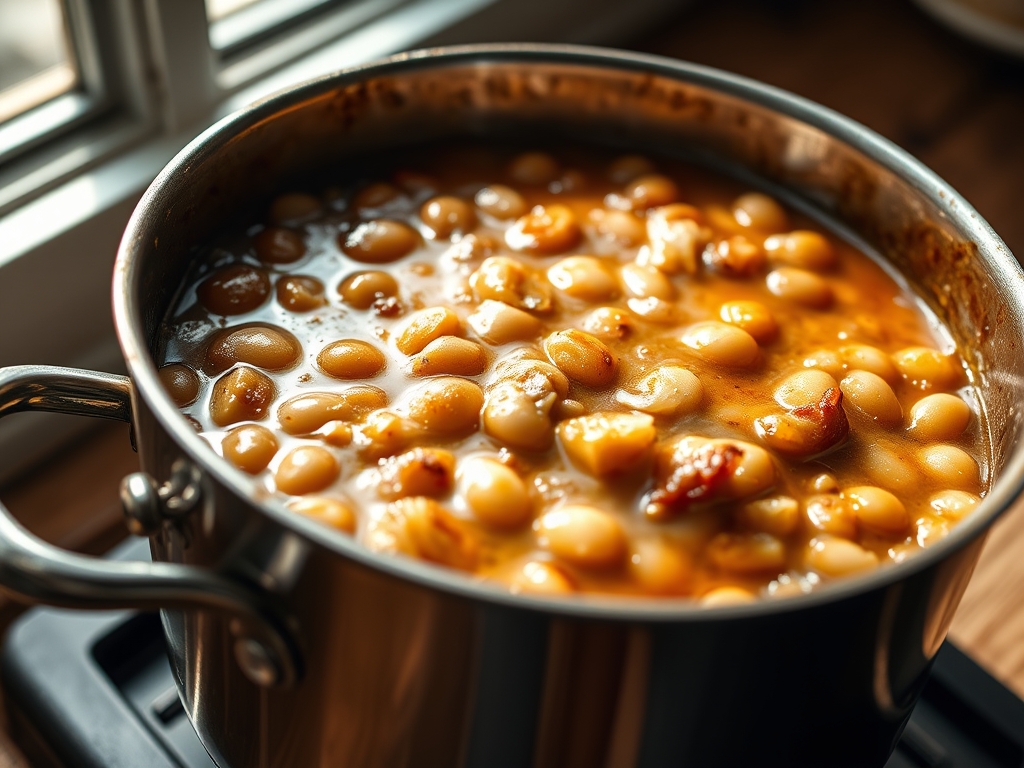
Referencing the Masterclass photo, your Boiled Navy Beans should exhibit a uniform, pale ivory hue with a slight translucent sheen on the surface. If your beans look gray or dull, your water may have high iron content or you neglected to rinse them after the soak. If the liquid is excessively cloudy, you have over-agitated the starch; next time, do not stir with a spoon, but rather gently shake the pot. Uneven browning or "hot spots" in the pot suggest you need a heavier-bottomed vessel to distribute heat. The final product should look plump and pressurized, not shriveled or deflated.
THE DEEP DIVE
Macro Nutrition Profile:
Navy beans are a powerhouse of slow-release energy. A single cup provides approximately 15g of protein and 19g of fiber. They are rich in folate, magnesium, and iron, making them an essential component of a high-performance diet.
Dietary Swaps:
- Vegan: This recipe is inherently vegan. Enhance the umami by adding a piece of dried kombu during the simmer.
- Keto: Legumes are generally avoided on strict keto, but you can reduce the portion size and pair with high-fat proteins to mitigate the glycemic load.
- GF: Naturally gluten-free. Ensure your spices are certified to avoid cross-contamination.
Meal Prep & Reheating Science:
To maintain molecular structure, cool the beans in their cooking liquid. This prevents the skins from drying out and cracking. When reheating, use a low-heat conduction method (stovetop) rather than high-frequency radiation (microwave), which can cause the starch to turn rubbery through rapid dehydration.
THE KITCHEN TABLE
Why are my beans still crunchy after two hours?
Your beans are likely aged or your water is too hard. The lignified cell walls are resisting hydration. Try adding a pinch of baking soda next time to force the fiber to soften through pH manipulation.
Can I cook these in a pressure cooker?
Yes, but you sacrifice control. High-pressure environments can easily pulverize the beans into a paste. If you use one, reduce the time to 25 minutes and allow for a natural pressure release to maintain integrity.
Do I really need to soak them?
Soaking reduces the concentration of oligosaccharides, which are the complex sugars responsible for digestive distress. It also ensures a more even heat distribution during the actual boiling phase. Skip it at your own peril.
How do I make the broth thicker?
Take a small portion of the cooked beans and mash them against the side of the pot with a wooden spoon. Stir them back into the liquid to aerate and thicken the sauce into a creamy consistency.