Listen up, kitchen architects. We are not here to merely cook; we are here to engineer a masterpiece of structural integrity and vibrant aesthetics. The subject of today's audit is the humble legume, specifically Blanched Green Beans. Most home cooks treat this process like a lukewarm bath for tired produce. That ends now. We are talking about a high-velocity thermal shock designed to lock in chlorophyll and snap-frozen textures. When you execute this correctly, you are not just making a side dish; you are mastering the art of the flash-boil. Imagine the crunch of a perfectly hydrated cell wall resisting your bite, followed by the release of a bright, verdant sweetness that has been perfectly preserved through science. We are looking for that neon-green glow that screams freshness and professional precision. If your beans look like army-fatigue sludge, you have failed the structural integrity test. We are going to use rapid heat transfer and aggressive cooling to ensure every pod is a testament to culinary infrastructure. Strap in; it is time to optimize.
THE DATA MATRIX
| Metric | Specification |
|---|---|
| Prep Time | 10 Minutes |
| Execution Time | 4 Minutes |
| Yield | 4 Servings |
| Complexity (1-10) | 3 |
| Estimated Cost per Serving | $0.85 |
THE GATHERS
Ingredient Protocol:
- 450g / 1 lb Fresh Green Beans (Ends trimmed)
- 4L / 1.05 Gallons Filtered Water
- 60g / 4 tbsp Kosher Salt
- 2kg / 4.4 lbs Ice Cubes (For the shock bath)
- 15ml / 1 tbsp Extra Virgin Olive Oil (Optional finish)
- 2g / 0.5 tsp Flaky Sea Salt
Section A: Ingredient Quality Audit:
The primary failure point in this operation is the raw material. If your beans are limp or display brown "rust" spots, the cellulose has already begun to collapse. To fix sub-par, slightly dehydrated beans, submerge them in an ice-water bath for 20 minutes prior to trimming. This allows the pods to infuse with moisture through osmosis, restoring turgor pressure. If the beans are overly fibrous (older harvest), increase your salt concentration in the boiling water. The sodium ions will help weaken the hemicellulose just enough to make them palatable without turning them into mush. Always use a digital scale to measure your salt; consistency is the bedrock of professional results.
THE MASTERCLASS
1. The Saline Saturation
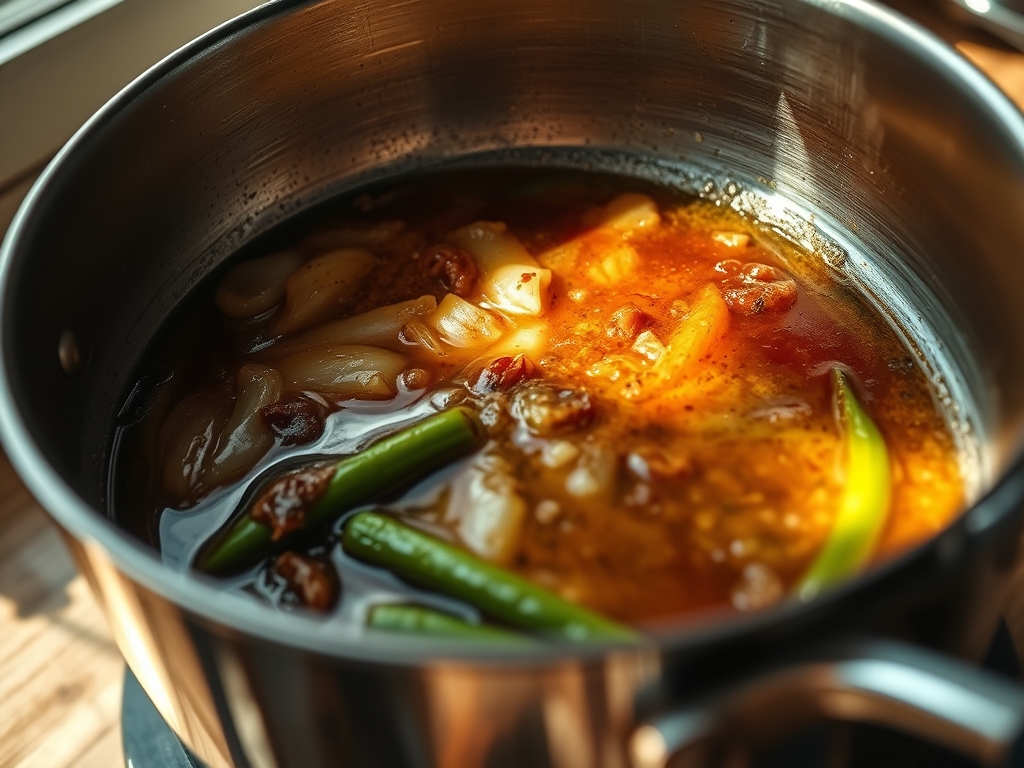
Fill a large saucier or stockpot with your filtered water and bring it to a rolling, aggressive boil. Add the kosher salt. You are looking for a salinity level that mimics the ocean. This is not just for flavor; salt raises the boiling point and helps stabilize the pectin in the bean's cell walls.
Pro Tip: High salinity prevents the leaching of minerals from the vegetable into the water. By using a digital scale, you ensure the osmotic pressure remains balanced, keeping the flavor inside the bean where it belongs.
2. The Thermal Impact
Once the water is at a violent boil, drop your beans in. Do not crowd the pot. If the water stops boiling for more than 30 seconds, you are poaching, not blanching. Work in batches if necessary to maintain a high-energy thermal environment.
Pro Tip: Use a spider skimmer to keep the beans submerged. Rapid heat transfer is essential to denature the enzymes that cause browning and flavor loss. This is the "flash" in flash-boiled.
3. The Sensory Audit
Set a timer for 3 minutes, but start testing at 2 minutes. Remove one bean with your spider skimmer and bite into it. It should be tender but offer a distinct, audible "snap." The color should be a vivid, almost artificial-looking green.
Pro Tip: Professional kitchens use a stopwatch rather than a kitchen timer. Precision of even 15 seconds can be the difference between a crisp structure and a limp, viscous failure.
4. The Cryogenic Shock
Immediately transfer the beans from the boiling water into a large bowl filled with ice and water. This is "shocking." It stops the residual internal heat from continuing the cooking process. Leave them in for exactly the same amount of time they were in the boiling water.
Pro Tip: Use a colander nested inside the ice bath for easy removal. Stopping the cook instantly is what locks in the chlorophyll, preventing the transition to a dull, olive-drab hue.
5. The Final Desiccation
Remove the beans from the ice bath and spread them onto a clean kitchen towel or a sheet pan lined with lint-free paper towels. Pat them dry until no surface moisture remains. Water is the enemy of any subsequent seasoning or sautéing.
Pro Tip: Use a bench scraper to move large quantities of beans efficiently. If you leave them wet, any oil or butter you add later will slide right off instead of adhering to the surface.
Section B: Prep & Timing Fault-Lines:
The most common human error is the "Slow Recovery." If your pot is too small, the water temperature drops significantly when the beans are added. This results in a slow, agonizing cook that turns the beans gray. Always use a vessel that holds at least four times the volume of your vegetables. Another fault-line is the "Lazy Shock." If your ice bath is mostly water and very little ice, it will warm up too quickly, allowing the beans to carry over and overcook. Maintain a 50/50 ice-to-water ratio for maximum thermal drawdown.
THE VISUAL SPECTRUM
Section C: Thermal & Visual Troubleshooting:
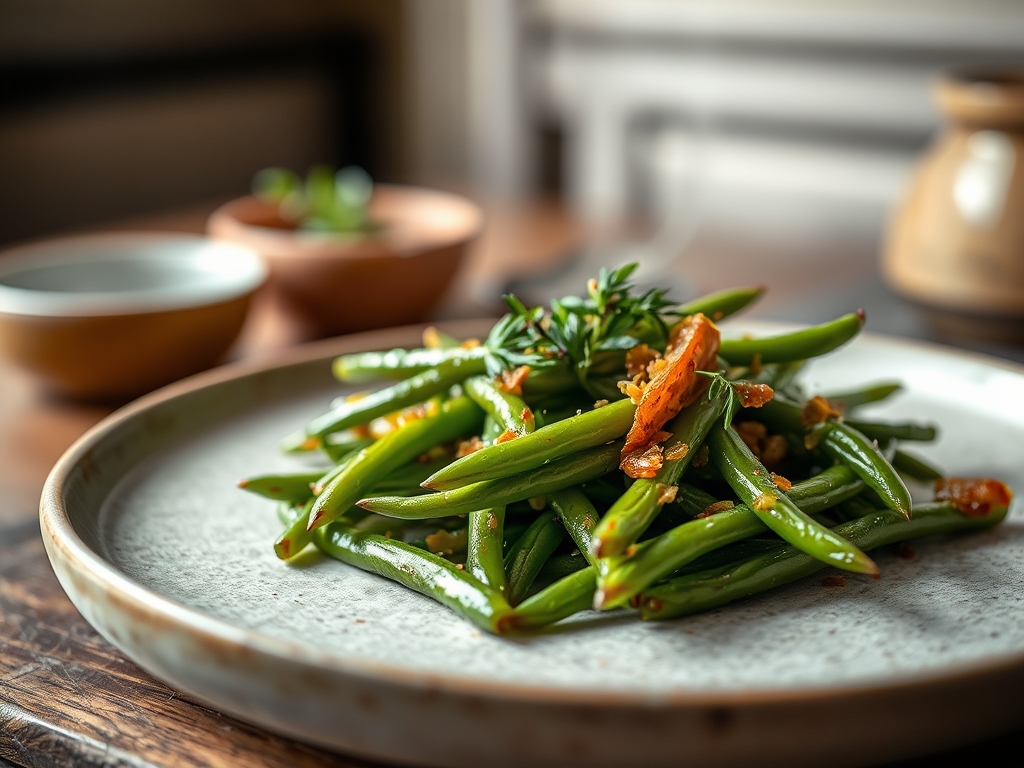
Look at the reference photo. Notice the high-gloss sheen and the uniform, upright posture of the beans. If your results look dull, you likely skipped the salt or failed to shock them quickly enough. Dullness is a sign of acid reacting with chlorophyll; salt acts as a buffer against this. If you see uneven browning or "leopard spots," your water was not deep enough, causing some beans to steam while others boiled. For the perfect finish, toss the dried beans in a bowl with a tiny amount of oil to render a professional shine that highlights the vibrant green achieved during the blanch.
THE DEEP DIVE
Macro Nutrition Profile:
Blanched Green Beans are a nutritional powerhouse with minimal caloric density. A standard serving contains approximately 31 calories, 7g of carbohydrates, and 2.7g of fiber. They are rich in Vitamin K and Vitamin C, provided the blanching time was brief enough to prevent vitamin degradation.
Dietary Swaps:
This protocol is inherently Vegan, Gluten-Free, and Keto-compliant. To add a piquant kick for Keto enthusiasts, toss the finished beans in a warm emulsion of bacon fat and lemon juice. For a vegan "umami" boost, use a dash of liquid aminos or nutritional yeast during the final seasoning phase.
Meal Prep & Reheating Science:
To maintain the molecular structure during meal prep, under-blanch by 30 seconds. When reheating, avoid the microwave, which vibrates water molecules and collapses the cell walls. Instead, a quick 60-second deglaze in a hot pan with a splash of water or stock will aerate the beans and restore their snap without overcooking the core.
THE KITCHEN TABLE
Why are my beans still tough after 4 minutes?
You likely have "woody" beans or your water wasn't at a true rolling boil. Older legumes require a slightly longer duration. Increase the time by 60 seconds and ensure your salt levels are high enough to soften the fiber.
Can I blanch without an ice bath?
Technically yes, but you will lose the vibrant color. Without a shock, residual heat continues to cook the beans. If you must skip ice, spread them in a single layer on a cold sheet pan in front of a fan.
Does the type of salt matter?
Yes. Use Kosher salt for the boil as it dissolves quickly. Save your expensive flaky sea salt for the final seasoning. Avoid iodized table salt; it can impart a metallic "chemical" aftertaste to the delicate legumes.
How long do blanched beans last in the fridge?
If dried properly and stored in an airtight container, they will maintain their structural integrity for 3 to 5 days. Ensure they are completely cold before sealing to prevent condensation, which leads to premature spoilage.