Stop thinking of the backyard barbecue as a leisure activity and start viewing it for what it truly is: a high stakes race against cellular respiration. The moment a stalk is severed, the clock begins a relentless countdown. Sucrose begins its inevitable, tragic descent into bland, gritty starch. We are here to intercept that chemical decay. Achieving the perfect Boiled Corn on the Cob is not about "eyeballing" a pot of water; it is a clinical exercise in osmotic balance and thermal precision. You want that explosive, pressurized snap of the kernel wall followed by a flood of liquid gold that tastes like a mid-August sunbeam. To get there, we must manipulate the water chemistry to prevent the leaching of natural sugars while ensuring the internal germ reaches the exact temperature required for starch gelatinization without turning the exterior into a mushy, waterlogged disaster. This is an audit of your boiling protocol. We are moving beyond the rustic and into the realm of the refined. Strap in; we are about to optimize your vegetable infrastructure.
THE DATA MATRIX
| Metric | Specification |
|---|---|
| Prep Time | 10 Minutes |
| Execution Time | 5 to 7 Minutes |
| Yield | 4 Servings |
| Complexity (1-10) | 2 |
| Estimated Cost per Serving | $0.75 USD |
THE GATHERS
Ingredient Protocol:
- 4 Ears / 800g Fresh Sweet Corn (Shucked and silk removed).
- 4 Liters / 1.05 Gallons Filtered Water.
- 50g / 3.5 tbsp Unsalted European-style Butter (High fat content).
- 15g / 1 tbsp Kosher Salt (For post-boil seasoning only).
- 5g / 1 tsp Granulated Sugar (Optional, for starch-heavy older ears).
- 2.5ml / 0.5 tsp Fresh Lemon Juice (To brighten the pigment profile).
Section A: Ingredient Quality Audit:
The primary failure point in corn production is the age of the specimen. If the kernels appear indented or "dented," the sugars have already converted to starch. To fix this in the lab, add a teaspoon of sugar to the boiling liquor to create a concentration gradient that discourages internal sugars from escaping. If the husks are dry and papery, the corn is dehydrated. Submerge the shucked ears in an ice bath for 15 minutes prior to boiling to re-establish turgor pressure within the cellular walls. Avoid pre-salted water at all costs; sodium toughens the exterior skins by drawing out moisture through osmosis before the heat can soften the cellulose.
THE MASTERCLASS
1. Hydration Station and Vessel Calibration
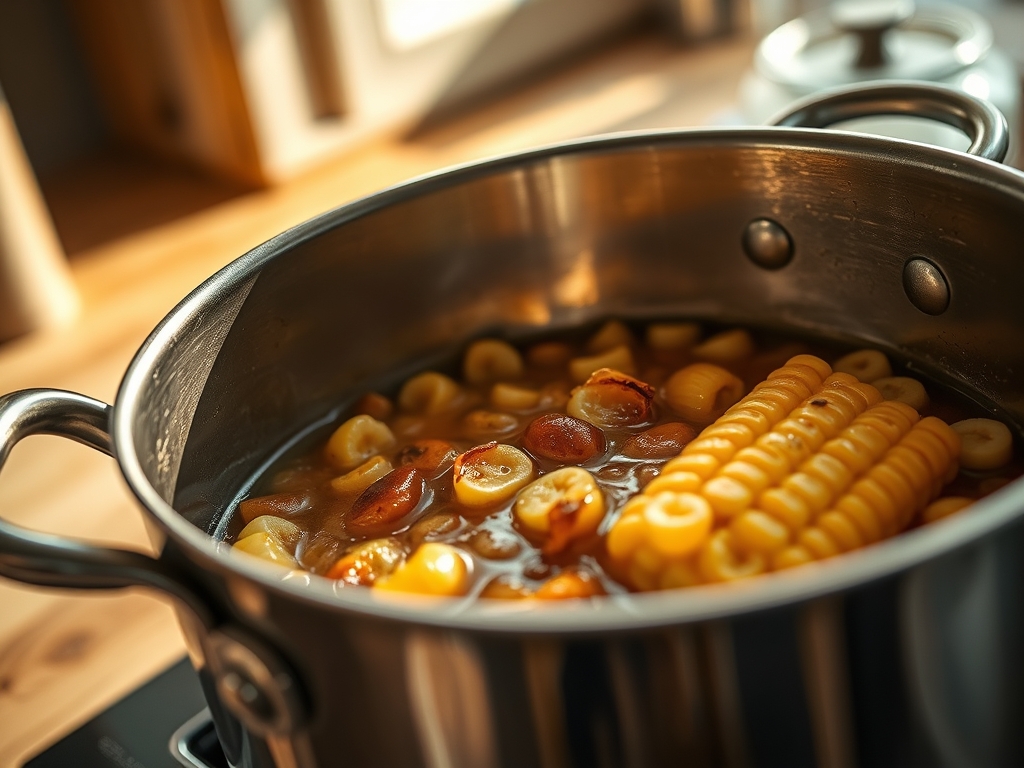
Fill a large saucier or stockpot with 4 liters of filtered water. It is imperative to use a vessel with enough thermal mass to maintain a rolling boil once the cold corn is introduced. Bring the water to a violent, chaotic boil. Do not add salt yet. If your corn is past its peak freshness, stir in the granulated sugar now to infuse the water with a sweet baseline.
Pro Tip: Use a digital thermometer to ensure your water has reached a true 100 degrees Celsius at sea level. Fluctuations in temperature lead to uneven cooking and a failure to properly render the tough fibers of the cob.
2. The Immersion Phase
Carefully lower the ears into the boiling water using stainless steel tongs. Do not overcrowd the pot; the corn needs space for the water to circulate and aerate around each kernel. Cover the pot immediately with a tight-fitting lid to trap steam and return the water to a boil as rapidly as possible.
Pro Tip: A digital scale can be used to weigh the corn beforehand to calculate the exact water-to-vegetable ratio. Maintaining a 5:1 water-to-corn ratio ensures the temperature drop is negligible when the product is added.
3. Precision Timing and Extraction
Set a timer for exactly 5 minutes for young, tender corn, or 7 minutes for larger, more mature ears. Overcooking is the enemy of texture; it causes the cell walls to collapse, resulting in a soggy, viscous mouthfeel. Once the timer expires, use your tongs to remove the ears immediately.
Pro Tip: Place the hot corn on a clean kitchen towel and use a bench scraper to nudge them into a neat row. This allows excess surface moisture to evaporate quickly, preventing the corn from steaming itself into oblivion while it rests.
4. The Emulsion Finish
While the corn is still radiating heat, slather it with high-quality butter. The heat of the corn will melt the butter, creating a thin, golden film. Dust with kosher salt from a height of twelve inches to ensure even distribution. If you desire a piquant edge, a light dusting of smoked paprika or a squeeze of lemon juice will provide the necessary acidity to cut through the lipids.
Pro Tip: Use a silicone pastry brush to infuse every crevice between the kernels with butter. This creates a protective lipid barrier that locks in the remaining moisture and prevents the kernels from shriveling.
Section B: Prep & Timing Fault-Lines:
The most common human error is the "simmering" mistake. If the water is not at a full, rolling boil, the corn sits in lukewarm water, which leaches flavor without cooking the starch. This results in a "starchy" taste that sticks to the teeth. Always wait for the "big bubbles." Another timing fault occurs during the transition from pot to plate. If the corn is left in the hot water after the heat is turned off, it continues to cook. Use an "active extraction" method; get the corn out of the heat the second the timer hits zero.
THE VISUAL SPECTRUM
Section C: Thermal & Visual Troubleshooting:
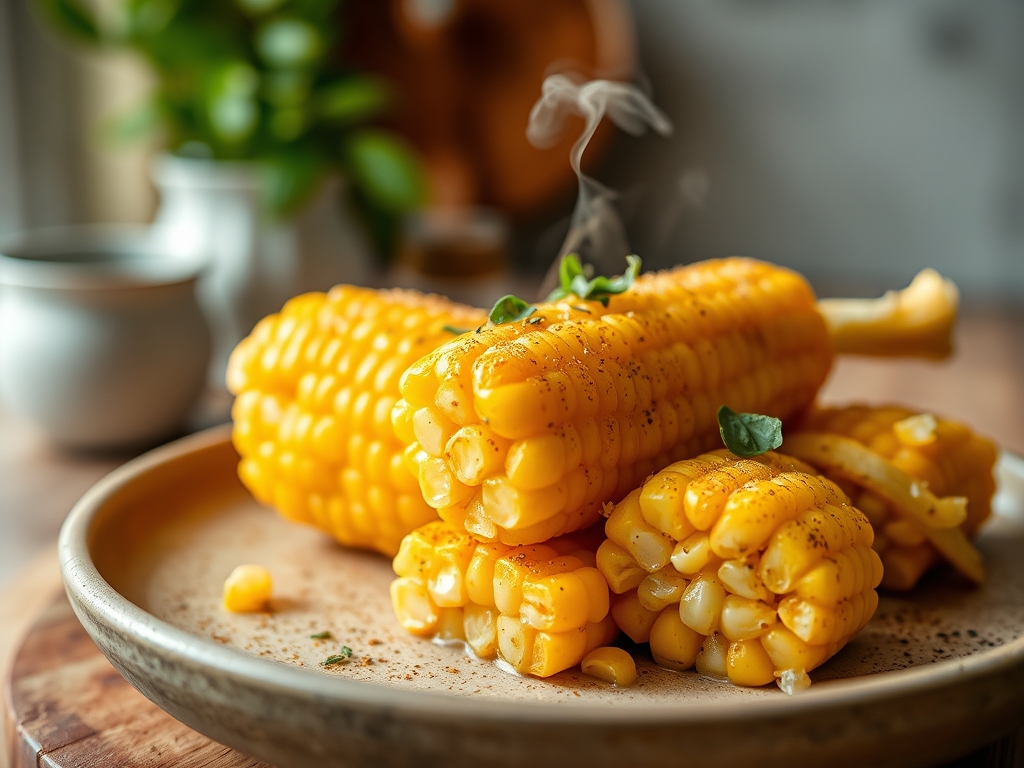
Look at the Masterclass photo above. Notice the vibrant luminosity of the yellow kernels and the slight glistening of the butter emulsion. If your corn appears dull or "matte," you have likely overcooked it, or the pH of your water is too alkaline. A dash of lemon juice in the water can fix this by stabilizing the yellow pigments. If you see uneven coloring or "white patches," it indicates the corn was not fully submerged or the pot was overcrowded. Ensure the ears have enough "swimming room" to rotate naturally in the convection currents of the boiling water. If the kernels look shrunken or wrinkled, they have lost turgor pressure; this usually happens if the corn is salted during the boil or left to sit in the open air for too long without a fat-based sealant like butter.
THE DEEP DIVE
Macro Nutrition Profile
A single ear of Boiled Corn on the Cob provides approximately 90 calories, 19g of carbohydrates, and 3g of protein. It is a significant source of lutein and zeaxanthin, which are essential for ocular health. The addition of butter increases the lipid count but is necessary for the absorption of fat-soluble vitamins.
Dietary Swaps (Vegan/Keto/GF)
- Vegan: Replace European butter with a high-quality avocado oil or a cultured cashew-based butter substitute.
- Keto: Corn is high in starch and generally avoided; however, a half-portion heavily laden with grass-fed butter and salt can occasionally fit into a flexible macro plan.
- GF: Naturally gluten-free, but ensure any pre-mixed seasonings are certified.
Meal Prep & Reheating Science
To maintain the molecular structure during reheating, avoid the microwave, which can turn kernels into rubber. Instead, wrap the corn in damp parchment paper and heat in a 175 degree Celsius oven for 10 minutes. This creates a localized steam environment that restores moisture to the starch granules without toughening the skins.
THE KITCHEN TABLE
How do I know the corn is done without a timer?
Look for a color shift. The kernels will transition from a pale, translucent yellow to an opaque, saturated gold. The surface will also appear "plump" as the internal moisture expands against the kernel walls.
Should I add milk to the boiling water?
Milk increases the sugar content and adds a creamy mouthfeel to the exterior, but it is not strictly necessary for fresh corn. Use it only if your corn is of questionable quality or age.
Can I boil corn with the husks on?
You can, but it is inefficient for a technical audit. Husks act as insulation, making timing unpredictable. Shucking before boiling allows for direct thermal transfer and better control over the final texture.
Why is my corn tough even after boiling?
You likely added salt to the water. Salt strengthens the pectin in the cell walls, making them resistant to softening. Always salt your corn after it has been removed from the heat source.