
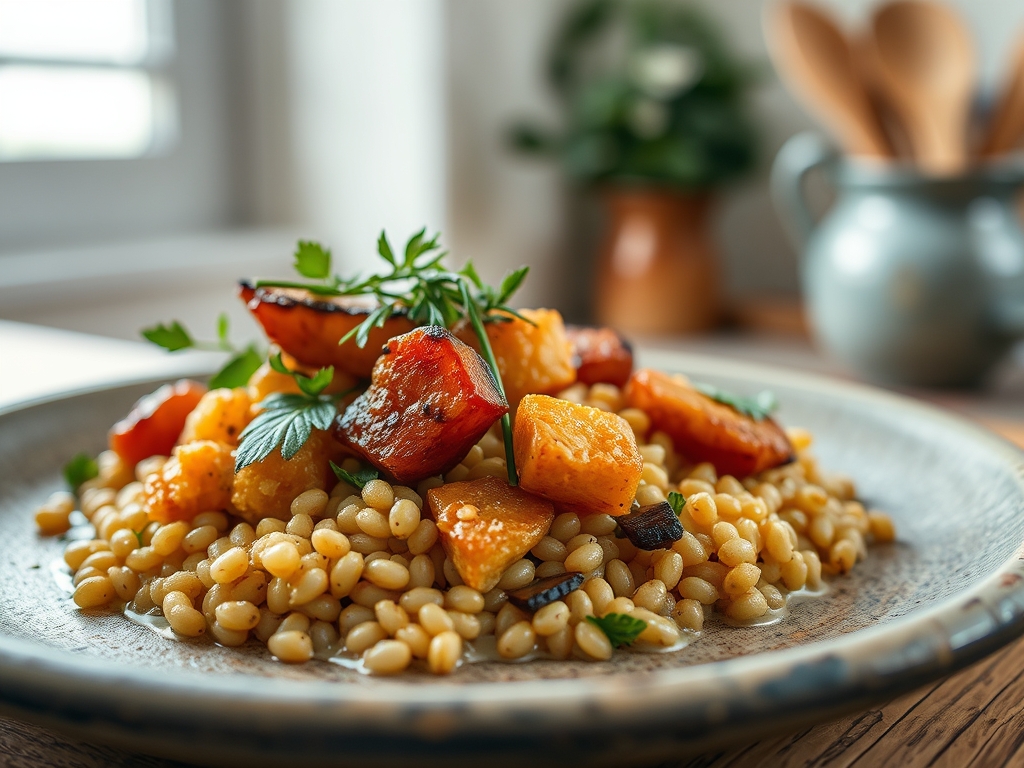
Listen to the sound of the pantry door swinging open; it is the sound of a grain revolution waiting to be audited. We are moving past the era of mushy, uninspired starches and entering the domain of the Millet Grain Boil. This is not merely a side dish; it is a structural masterpiece of alkaline seed stability. When proso millet hits the heat, you are managing a delicate balance of starch gelatinization and pericarp integrity. Most home cooks treat this ancient seed like a secondary citizen, but we are here to apply the rigor of a high-end commercial kitchen to every single hull. Imagine a bowl where every grain is a distinct, golden orb that yields to the tooth with a nutty snap. We are talking about a sensory profile that is simultaneously earthy and refined, capable of carrying a viscous sauce or standing alone with a piquant dressing. This is the technical audit your kitchen deserves to ensure every carbohydrate on the plate is optimized for peak performance.
THE DATA MATRIX
| Metric | Specification |
|---|---|
| Prep Time | 5 Minutes |
| Execution Time | 20 Minutes |
| Yield | 4 Servings |
| Complexity (1-10) | 3 |
| Estimated Cost per Serving | $0.45 |
THE GATHERS
Ingredient Protocol:
- 190g / 1 cup Proso Millet (Dehulled)
- 475ml / 2 cups Filtered Water or Light Vegetable Stock
- 5g / 1 tsp Fine Sea Salt
- 15ml / 1 tbsp Extra Virgin Olive Oil or Ghee
- 1 Fresh Bay Leaf (to infuse aromatic depth)
Section A: Ingredient Quality Audit:
The primary failure point in a Millet Grain Boil is the use of oxidized or "dusty" grains. If your raw millet smells like a damp basement, the oils within the seed have turned rancid. Technical Fix: Always source millet from high-turnover suppliers and perform a "sniff test" before the first rinse. If the grains appear grey rather than vibrant yellow, they lack the mineral density required for proper structural stability. Another common issue is high-calcium tap water, which can toughen the outer hull prematurely. If you are working in a hard-water environment, use filtered water to ensure the starch expands uniformly without hitting a mineral-induced ceiling.
THE MASTERCLASS
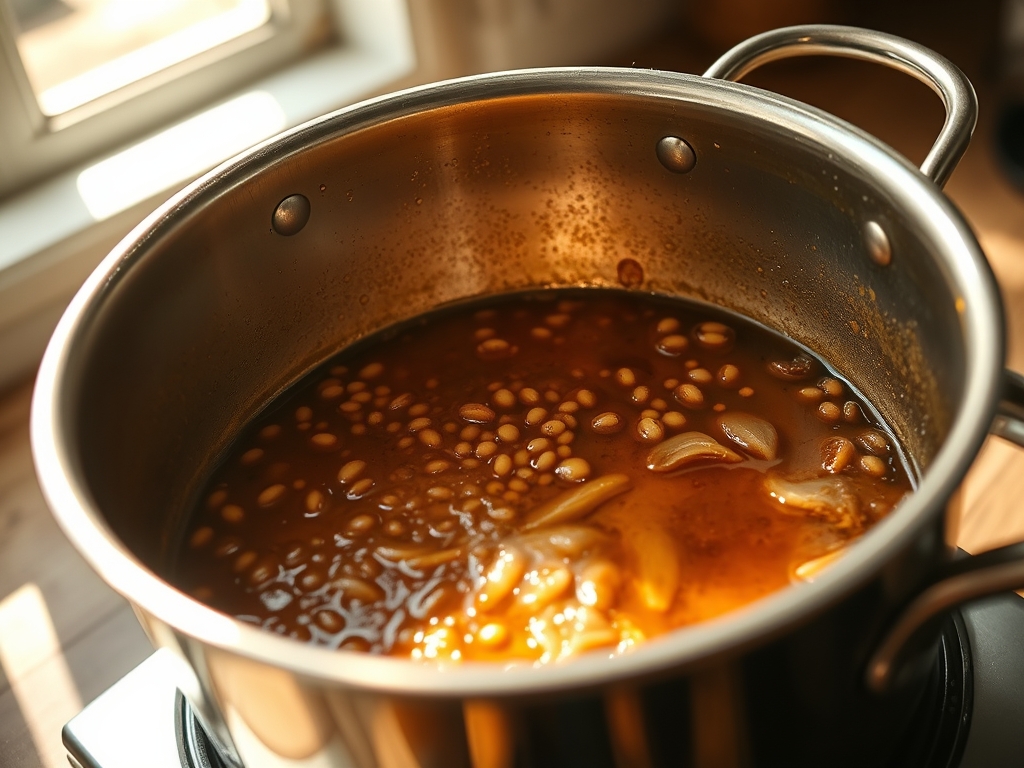
1. The Mechanical Rinse and Toast
Place your 190g of millet into a fine-mesh sieve and rinse under cold water until the runoff is perfectly clear. Transfer the damp grains to a heavy-bottomed saucier over medium heat. Stir constantly with a silicone spatula for three minutes. You are looking for a subtle aromatic shift toward toasted hazelnuts.
Pro Tip: This dry-heat application triggers the Maillard reaction on the grain surface. Using a saucier with rounded bottom edges allows for better mechanical agitation, ensuring no grains are scorched in the corners.
2. The Hydration Phase
Once toasted, carefully pour in your 475ml of liquid and add the sea salt. Bring the mixture to a vigorous boil. As the liquid reaches its peak thermal state, use a digital scale to ensure your ratios remain precise; evaporation happens quickly, and even a 10ml variance can alter the final texture.
Pro Tip: Adding a fat source like ghee at this stage helps to emulsify the surface starches. This prevents the grains from sticking together, creating a "pearl" effect where each seed remains individual.
3. The Controlled Simmer
Reduce the heat to the lowest possible setting and cover the saucier with a tight-fitting lid. Set a timer for 15 minutes. Do not, under any circumstances, lift the lid. You are creating a pressurized steam environment that allows the moisture to infuse the core of each grain without breaking the delicate outer membrane.
Pro Tip: A heavy lid acts as a thermal regulator. If your lid is lightweight, place a clean kitchen towel over the top before sealing to prevent steam escape; this ensures the starch molecules hydrate fully without drying out.
4. The Rest and Aeration
Remove the pan from the heat and let it sit, covered, for an additional five minutes. This allows the residual steam to redistribute. Finally, use a bench scraper or a wide-tined fork to gently aerate the grains. Do not stir vigorously; you want to lift and separate.
Pro Tip: Aeration is the final step in moisture management. By introducing air, you stop the cooking process immediately and allow the surface moisture to evaporate, which locks in that desired "al dente" snap.
Section B: Prep & Timing Fault-Lines:
The most common human error is the "Anxious Peek." Lifting the lid mid-simmer drops the internal temperature by up to 20 degrees instantly, leading to unevenly cooked centers. If your timing is off and the water evaporates before the grain is tender, do not just add more water. Instead, remove the pan from the heat and let it sit covered for ten minutes; the carry-over heat often finishes the job more elegantly than adding cold liquid. If the millet is still crunchy, add exactly 30ml of boiling water and return to a simmer for two minutes.
THE VISUAL SPECTRUM
Section C: Thermal & Visual Troubleshooting:
Referencing the Masterclass photo, your millet should exhibit a "fluffed" architecture with visible separation between the grains. If your result looks like a singular yellow mass, you likely skipped the toasting phase or over-agitated the grains during the simmer. Dull, greyish colors indicate an absence of salt or poor water quality. If you see uneven browning, your saucier was likely too thin, causing localized hot spots. The ideal visual cue is a gentle "pop" in the grain where the white interior is just barely visible through the golden hull, indicating perfect expansion.
THE DEEP DIVE
Macro Nutrition Profile:
Millet is a powerhouse of complex carbohydrates and magnesium. A single serving provides approximately 6g of protein and 2g of fiber. It is notably high in antioxidants like ferulic acid, which are preserved through the gentle boiling method outlined above.
Dietary Swaps:
- Vegan: Use vegetable bouillon and olive oil.
- Keto: Millet is not keto-friendly due to its high starch content; consider riced cauliflower as a structural substitute, though the boiling mechanics will differ.
- GF: Naturally gluten-free, making it the gold standard for celiac-safe grain bowls.
Meal Prep & Reheating Science:
To maintain molecular structure during storage, spread the cooked millet on a sheet tray to cool rapidly before refrigerating. This prevents the "clumping" caused by trapped steam. When reheating, add 15ml of water and cover tightly to re-steam the grains; this restores the moisture to the starch matrix without making it soggy.
THE KITCHEN TABLE
How do I fix mushy millet?
If the grains have lost their shape, you cannot reverse the starch breakdown. However, you can repurpose the batch. Spread it thin on a baking sheet and roast at 200C until crispy, or use it as a binder for plant-based patties.
Can I use a rice cooker?
Yes, but the audit remains the same. Use a 1:2 ratio and ensure you still perform the manual toast in a pan beforehand. The "Warm" setting on most cookers is excellent for the final five-minute rest period.
Why is my millet bitter?
Bitterness is usually a sign of saponins on the surface or rancidity. A thorough cold-water rinse is non-negotiable. If the bitterness persists, try adding a pinch of sugar or more salt to balance the alkaline profile of the grain.
Is soaking necessary?
Soaking for 2-4 hours can reduce phytic acid and speed up cook time by 5 minutes. However, for maximum grain separation and that "nutty" toasted texture, the dry-to-boil method is technically superior for structural integrity.