Listen closely because we are about to dissect the very backbone of the beverage industry. If you think a sugar solution is just "sweet water," you are fundamentally misinterpreting the physics of the bar. We are operating at the intersection of solubility and mouthfeel. Simple Syrup Ratios are not suggestions; they are structural blueprints that dictate the viscosity and shelf stability of every craft cocktail or dessert glaze you will ever touch. When you hit that perfect saturation point, the liquid transforms from a thin, watery mess into a viscous, silk-like nectar that carries flavor across the palate with surgical precision. We are looking for that crystalline clarity and a specific gravity that demands respect. If your ratio is off, your drink collapses. If your temperature control is sloppy, you end up with a cloudy, crystallized failure that belongs in the drain, not a crystal coupe. Prepare your station; we are moving from amateur mixing to industrial-grade molecular suspension.
THE DATA MATRIX
| Metric | Specification |
|---|---|
| Prep Time | 2 Minutes |
| Execution Time | 5 Minutes |
| Yield | 375ml (Approx. 12.5 oz) |
| Complexity (1-10) | 2 |
| Estimated Cost per Serving | $0.04 |
THE GATHERS
Ingredient Protocol:
- 250g / 1.25 cups Granulated White Sugar (Refined C6H12O6)
- 250ml / 1 cup Filtered Water (H2O)
- 2g / 0.5 tsp Citric Acid (Optional stabilizer for shelf-life extension)
Section A: Ingredient Quality Audit:
The most common failure in Simple Syrup Ratios is the use of unfiltered tap water. Chlorine and mineral deposits will cloud your solution and introduce a piquant, metallic aftertaste that ruins delicate spirits. If your sugar has clumped due to humidity, do not just toss it in. Sift it first to ensure even surface area exposure during the heating phase. If you find your syrup is yellowing, your sugar likely contains traces of molasses or you have accidentally initiated a premature Maillard reaction through excessive heat. Stick to high-purity refined white sugar for a neutral profile, or pivot to demerara if you specifically require a rich, toffee-laden depth.
THE MASTERCLASS
1. Precision Measurement and Vessel Loading
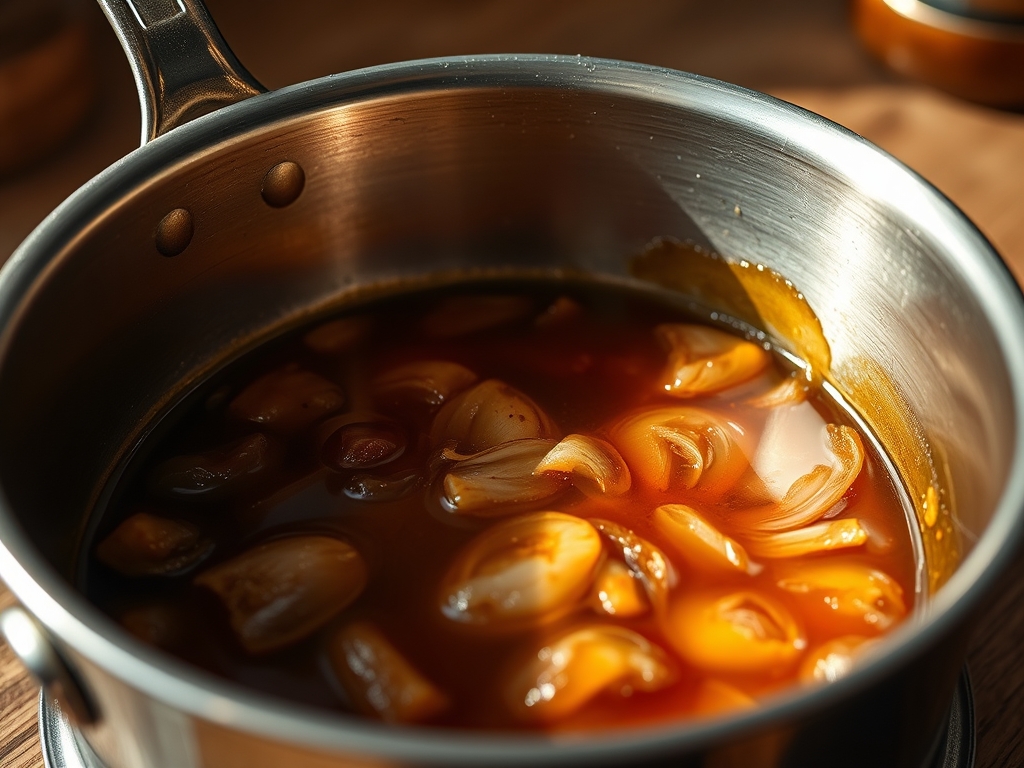
Begin by placing your stainless steel saucier on a digital scale. Tare the weight and add your filtered water first, followed by the sugar. This sequence prevents sugar from sticking to the dry bottom of the pan and scorching before the water can provide a thermal buffer.
Pro Tip: Using a scale is the only way to guarantee consistency. Volume measurements are lies; the air gaps between sugar crystals vary by brand and humidity. Weight is the absolute truth of the kitchen.
2. Thermal Agitation and Dissolution
Place the saucier over medium heat. Use a whisk to gently agitate the mixture. You are not trying to aerate the liquid; you are simply ensuring that the sugar crystals stay in motion to maximize contact with the warming water molecules. Do not let the solution reach a rolling boil.
Pro Tip: Keep the temperature below 190 degrees Fahrenheit. High heat increases the evaporation rate of the water, which stealthily alters your Simple Syrup Ratios and leads to unintended over-concentration and crystallization.
3. The Clarity Check and Stabilization
Once the liquid is perfectly transparent, remove it from the heat immediately. If you are using citric acid, whisk it in now. This acts as an invert sugar catalyst, breaking down sucrose into glucose and fructose, which significantly inhibits the formation of large crystals during cold storage.
Pro Tip: Use a bench scraper to clean your workspace while the syrup cools. Maintaining a sterile environment prevents wild yeast from entering the syrup and initiating fermentation.
4. Filtration and Bottling
Pour the hot liquid through a fine-mesh strainer into a sterilized glass swing-top bottle. This removes any microscopic impurities or undissolved granules that could act as "seeds" for crystallization later.
Pro Tip: Rapid cooling is your friend. Place the sealed bottle in an ice bath to lock in the molecular structure and prevent the continued evaporation of water vapor.
Section B: Prep & Timing Fault-Lines:
Timing is the silent killer of the 1:1 ratio. If you leave the syrup on the stove for even three minutes too long, you have moved from a simple syrup to a rich syrup (2:1), which will throw off the balance of your recipes. If you see steam billowing from the pan, you are losing your solvent (water) and concentrating your solute (sugar). Use a timer and stay focused. The transition from "dissolved" to "evaporating" happens in a heartbeat.
THE VISUAL SPECTRUM
Section C: Thermal & Visual Troubleshooting:
Referencing the Masterclass photo above, notice the absolute transparency of the liquid. If your syrup looks "foggy," you likely didn't heat it enough to fully break the molecular bonds of the sugar. If it looks amber, you have scorched it. A perfect 1:1 ratio should have the consistency of light oil when swirled in glass. It should coat the sides of a spoon and retreat slowly, leaving a shimmering film. If you see "floaties," your sterilization protocol failed; discard the batch and start over with boiling water to sanitize your equipment.
THE DEEP DIVE
Macro Nutrition Profile:
Simple syrup is a pure carbohydrate source. A standard 15ml (0.5 oz) serving contains approximately 45-50 calories and 12-13g of sugar. It contains zero fats, proteins, or significant micronutrients. Its primary function is glycemic load and texture, not nutrition.
Dietary Swaps (Vegan/Keto/GF):
For a Keto-compliant version, substitute granulated sugar with Allulose or Erythritol at a 1:1 ratio. Note that Erythritol has a tendency to crystallize much faster than sucrose, so adding a pinch of Xanthan gum can help render a more stable texture. All white sugar is naturally gluten-free. For a strict vegan audit, ensure the sugar is "certified organic" to guarantee no bone char was used in the refining process.
Meal Prep & Reheating Science:
To maintain molecular structure, never reheat simple syrup in the microwave. The localized "hot spots" can cause uneven sugar concentration. If the syrup has crystallized in the fridge, place the bottle in a warm water bath (120 degrees Fahrenheit) until the crystals re-dissolve. Stored in an airtight container in the refrigerator, a standard 1:1 syrup will last 4 weeks; adding a tablespoon of vodka can extend this to 3 months by inhibiting microbial growth.
THE KITCHEN TABLE
How do I fix a syrup that has crystallized?
Place the container in a warm water bath. Add one teaspoon of hot water and stir gently until the crystals dissolve. The extra water corrects the ratio that was lost to evaporation or cold-temperature precipitation.
Can I infuse flavors into the 1:1 ratio?
Absolutely. Add herbs or spices during the cooling phase to infuse the liquid. This allows the volatile oils to seep into the syrup without being destroyed by high heat. Strain before bottling for maximum clarity.
Why is my simple syrup cloudy after cooling?
Cloudiness usually indicates impurities in the sugar or minerals in the water. It can also occur if the syrup was stirred too vigorously, trapping micro-bubbles. Always use filtered water and a gentle whisking motion.
Is there a difference between 1:1 and 2:1 ratios?
Yes. 1:1 is "Simple" and provides better dilution for cold drinks. 2:1 is "Rich" and offers a heavier mouthfeel with a much longer shelf life due to the higher sugar concentration acting as a preservative.
Does simple syrup need to be refrigerated?
For the 1:1 ratio, yes. The high water content makes it susceptible to mold and fermentation at room temperature. Always store it in the fridge and use a clean bottle to prevent contamination.