Listen up, kitchen operatives. We are moving beyond the realm of soggy, sulfurous disasters and into the domain of high-performance cruciferous engineering. For too long, Boiled Brussels Sprouts have suffered at the hands of domestic negligence; they have been subjected to over-extraction and thermal abuse until they resemble grey, mushy orbs of despair. No more. Today, we treat these miniature brassica globes as the complex chemical payloads they truly are. We are targeting a specific structural equilibrium where the outer leaves remain vibrant while the dense core achieves a buttery, translucent tenderness. This is not just a side dish; it is a masterclass in managing glucosinolates and pectin degradation. We want a piquant snap, a vibrant emerald hue, and a flavor profile that sings with mineral clarity. If you are looking for a bland, waterlogged vegetable, you are in the wrong laboratory. We are here to render excellence through precision boiling and immediate thermal arrest. Strap in, calibrate your sensors, and prepare to execute the perfect sprout protocol.
THE DATA MATRIX
| Metric | Specification |
|---|---|
| Prep Time | 12 Minutes |
| Execution Time | 7 Minutes |
| Yield | 4 Servings |
| Complexity (1-10) | 3 |
| Estimated Cost per Serving | $1.15 |
THE GATHERS
Ingredient Protocol:
- 500g / 1.1 lbs Fresh Brussels Sprouts (uniform size)
- 2L / 8.5 cups Filtered Water
- 30g / 2 tbsp Sea Salt (fine grain)
- 15ml / 1 tbsp Extra Virgin Olive Oil
- 2g / 0.5 tsp Cracked Black Pepper
- 5ml / 1 tsp Lemon Juice (freshly squeezed)
Section A: Ingredient Quality Audit:
The primary failure point in Boiled Brussels Sprouts is the procurement of aging biomass. If your sprouts exhibit yellowing outer leaves or a desiccated stem base, the cellular structure is already compromised. These specimens will release excessive sulfur compounds during the boil, resulting in a pungent, unpleasant aroma. To fix sub-par materials, perform a "Hydration Reset" by submerging the trimmed sprouts in an ice-water bath for 20 minutes prior to cooking. This restores turgor pressure within the vacuoles, ensuring a crispier final result. If the sprouts are of varying sizes, you must use a digital scale to sort them into "Small" and "Large" cohorts. Failure to do so leads to a bifurcated texture profile where half the batch is raw and the other half is disintegrated.
THE MASTERCLASS
Step-by-Step Execution:
1. The Structural Trim
Utilize a sharp paring knife or a bench scraper to remove the woody stem base of each sprout. Peel away any loose or discolored outer leaves to reveal the tight, vibrant core. For larger specimens, use a cross-hatch incision on the base to allow heat to penetrate the dense core at the same rate as the exterior leaves.
Pro Tip: Cutting a shallow "X" into the stem end increases the surface area for thermal transfer. This ensures the core reaches the desired 85 degrees Celsius (185 degrees Fahrenheit) for pectin softening without overcooking the delicate outer foliage.
2. Aqueous Calibration
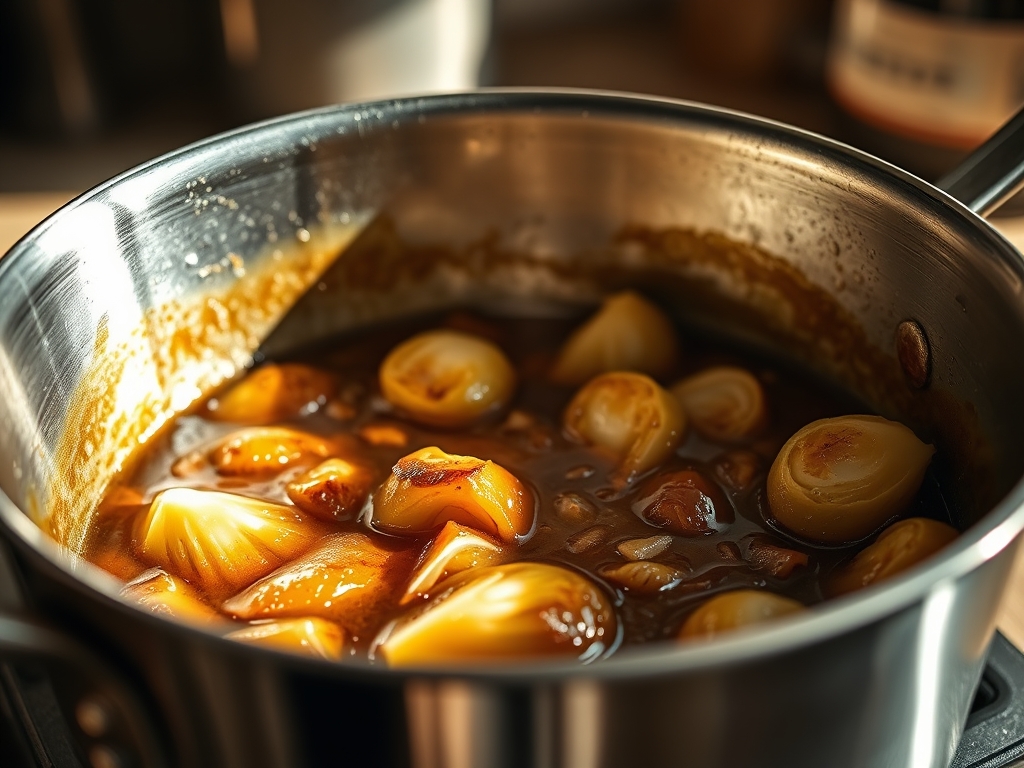
Fill a stainless steel saucier or large stockpot with 2 liters of filtered water. Bring to a rolling boil and introduce the sea salt. The water should taste like the ocean; this salinity is crucial for seasoning the interior of the sprout and maintaining the integrity of the chlorophyll molecules.
Pro Tip: High salinity prevents the leaching of minerals from the vegetable into the water. This is an osmotic play; by saturating the cooking medium, you force the flavor to stay locked within the cellular walls of the brassica.
3. The Precision Submersion
Deploy the sprouts into the boiling water all at once. Monitor the temperature drop; you want the water to return to a boil within 60 seconds. Set your digital timer for exactly 5 minutes for medium sprouts. Do not walk away. The window between "perfectly al dente" and "sulfur bomb" is narrower than a laser beam.
Pro Tip: Use a digital scale to ensure your salt-to-water ratio is exact. Precision in the boiling medium ensures repeatable results every time you execute this protocol.
4. The Thermal Arrest
As soon as the timer expires, use a slotted spoon to transfer the sprouts into a pre-prepared ice bath. This stops the residual heat from continuing the cooking process. Leave them for exactly 60 seconds, then remove and pat dry with a lint-free kitchen towel.
Pro Tip: This "shocking" technique fixes the green color by trapping the magnesium atom within the chlorophyll ring. If you skip this, the residual heat will turn your vibrant emerald sprouts into a dull, olive-drab mess.
5. The Final Infusion
In a clean bowl, toss the dry, blanched sprouts with olive oil, lemon juice, and cracked pepper. The acidity of the lemon juice will infuse the leaves with a bright top note that cuts through the natural earthiness of the vegetable.
Pro Tip: Aerate the sprouts as you toss them to ensure an even coating of lipids. This creates a viscous barrier that prevents the sprouts from drying out before they hit the plate.
Section B: Prep & Timing Fault-Lines:
The most common human error is the "Slow Boil." If your heat source is insufficient and the water takes too long to return to a boil after the sprouts are added, the vegetables will spend too much time in the "danger zone" of 50 to 70 degrees Celsius. This temperature range activates enzymes that break down the cell walls too quickly, leading to mush. Always use the highest BTU burner available. Another fault-line is the "Over-Soak" in the ice bath. If left too long, the sprouts will become waterlogged and lose their piquant flavor. Sixty seconds is the operational limit.
THE VISUAL SPECTRUM
Section C: Thermal & Visual Troubleshooting:
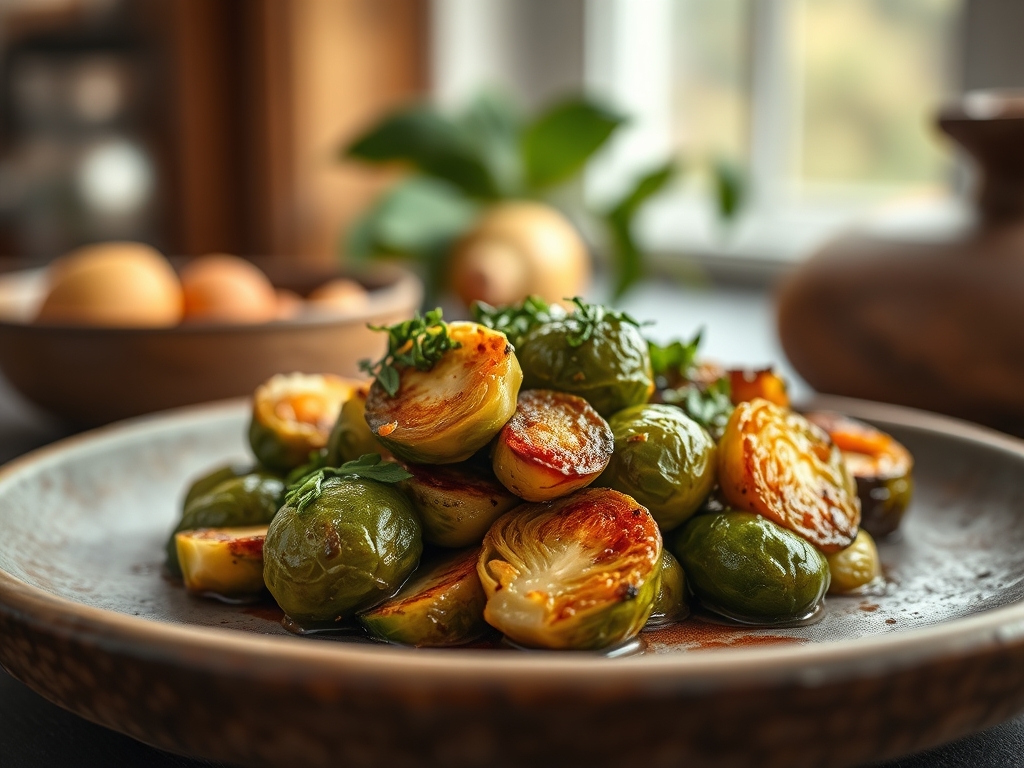
Observe the Masterclass photo above. Notice the high-definition contrast between the dark green outer leaves and the pale, creamy interior of the sliced sprouts. If your sprouts appear monochromatic or "flat," you have likely skipped the ice bath or under-salted the water. If the leaves are fraying and detached, your boil was too violent; reduce the agitation to a gentle simmer once the initial boil is achieved. For uneven browning, ensure the sprouts were completely dry before any secondary finishing steps. A damp sprout will steam rather than sear, ruining the textural contrast. The goal is a matte finish on the leaves with a slight glisten from the lipid coating.
THE DEEP DIVE
Macro Nutrition Profile:
A standard serving of Boiled Brussels Sprouts provides approximately 45 calories, 3g of protein, 8g of carbohydrates (with 4g of fiber), and 0.5g of fat (before oil addition). They are a powerhouse of Vitamin K and Vitamin C, providing over 100% of the daily requirement in a single cup.
Dietary Swaps:
- Vegan: The standard protocol is already vegan. Use avocado oil for a higher smoke point if finishing in a pan.
- Keto: Replace the lemon juice with a splash of apple cider vinegar and increase the olive oil to 30ml to boost healthy fats.
- GF: Naturally gluten-free. Ensure any secondary seasonings or sauces are certified.
Meal Prep & Reheating Science:
To maintain molecular structure during reheating, do not use a microwave. Microwaves vibrate water molecules, which will turn the softened pectin into a slurry. Instead, flash-sear the cold sprouts in a hot skillet for 2 minutes. This will render any surface moisture and create a slight char, adding a secondary layer of Maillard complexity while preserving the internal snap.
THE KITCHEN TABLE
Why do my sprouts smell like sulfur?
Overcooking triggers a chemical reaction that releases hydrogen sulfide gas. To prevent this, never boil for longer than 7 minutes and shock them in ice water immediately to halt the reaction.
Can I boil frozen Brussels sprouts?
Yes, but skip the "X" cut on the stem. Add them directly to boiling water from the freezer. Increase the boil time by 2 minutes to account for the frozen core.
Is the salt in the water necessary?
Absolutely. Salt acts as a bridge for flavor and a stabilizer for the vegetable's cellular structure. Without it, the sprouts will taste hollow and have a flaccid texture.
How do I get that bright green color?
The "Shock and Awe" method is key. Rapid boiling followed by an immediate ice bath locks in the chlorophyll. Adding a pinch of baking soda can also enhance greenness, but use sparingly as it can soften texture.