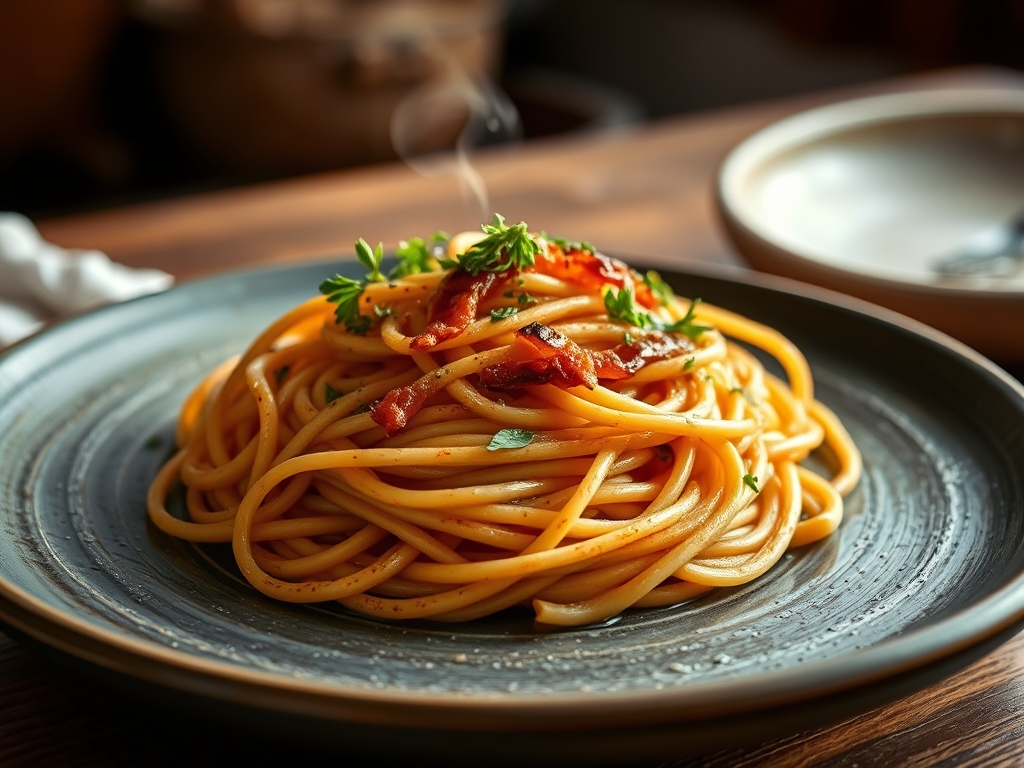
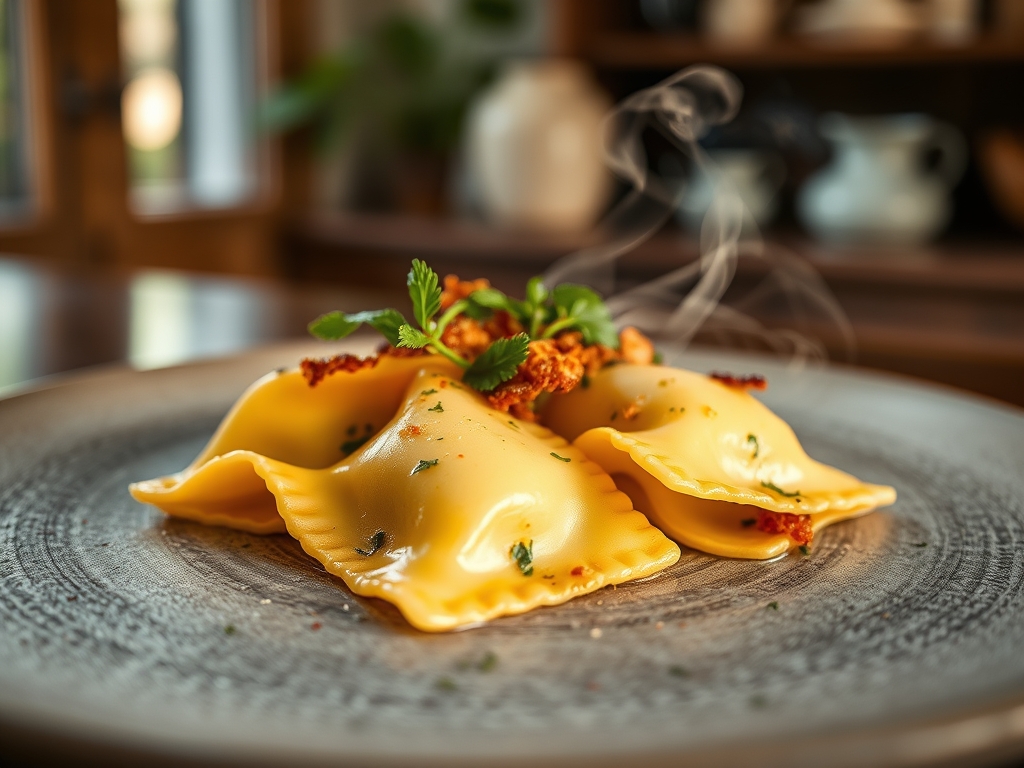
Listen to the sound of a kitchen operating at peak efficiency. It is not the sound of chaos; it is the rhythmic thrum of boiling water and the sharp snap of a bench scraper against a floured surface. We are here to discuss the architecture of the stuffed noodle. When you drop a hand-crimped parcel into a rolling boil, you are not just cooking; you are stress-testing a pressurized containment system. The Ravioli Boil Data suggests that the difference between a silk-textured masterpiece and a ruptured, waterlogged disaster lies entirely in the structural integrity of your dough and the osmotic pressure of your poaching liquid. We are auditing the very foundation of Italian comfort. We want that perfect tension where the pasta resists the tooth just enough before yielding to a creamy, piquant interior. Forget the guesswork. We are diving into the thermal dynamics of the pot to ensure every gram of flour and every milliliter of water serves a higher purpose in the pursuit of culinary perfection.
THE DATA MATRIX
| Metric | Specification |
|---|---|
| Prep Time | 90 Minutes |
| Execution Time | 6 Minutes |
| Yield | 4 Servings |
| Complexity (1-10) | 8 |
| Estimated Cost per Serving | $4.50 |
THE GATHERS
Ingredient Protocol:
- 400g / 3.25 cups Tipo 00 Flour (High extensibility)
- 4 Large Egg Yolks / 72ml (For lipid-rich structure)
- 2 Whole Eggs / 100ml (For protein binding)
- 500g / 2 cups Whole Milk Ricotta (Drained for 24 hours)
- 100g / 1 cup Parmigiano Reggiano (Microplaned)
- 5g / 1 tsp Nutmeg (Freshly grated)
- 10g / 2 tsp Kosher Salt (For the dough)
- 50g / 3.5 tbsp Unsalted Butter (To render for sauce)
- 15ml / 1 tbsp Extra Virgin Olive Oil
Section A: Ingredient Quality Audit:
If your ricotta is weeping liquid, your ravioli will suffer a catastrophic structural failure during the boil. This excess moisture creates internal steam that expands, causing the seams to burst. Technical Fix: Suspend the cheese in cheesecloth over a bowl for a full diurnal cycle. If your flour feels gritty rather than powdery, it likely has too high a protein content for delicate envelopes. Technical Fix: Cut it with 10% cornstarch to lower the gluten strength, ensuring a tender bite that does not become rubbery when it hits the heat.
THE MASTERCLASS
1. Hydrating the Matrix
Begin by mounding your flour on a clean marble surface and creating a deep well. Pour your eggs into the center. Use a fork to gradually incorporate the flour from the inner rim, moving in a circular motion to aerate the mixture. Once a shaggy mass forms, use a bench scraper to bring the stray fragments into the fold.
Pro Tip: The science of hydration requires patience. Do not add water immediately if the dough looks dry. The friction of kneading will infuse the flour with the moisture from the eggs over ten minutes of consistent mechanical work.
2. Developing the Gluten Lattice
Knead the dough by pushing it away with the heel of your hand and folding it back. You are looking for a smooth, elastic surface that springs back when poked. Wrap tightly in plastic to prevent dehydration and let it rest for 30 minutes.
Pro Tip: Resting allows the gluten network to relax. If you skip this, the dough will "snap back" during rolling, preventing you from achieving the translucent thinness required for professional-grade pasta. Use a digital scale to ensure your dough balls are uniform in weight.
3. Precision Laminating
Pass the dough through a pasta roller, starting at the widest setting and moving down one notch at a time. You want a sheet thin enough to see the shadow of your hand through it, but strong enough to hold the viscous filling.
Pro Tip: Dust the sheets lightly with semolina flour. Semolina acts like miniature ball bearings, preventing the sheets from sticking to the rollers or the counter without altering the hydration levels of the primary dough.
4. The Filling Deployment
Place small mounds of your seasoned ricotta mixture two inches apart on one sheet of pasta. Lightly brush the perimeter of each mound with a minimal amount of water or egg wash. Lay a second sheet over the top, pressing firmly from the center outward to expel all oxygen.
Pro Tip: Trapped air is the enemy of the Ravioli Boil Data. Air expands when heated; if you leave a bubble inside, the ravioli will float prematurely and potentially explode before the dough is fully gelatinized.
5. The Final Extraction
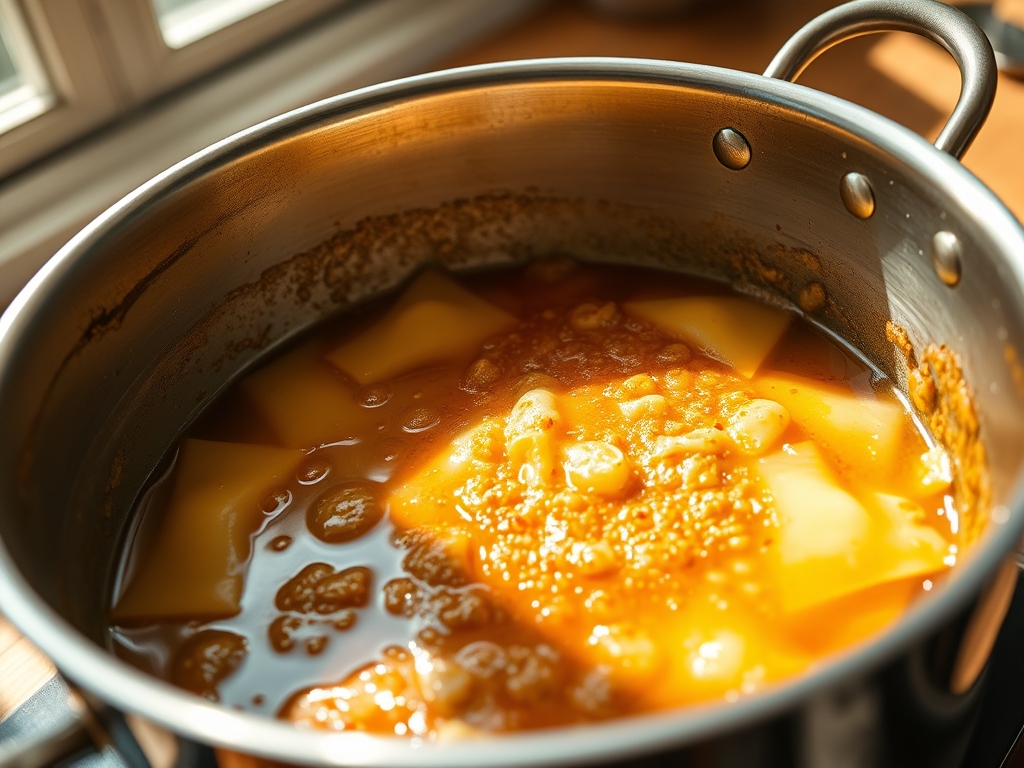
Bring a large saucier of water to a gentle simmer, not a violent boil. Drop the ravioli in batches. They are finished when they float and the edges look slightly translucent. While they cook, render butter in a separate pan until it smells nutty and the solids turn golden brown.
Pro Tip: Use a slotted spoon or a spider strainer for extraction. Never dump ravioli into a colander. The mechanical impact of falling into a sink can rupture the delicate seals you worked so hard to create.
Section B: Prep & Timing Fault-Lines:
The most common human error is the "crowded pot syndrome." Adding too many cold ravioli at once will crash the water temperature, leading to a gummy, starch-heavy exterior. Technical Fix: Cook in small batches and ensure the water returns to a simmer before the next drop. If your dough is drying out while you work, keep it under an inverted bowl or a damp lint-free towel to maintain its molecular flexibility.
THE VISUAL SPECTRUM
Section C: Thermal & Visual Troubleshooting:
Referencing the Masterclass photo, notice the "halo" effect around the filling; this indicates a perfect seal where the two layers of pasta have fused into a single unit. If your ravioli look dull or chalky, you likely used too much bench flour during the final cut. Technical Fix: Use a pastry brush to sweep away excess flour before boiling. If you see uneven browning in the butter sauce, it means your milk solids are clumped. Deglaze the pan with a splash of pasta water to create a smooth, emulsified glaze that coats the noodle rather than sliding off it.
THE DEEP DIVE
- Macro Nutrition Profile: A standard serving provides approximately 450 calories, 18g of protein, 22g of fat, and 45g of carbohydrates. The high protein content comes from the egg-dense dough and the ricotta-parmesan matrix.
- Dietary Swaps: For a Vegan alternative, substitute the eggs with a slurry of silken tofu and turmeric; use an almond-based "ricotta" with nutritional yeast. For GF versions, use a blend of rice flour and xantham gum to mimic the gluten lattice.
- Meal Prep & Reheating Science: To maintain molecular structure when reheating, avoid the microwave. The localized agitation of water molecules will turn the pasta into mush. Instead, steam the ravioli for 3 minutes or gently sauté them in a pan with a tablespoon of water and a lid to create a localized steam chamber.
THE KITCHEN TABLE
Why do my ravioli always float immediately?
This is usually caused by trapped air pockets. Ensure you press firmly around the filling from the center out. If air remains, the ravioli acts like a buoy, floating before the starch has properly hydrated and cooked through.
Can I freeze these for later use?
Absolutely. Freeze them in a single layer on a parchment-lined tray before transferring to a bag. When cooking from frozen, do not thaw. Drop them directly into simmering water and add two minutes to the total Ravioli Boil Data.
What is the best way to prevent sticking?
Use semolina flour for dusting your work surface. Its coarse texture prevents the dough from bonding to the table. Additionally, ensure your boiling water is well-salted to prevent the starch from becoming excessively tacky during the gelatinization process.
Why is my dough turning gray?
This is oxidation. It happens when dough is left exposed to air for too long or stored in the fridge for more than 24 hours. While it is safe to eat, it is visually unappealing. Use it immediately for best results.