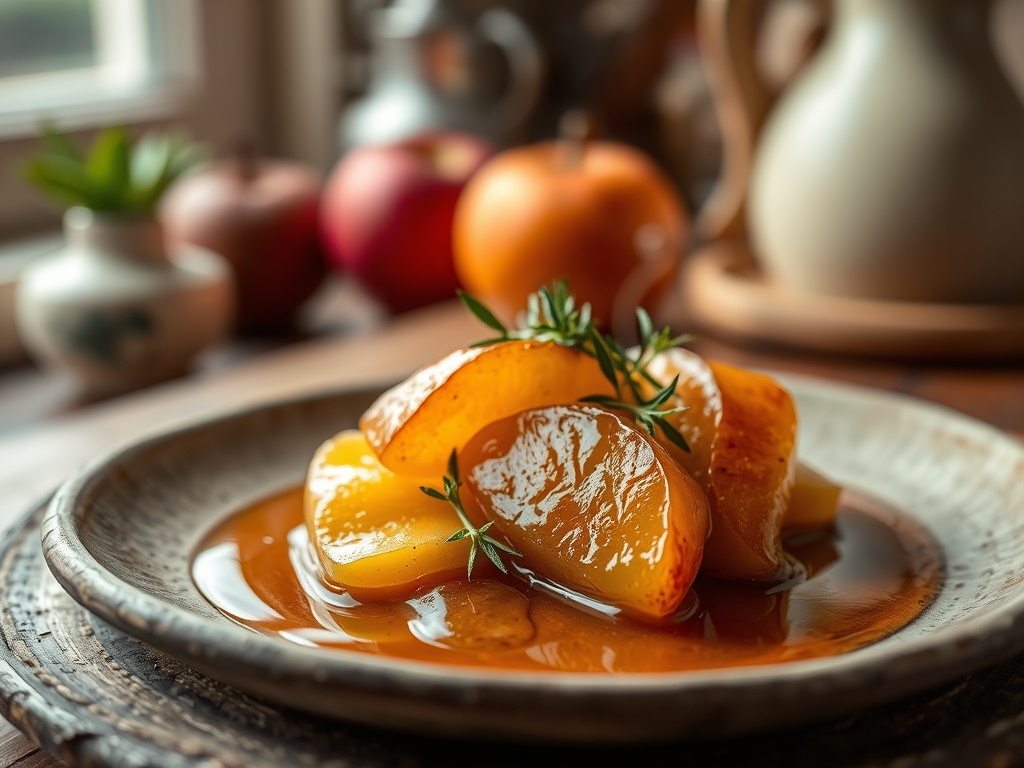
Imagine the crisp, cool air of an orchard compressed into a single, shimmering drop of amber nectar. We are not talking about a mere beverage; we are discussing the absolute structural collapse of apple juice into its most potent form. Apple Cider Reduction is the gold standard of autumnal chemistry. It is the process of stripping away the mundane water content to reveal a complex, viscous syrup that vibrates with high-decibel acidity and concentrated fructose. When you stand over a steaming pot, you are witnessing a violent molecular transformation. The natural sugars begin to tangle, the malic acid sharpens its teeth, and the aroma becomes so piquant it practically vibrates in your sinuses. This is the engine room of flavor. It is the difference between a dish that whispers and one that screams with authority. We are here to audit your process, eliminate the inefficiencies of thin liquids, and provide you with a technical blueprint for the ultimate flavor concentrate. Strap in; we are about to turn five gallons of potential into one quart of liquid gold.
THE DATA MATRIX
| Metric | Specification |
|---|---|
| Prep Time | 5 Minutes |
| Execution Time | 3 to 5 Hours |
| Yield | 12.5% of Initial Volume |
| Complexity (1-10) | 3 (Requires High Vigilance) |
| Estimated Cost per Serving | $0.45 |
THE GATHERS
Ingredient Protocol:
- Fresh, Unfiltered Apple Cider: 3.8 Liters / 1 Gallon
- Optional: Whole Cinnamon Stick: 5 Grams / 1 Stick
- Optional: Star Anise: 2 Grams / 1 Pod
Section A: Ingredient Quality Audit:
The primary failure point in Apple Cider Reduction is starting with "Apple Juice" instead of "Apple Cider." If your raw material is clear, pasteurized, and filtered to a high degree of transparency, you are essentially boiling sugar water. You need the suspended solids found in raw, unfiltered cider to provide the necessary pectin and body. If you find yourself stuck with low-quality, thin juice, you must infuse the liquid with dried apple skins during the initial heating phase to reintroduce those missing tannins and pectin chains. Another common fault is using cider with added preservatives like potassium sorbate; these chemicals can interfere with the clean crystallization of sugars, leading to a "chemical" aftertaste once concentrated. Always source cider where the only ingredient is apples.
THE MASTERCLASS
1. The Vessel Selection and Initial Pour
Begin by pouring your gallon of cider into a wide-bottomed saucier or a heavy-duty stockpot. The surface area is your best friend here; the more surface area exposed to the air, the faster the evaporation process occurs. Set your heat to medium-high to bring the liquid to a steady, rolling boil.
Pro Tip: Use a digital scale to weigh your empty pot before adding the cider. Knowing the "tare weight" of your vessel allows you to calculate exactly how much water has evaporated by simply weighing the pot again later. This is the only way to achieve 100% precision in your density targets.
2. The Scum Removal Phase
As the cider reaches a boil, you will notice a grayish-brown foam rising to the surface. These are the proteins and pectin solids coagulating. Use a fine-mesh skimmer or a large spoon to render the surface clear. This ensures your final reduction is translucent and shimmering rather than cloudy and muddy.
Pro Tip: This is the moment to use a bench scraper to clean any sugar crystals that splash onto the sides of the pot. If those crystals burn, they will introduce a bitter carbon note that will ruin the entire batch.
3. The Thermal Reduction
Once the foam is cleared, reduce the heat to a simmer. You want a constant stream of steam but not a violent boil. The goal is a gentle evaporation that allows the sugars to undergo a slow Maillard-adjacent browning without scorching. You are looking for the volume to drop by half, then by half again.
Pro Tip: A thermometer is your most vital tool during the final thirty minutes. As the water leaves, the boiling point of the remaining syrup will rise. When the liquid reaches 215 degrees Fahrenheit (102 Celsius), you are entering the "syrup" zone.
4. The Viscosity Check
As the liquid nears its final volume, it will change from a thin juice to a viscous glaze. The bubbles will become larger and more "glassy" in appearance. To test the set, place a small spoonful on a chilled plate. If it holds its shape and resists a finger swipe, the reduction is complete.
Pro Tip: Use a silicone spatula to constantly scrape the bottom of the pan during the final ten minutes. The high sugar density at this stage makes the liquid prone to "hot spots" which can lead to instant scorching.
5. Filtration and Storage
Once the desired density is reached, remove from heat immediately. Strain the hot syrup through a chinois or a coffee filter to remove any remaining sediment or spices. Transfer to a glass jar and allow it to cool completely before sealing.
Pro Tip: As the syrup cools, it will thicken significantly. If it becomes too hard to pour, simply deglaze the jar with a tablespoon of hot water or apple brandy to loosen the molecular bond.
Section B: Prep & Timing Fault-Lines:
The most frequent human error is "The Distraction Factor." Because this process takes hours, many cooks walk away. However, the transition from "perfectly reduced" to "burnt carbon" happens in a window of about ninety seconds. If you miss your timing, the sugars will over-caramelize, turning the piquant acidity into a harsh, acrid bitterness. Another fault is inconsistent heat; if the temperature fluctuates too much, you risk uneven evaporation, which can lead to a grainy texture as sugars crystallize prematurely.
THE VISUAL SPECTRUM
Section C: Thermal & Visual Troubleshooting:
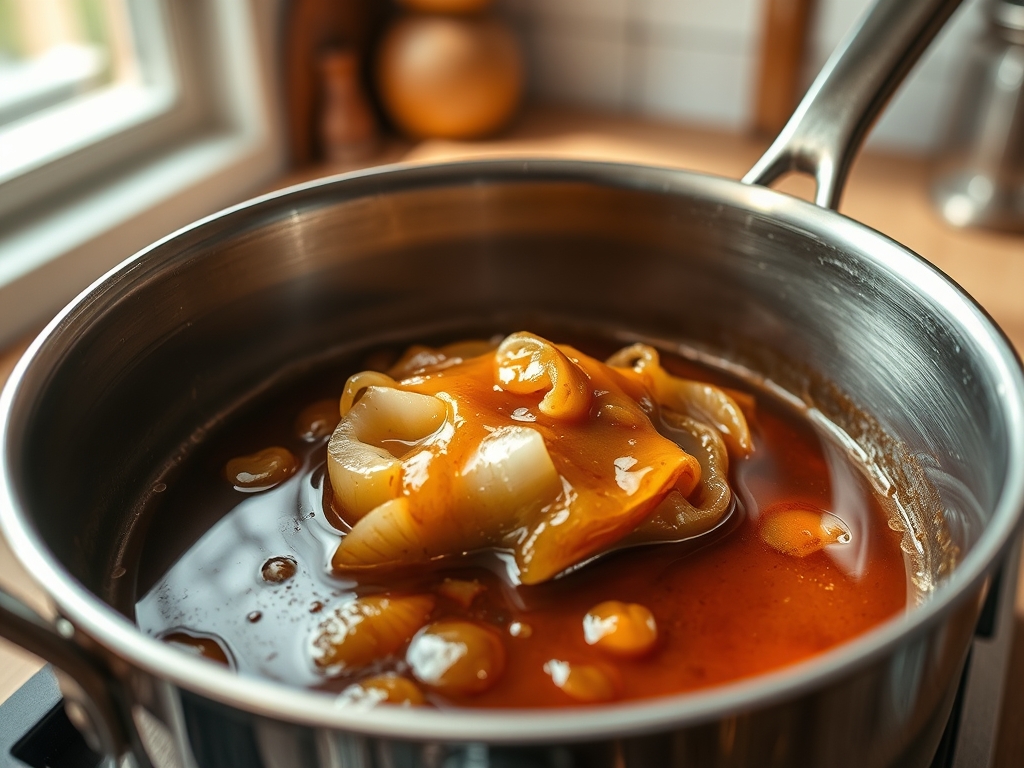
Referencing the Masterclass photo, your reduction should possess a deep, mahogany hue with a high-gloss finish. If your liquid looks pale or straw-colored, you have not reduced it far enough; the water content is still too high, and the flavor will be diluted. If the color is black or opaque, you have scorched the sugars. If you see crystals forming on the surface as it cools, you likely failed to skim the impurities or did not use a clean pot. To fix a grainy texture, you can briefly reheat the syrup with a splash of lemon juice; the acid helps break down the sucrose into invert sugars, which are less likely to crystallize.
THE DEEP DIVE
Macro Nutrition Profile:
Apple cider reduction is a high-density carbohydrate source. It is virtually fat-free and protein-free but contains concentrated doses of Vitamin C and potassium. Because it is a reduction, the glycemic index is high; a little goes a long way.
Dietary Swaps:
- Vegan: Naturally vegan.
- Keto: This is essentially pure sugar; there is no Keto-friendly version of a fruit reduction. Use a maple-flavored monk fruit syrup as a structural substitute.
- GF: Naturally gluten-free.
Meal Prep & Reheating Science:
Store your reduction in the refrigerator for up to six months. The high sugar content and acidity act as natural preservatives. To reheat, do not use a microwave, as it creates "hot spots" that can burn the syrup. Instead, place the jar in a warm water bath to gently aerate and loosen the liquid.
THE KITCHEN TABLE
Why is my reduction bitter?
You likely over-reduced the cider or used a pot with a thin bottom. High heat causes the natural sugars to burn rather than caramelize. Next time, use a heavy-bottomed saucier and lower the heat during the final stage.
Can I use store-bought apple juice?
You can, but the result will lack complexity. Store-bought juice is often highly filtered and stripped of the tannins and pectin that give boiled cider its signature "soul" and viscous mouthfeel. Always aim for unfiltered cider.
How do I know when it is done?
The "Cold Plate Test" is foolproof. Place a drop on a frozen plate; if it sets into a gel-like consistency and doesn't run when the plate is tilted, your infrastructure is sound.
What can I do with the leftovers?
Whisk it into a vinaigrette to infuse salads with autumn flavor, or use it to deglaze a pan after searing pork chops. It also functions as a world-class topping for vanilla bean gelato.