Forget everything you think you know about soggy, cafeteria-style greenery. We are not here to boil the life out of a defenseless plant; we are here to perform a high-speed molecular intervention. Blanched Spinach is the ultimate test of a chef's ability to manage the delicate tension between heat and time. Most home cooks treat spinach like laundry, tossing it into a pot and hoping for the best. The result is a pile of gray, metallic sludge that tastes like a rusty penny. Why? Because you are fighting a war against oxalic acid. This naturally occurring compound creates that chalky "teeth-coating" sensation and dulls the vibrant chlorophyll that should be screaming from the plate. To win this war, we utilize the flash-wilt method. We are talking about a sixty-second thermal strike followed by an immediate cryogenic plunge. This process locks in the neon-green hue, softens the fibrous cell walls without destroying them, and renders the greens into a silky, piquant side dish that commands respect. Grab your apron. We are about to audit your infrastructure.
THE DATA MATRIX
| Metric | Specification |
|---|---|
| Prep Time | 10 Minutes |
| Execution Time | 1 Minute |
| Yield | 2 Servings |
| Complexity (1-10) | 3 |
| Estimated Cost per Serving | $1.25 |
THE GATHERS
Ingredient Protocol:
- 500g / 1.1 lbs Fresh Baby Spinach (triple-washed)
- 15g / 1 tbsp Kosher Salt (for the blanching liquor)
- 20g / 1.5 tbsp Unsalted Butter or Extra Virgin Olive Oil
- 2g / 1/2 tsp Freshly Grated Nutmeg
- 10ml / 2 tsp Fresh Lemon Juice
- 1000ml / 4 cups Ice Cubes (for the shock bath)
Section A: Ingredient Quality Audit:
If your raw materials are limp before they even hit the heat, your infrastructure is compromised. Sub-par spinach often suffers from turgor pressure loss. This happens when the plant cells lose water, resulting in a floppy, sad leaf. To fix this, submerge your greens in a bowl of ice water for fifteen minutes before starting. This rehydrates the cell walls through osmosis. If you notice yellowing edges, discard those leaves immediately; they have already begun to decompose and will infuse the entire batch with a bitter, sulfurous profile. Always audit your salt choice as well. Use a high-quality Kosher salt rather than fine table salt to ensure a clean mineral profile without the harsh metallic aftertaste of iodine.
THE MASTERCLASS
1. Establish the Thermal Base
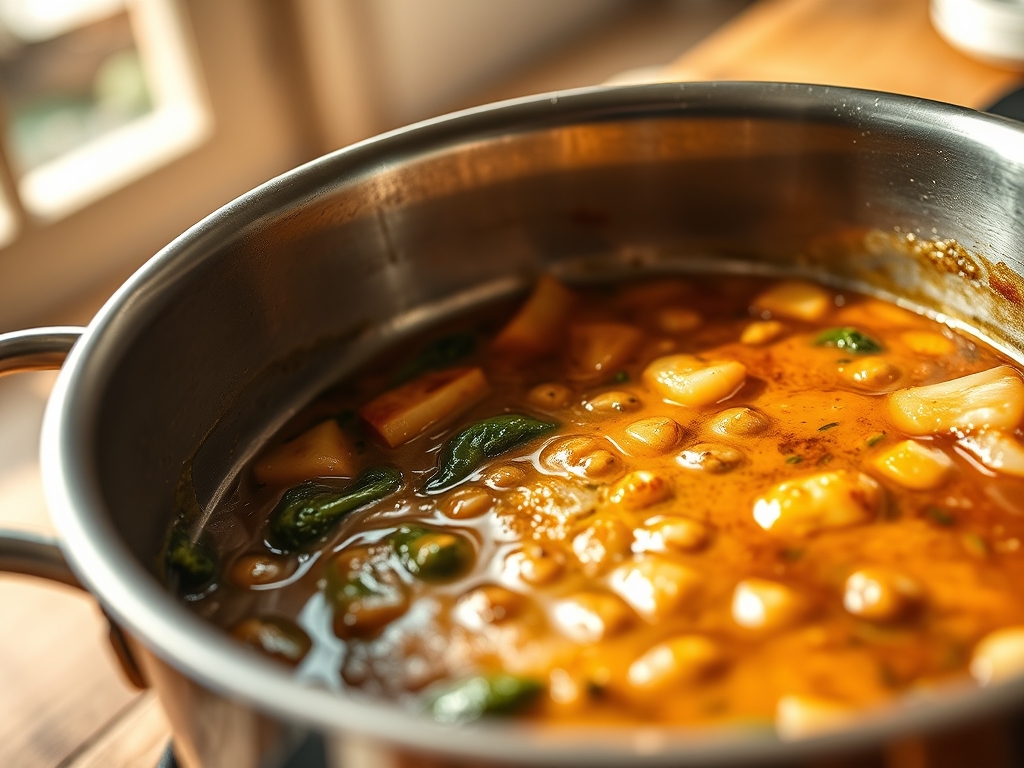
Fill a large saucier or stockpot with at least four liters of water. Add your salt and bring it to a rolling, aggressive boil. You want the water to be as salty as the sea. This isn't just for flavor; salt helps to stabilize the chlorophyll and prevents it from breaking down too quickly during the heating phase.
Pro Tip: Use a digital scale to measure your salt precisely. Consistency is the hallmark of a professional kitchen. Precise salinity ensures that the osmotic pressure between the water and the spinach cells remains balanced, preventing the leaves from becoming waterlogged.
2. The Rapid Immersion
Working in batches if necessary, plunge the spinach into the boiling water. Use a spider skimmer or a pair of long tongs to submerge the leaves completely. The goal is to achieve a uniform wilt in under sixty seconds. You are looking for the leaves to turn a brilliant, electric green.
Pro Tip: Do not overcrowd the pot. If you drop too much cold spinach into the water at once, the temperature will plummet, and you will end up steaming the greens rather than blanching them. This leads to a dull, olive-drab color.
3. The Cryogenic Shock
Immediately remove the spinach from the boiling water and drop it into a prepared ice bath. This "shocks" the vegetable, instantly halting the residual carry-over cooking. Leave it in the ice for exactly as long as it was in the boiling water.
Pro Tip: Use a bench scraper to help move large quantities of greens from the board to the pot. The ice bath must be truly cold; if the ice has melted, your water is too warm to stop the enzyme activity that causes browning.
4. The Extraction and Compression
Remove the spinach from the ice bath and place it in a clean lint-free kitchen towel or a nut milk bag. Squeeze with significant force. You must remove at least 90% of the internal moisture. Excess water is the enemy of flavor; it dilutes any sauce or seasoning you apply later.
Pro Tip: Professionals often use a potato ricer to squeeze blanched greens. This mechanical advantage allows for maximum water extraction without bruising the delicate leaves.
5. The Emulsified Finish
In a clean pan over low heat, melt your butter or warm your oil. Add the compressed spinach "puck" and break it apart with your tongs. Toss to coat each leaf in a thin, viscous layer of fat. Season with nutmeg and lemon juice just before serving.
Pro Tip: Nutmeg contains aromatic compounds that bridge the gap between the earthy spinach and the rich fats. Adding lemon juice at the very last second prevents the acid from reacting with the chlorophyll and turning your bright green dish into a muddy brown mess.
Section B: Prep & Timing Fault-Lines:
The most common failure in this protocol is the "slow transition." If there is more than a five-second delay between the boiling water and the ice bath, the spinach will overcook. This results in a loss of structural integrity, turning the leaves into a paste. Another fault-line is failing to dry the spinach after the ice bath. If the greens are wet, the butter or oil will not adhere to the surface, and you will have a watery puddle on the plate. Use your digital scale to ensure your ratios are correct; guessing is for amateurs.
THE VISUAL SPECTRUM
Section C: Thermal & Visual Troubleshooting:
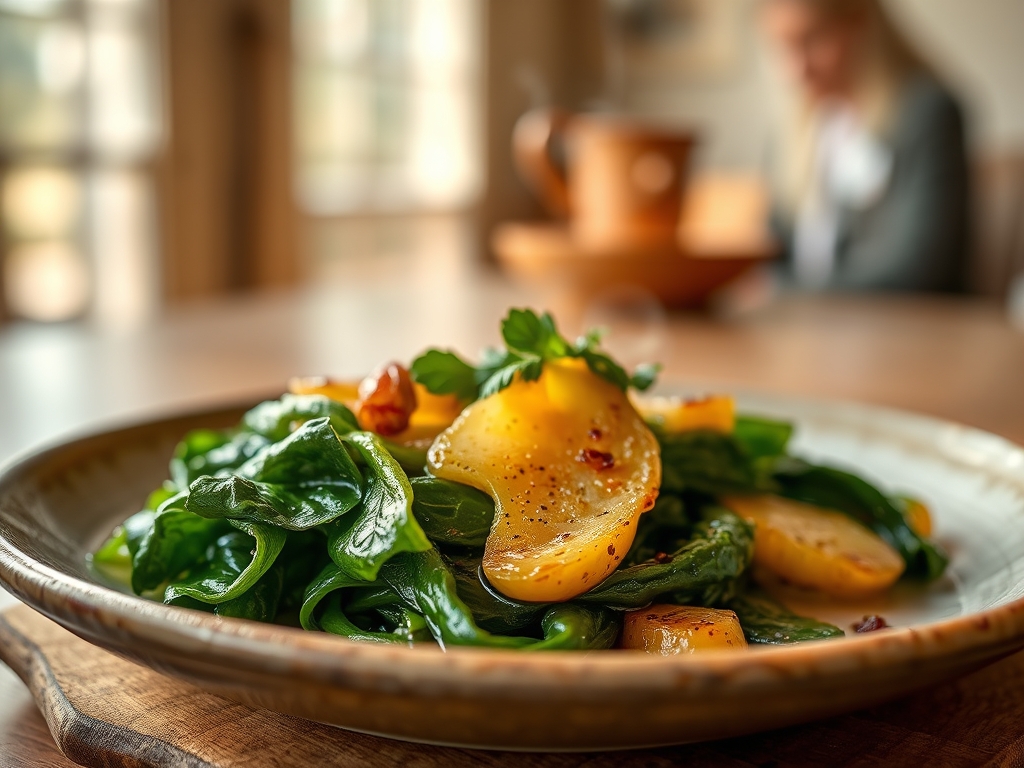
Look closely at the reference photo. Notice the high-gloss sheen on the leaves; this indicates a perfect fat-to-fiber ratio. If your spinach looks matte or dry, you have not used enough oil or butter to infuse the dish. If the color is dark green rather than bright neon, you likely skipped the ice bath or left the greens in the boiling water for more than ninety seconds. Uneven browning or dark spots usually indicate that the spinach was not submerged fully during the blanching process, causing some leaves to oxidize in the air while others cooked in the water. To fix a dull appearance, a quick toss with a teaspoon of high-quality oil can provide a temporary visual "lift," but the molecular damage of overcooking cannot be reversed.
THE DEEP DIVE
Macro Nutrition Profile:
Blanched Spinach is a nutrient density powerhouse. One serving typically contains 40 calories, 3g of protein, 1g of net carbs, and 3g of fiber. It is exceptionally high in Vitamin K, Vitamin A, and Manganese. By blanching, you significantly reduce the concentration of oxalic acid, making the iron and calcium in the spinach more bioavailable for your body to absorb.
Dietary Swaps:
For a Vegan infrastructure, replace the butter with a high-quality avocado oil or a vegan cultured butter. For Keto enthusiasts, increase the fat content by adding a splash of heavy cream to the final toss, creating a "creamed" effect without the flour-based roux. This dish is naturally Gluten-Free.
Meal Prep & Reheating Science:
To maintain the molecular structure during reheating, do not use a microwave. Microwaves vibrate water molecules, which will turn your compressed spinach into a soggy mess. Instead, deglaze a small pan with a tablespoon of water or broth, add the spinach, and toss over medium heat just until warmed through. This preserves the "snap" of the fibers.
THE KITCHEN TABLE
Why is my spinach bitter?
Bitterness usually stems from over-extraction of the oxalic acid or using mature, "woody" spinach. Stick to baby spinach and ensure your blanching time is under sixty seconds to keep the flavor profile clean and piquant.
Can I skip the ice bath?
Absolutely not. Without the cryogenic shock, residual heat continues to cook the spinach from the inside out. This destroys the chlorophyll and turns the texture from silky to mushy in a matter of seconds.
How long does it stay fresh?
Blanched, squeezed spinach will hold its structural integrity in an airtight container for up to three days. Do not season it until you are ready to serve, as salt will continue to draw out moisture over time.
What is the best tool for squeezing?
While a kitchen towel works, a potato ricer is the professional choice. It applies even, mechanical pressure that extracts water without mangling the leaves, ensuring a perfect "puck" for final sautéing.