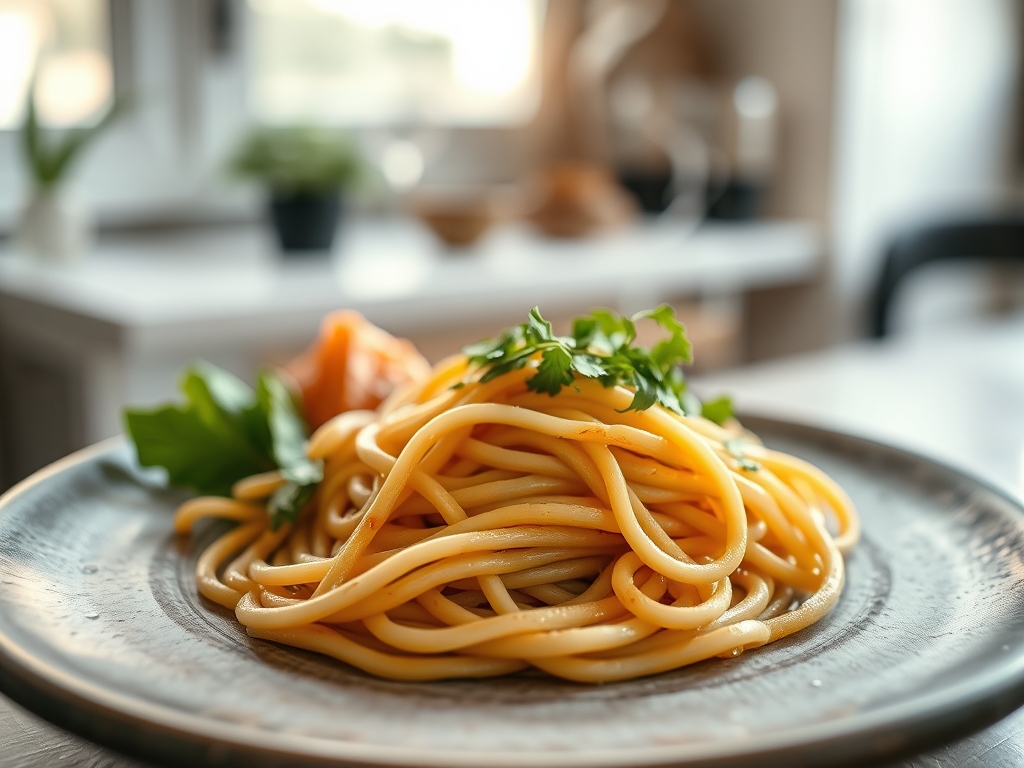
Listen to the sound of a high-pressure kitchen at peak service. It is not the sizzle of the grill that defines the architecture of a great bowl; it is the rhythmic, heavy thud of dough meeting wood. We are discussing the structural integrity of Boiled Udon Noodles. This is not mere pasta. This is a high-viscosity wheat matrix designed to carry the weight of savory broths while maintaining a springy, defiant bite. When you drop these thick ribbons into a rolling boil, you are initiating a complex starch gelatinization event. The exterior must remain slippery and smooth, while the core retains a dense, muscular resistance known as "koshi." To achieve this, we move beyond the casual home cook's intuition and into the realm of culinary engineering. We are building a carbohydrate infrastructure that can withstand the heat, the salt, and the passage of time without collapsing into a sodden, structural failure. Prepare your stations. We are about to render raw flour into a masterpiece of gluten elasticity and textural dominance.
THE DATA MATRIX
| Metric | Specification |
|---|---|
| Prep Time | 45 Minutes (plus resting) |
| Execution Time | 12 Minutes |
| Yield | 4 Robust Servings |
| Complexity | 7/10 (Requires physical stamina) |
| Estimated Cost per Serving | $0.85 USD |
THE GATHERS
Ingredient Protocol:
- 500g / 4 cups All-Purpose Flour (High protein content preferred)
- 250ml / 1 cup Filtered Water
- 25g / 1.5 tbsp Sea Salt (Fine grain for rapid dissolution)
- Extra starch (Corn or Potato) for dusting the work surface
Section A: Ingredient Quality Audit:
The primary failure point in Boiled Udon Noodles is often the water-to-protein ratio. If your flour is too "soft" (low protein), the noodles will lack the necessary viscous rebound and become mushy. To fix this, ensure you are using a flour with at least 10% to 11% protein. If your local supply is subpar, you can fortify the mix with a teaspoon of vital wheat gluten.
Another critical audit point is the salt. Salt is not just for flavor; it strengthens the gluten network. If you use coarse kosher salt without dissolving it first, you will create "salt pockets" that tear the dough. Always dissolve your salt into the water completely before introducing it to the flour. This ensures a uniform chemical bond across the entire dough mass.
THE MASTERCLASS
1. The Hydration Phase
Begin by placing your flour in a large stainless steel mixing bowl. Slowly infuse the salted water into the flour while stirring with chopsticks or a dough whisk. Do not dump the liquid in all at once. You are looking for a "shaggy mass" where the flour has absorbed the moisture but has not yet formed a cohesive ball.
Pro Tip: Use a digital scale for this phase. Volumetric measurements are the enemy of consistency. A 50% hydration rate is the gold standard for udon; even a 5ml deviation can alter the final density of the noodle.
2. The Mechanical Knead
Once the dough is shaggy, transfer it to a heavy-duty plastic bag. Traditionally, udon is kneaded with the feet to apply maximum pressure without overworking the dough with heat from the hands. Step on the bag, flattening the dough, then fold it and repeat for 10 to 15 minutes. The dough should become as smooth as a polished stone.
Pro Tip: This mechanical pressure forces the gluten strands into a tightly packed, viscous alignment. If you prefer a modern approach, a high-torque stand mixer can work, but watch the motor temperature carefully to avoid pre-cooking the proteins.
3. The Structural Rest
Form the dough into a tight ball, wrap it in plastic, and let it rest for at least 2 hours at room temperature. This allows the gluten to relax, making the subsequent rolling process possible without the dough snapping back like a rubber band.
Pro Tip: During this rest, the enzymes in the flour begin to break down complex starches into simpler sugars. This subtly enhances the natural sweetness of the wheat, providing a piquant undertone to the finished product.
4. Precision Rolling and Cutting
Dust your work surface with starch. Using a heavy rolling pin, flatten the dough until it is approximately 3mm thick. Fold the dough into layers, ensuring plenty of starch is between them to prevent sticking. Use a sharp bench scraper or a dedicated udon knife to cut the dough into uniform 3mm wide strips.
Pro Tip: Uniformity is the soul of the dish. If the noodles vary in thickness, they will cook unevenly. Use a wooden guide or a ruler to ensure every strand is a perfect architectural duplicate of the last.
5. The Thermal Execution
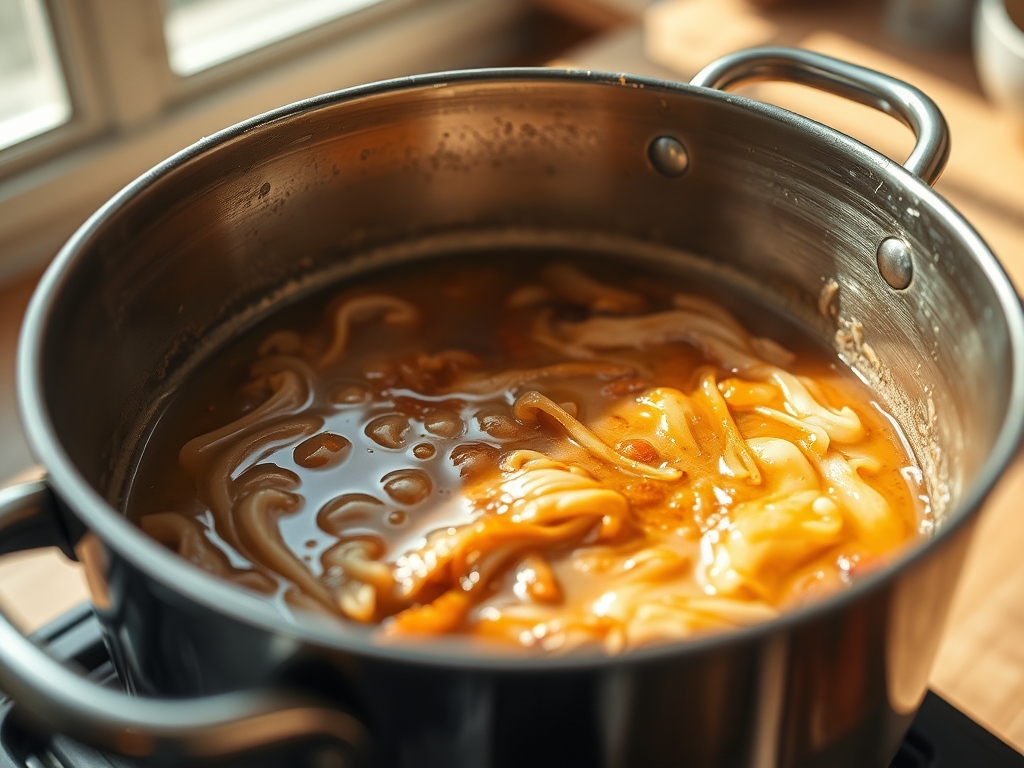
Bring a massive pot of unsalted water to a violent, rolling boil. Shake the excess starch off the noodles and drop them in. Stir gently to aerate the strands and prevent clumping. When the water threatens to boil over, add a splash of cold water to "shock" the surface. Boil for 10 to 12 minutes until the noodles are translucent but firm.
Pro Tip: Use a saucier or a large spider strainer to remove the noodles immediately. The transition from the pot to the ice bath must be instantaneous to halt the residual cooking process and lock in the "koshi" texture.
Section B: Prep & Timing Fault-Lines:
The most common human error is underestimating the rest time. If you rush the rest, the dough will be impossible to roll thin, resulting in "clunky" noodles that are raw in the middle and overcooked on the outside. Furthermore, temperature control during the boil is vital. If the water temperature drops significantly when the noodles are added, the starch will leach out, creating a gummy, sticky mess. Always use at least 5 liters of water per 500g of dough to maintain thermal mass.
THE VISUAL SPECTRUM
Section C: Thermal & Visual Troubleshooting:
Look at the Masterclass photo. Notice the high-gloss sheen on the noodles; this indicates a successful starch gelatinization. If your noodles look dull or "chalky," you likely skipped the cold-water rinse. This rinse removes excess surface starch that would otherwise turn into a glue-like film.
If you see uneven browning or dark spots, your work surface was likely contaminated with old flour or your water had too much mineral content. The noodles should be a pristine, creamy white. If the edges of the noodles look ragged or "frayed," your knife was dull or you didn't use enough starch during the folding process, causing the gluten to tear as you cut.
THE DEEP DIVE
Macro Nutrition Profile:
Boiled Udon Noodles are a powerhouse of complex carbohydrates. A standard serving provides approximately 350 calories, 70g of carbs, and 10g of protein. It is low in fat but high on the glycemic index, making it an excellent fuel source for high-output individuals.
Dietary Swaps:
- Vegan: Naturally vegan.
- Keto: Replace wheat flour with a blend of almond flour, xanthan gum, and vital wheat gluten (though the texture will shift significantly).
- GF: Use a high-quality 1-to-1 gluten-free flour blend with added psyllium husk to mimic the gluten's elasticity.
Meal Prep & Reheating Science:
To store, toss the cooked and cooled noodles in a tiny amount of neutral oil. This creates a hydrophobic barrier that prevents the strands from fusing. When reheating, do not microwave them dry. Briefly submerge them in boiling water for 30 seconds to re-agitate the molecular structure and restore the slippery exterior.
THE KITCHEN TABLE
Why are my noodles breaking during the boil?
You likely under-kneaded the dough or used flour with insufficient protein. Without a strong gluten infrastructure, the noodles cannot support their own weight as the starch expands during the hydration and heating process.
Can I skip the "foot-kneading" step?
You can use your hands, but it requires significant stamina. The goal is to apply enough pressure to eliminate all air pockets and align the protein strands. If the dough isn't smooth, the texture will be grainy.
Why do I need to rinse them in cold water?
The cold rinse is non-negotiable. It stops the cooking immediately and washes away the "slurry" of surface starch. This ensures each noodle remains a distinct, slippery entity rather than a massive, congealed clump.
How long can I store the raw dough?
You can refrigerate the dough for up to 24 hours. In fact, a cold ferment can improve the flavor. However, beyond 24 hours, the dough may begin to turn grey due to oxidation.