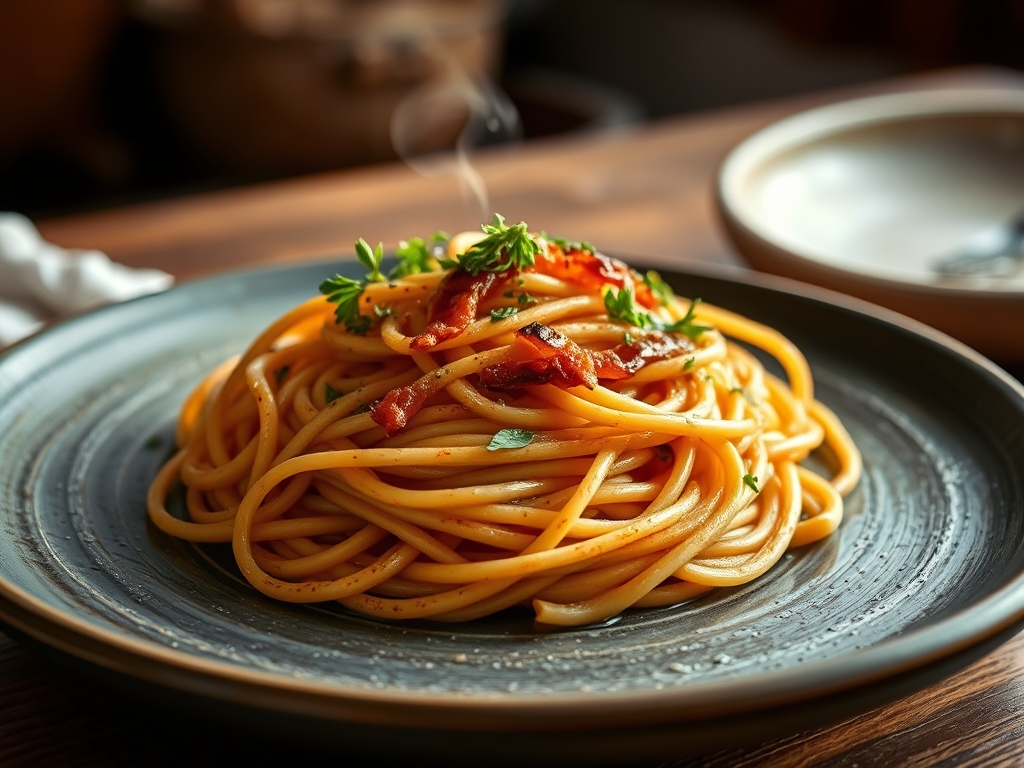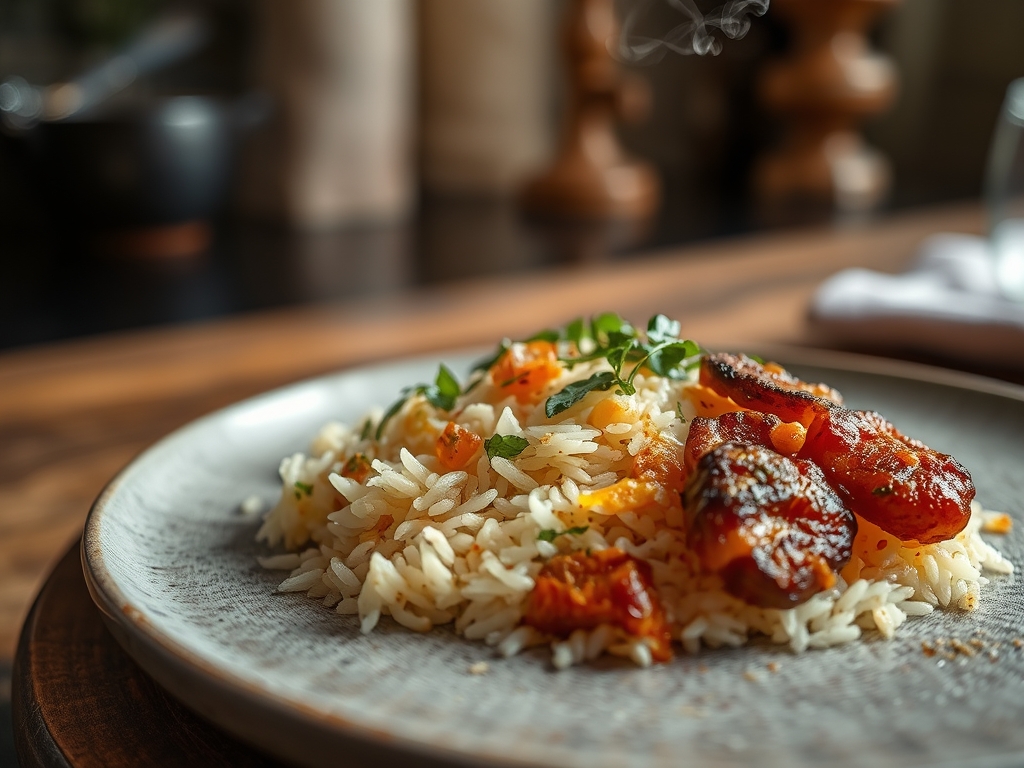
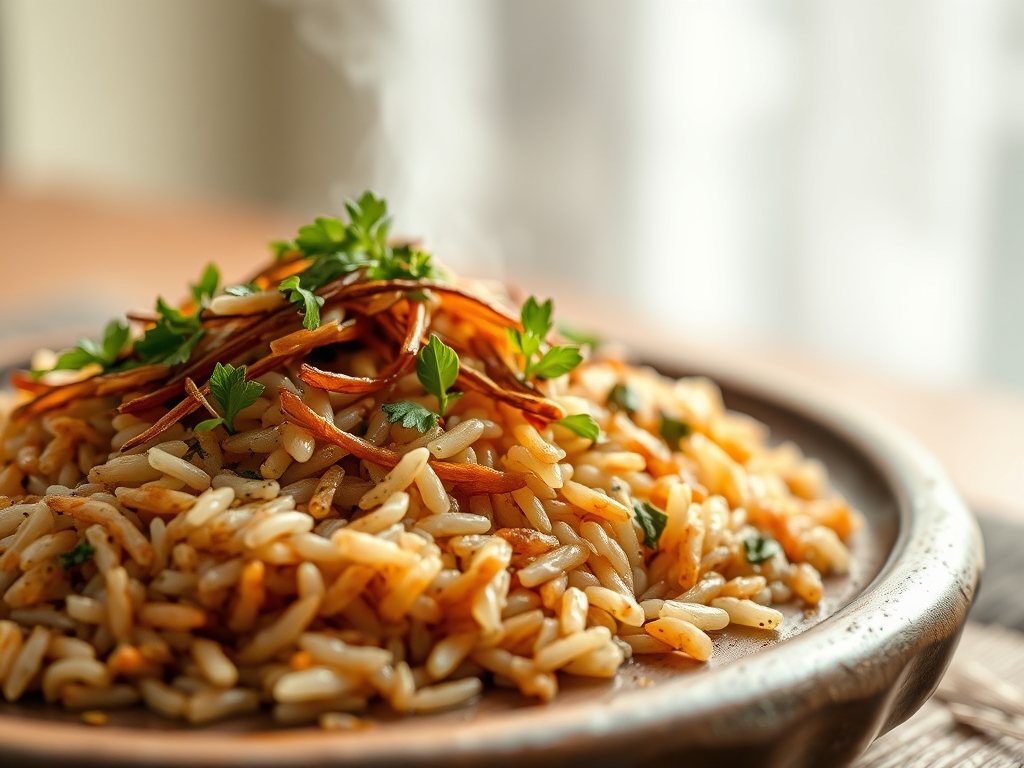
Stop looking at the clock and start looking at the pericarp. We are not just boiling a side dish; we are performing a structural audit of a semi-aquatic grass seed that demands respect. Wild Rice Hydration is the ultimate test of a chef's patience and technical precision. Unlike its domesticated cousins, wild rice is a stubborn, nutrient-dense kernel encased in a formidable bran layer that refuses to yield without a fight. When you achieve the perfect hydration, the grains undergo a magnificent transformation. They blossom, revealing a creamy, ivory interior while maintaining a satisfying, nutty snap. It is a textural symphony of earth and water. Most home cooks fail because they treat it like white rice, resulting in a sodden, waterlogged mess or, worse, a bowl of pebbles that could chip a tooth. We are here to master the long boil, ensuring each grain reaches its maximum volumetric potential without sacrificing its structural integrity. Prepare your station for a deep dive into the molecular mechanics of the marsh.
THE DATA MATRIX
| Metric | Specification |
|---|---|
| Prep Time | 10 Minutes |
| Execution Time | 50 to 60 Minutes |
| Yield | 4 Standard Servings |
| Complexity (1-10) | 4 |
| Estimated Cost per Serving | $1.75 |
THE GATHERS
Ingredient Protocol:
- 200g / 1 cup High-Quality Grade A Long Grain Wild Rice
- 950ml / 4 cups Filtered Water or Low-Sodium Vegetable Stock
- 5g / 1 tsp Fine Sea Salt
- 15ml / 1 tbsp Unsalted Butter or Extra Virgin Olive Oil
- 2g / 1/2 tsp Fresh Thyme Leaves (optional for infusion)
Section A: Ingredient Quality Audit:
The primary failure point in wild rice preparation is the age and grade of the grain. If your rice looks dusty or has a high percentage of broken shards, it will hydrate unevenly. Broken grains will over-saturate and turn into mush before the whole grains even begin to soften. To fix this, always rinse your rice in a fine-mesh sieve until the water runs clear; this removes excess surface starch and dust. If you suspect your rice is old, increase the initial soaking time by thirty minutes to pre-hydrate the bran. Furthermore, avoid "Wild Rice Blends" for this specific audit. Blends often mix white or brown rice with wild rice, and since they have different thermal requirements, you will never achieve a uniform texture. Stick to 100% pure wild rice for a consistent result.
THE MASTERCLASS
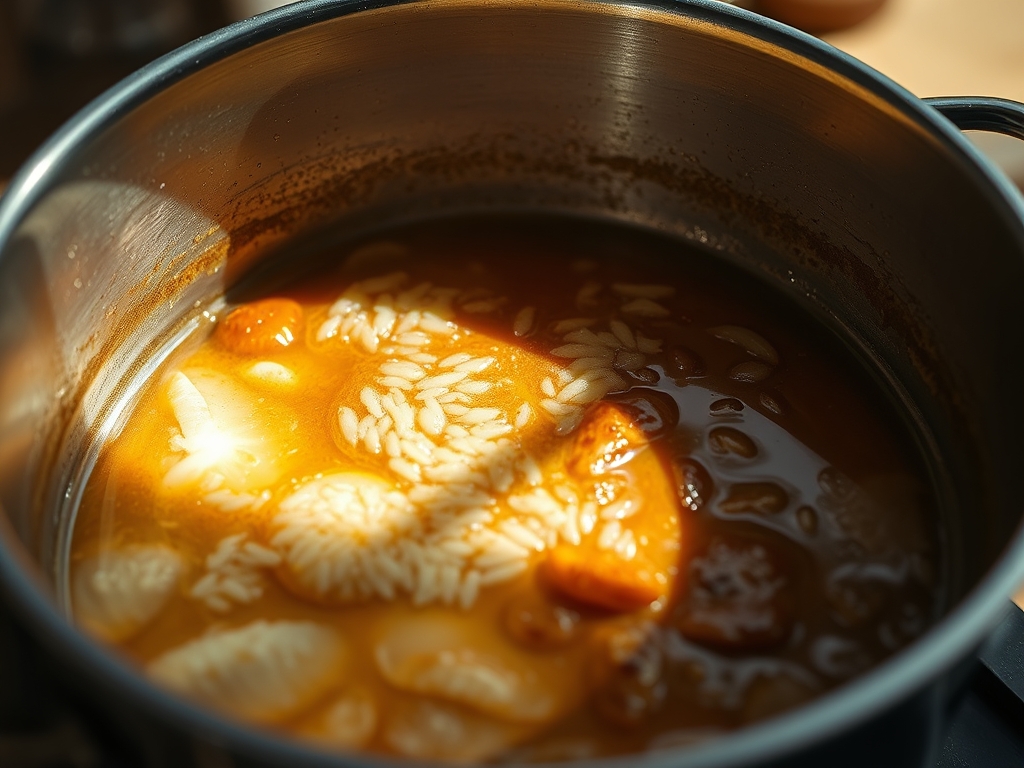
Step 1: The Cold Start and Rinse
Place your 200g of rice into a fine-mesh sieve and rinse under cold, running water for sixty seconds. Agitate the grains with your fingers to ensure every surface is cleaned. Transfer the rice to a heavy-bottomed saucier.
Pro Tip: Using a saucier with rounded sides encourages better convection currents during the boil, preventing grains from trapping in corners and cooking unevenly. The stainless steel construction ensures even heat distribution across the base.
Step 2: The Infusion Phase
Add 950ml of liquid and your salt to the pot. Bring the mixture to a rolling boil over high heat. Once the surface is turbulent, reduce the heat to a low simmer and cover the pot with a tight-fitting lid.
Pro Tip: Use a digital scale to measure your liquid by weight (1ml = 1g) for absolute precision. Accurate ratios are critical for managing the rate of evaporation versus absorption during the long boil.
Step 3: The Slow Hydration
Maintain a gentle simmer for 45 to 55 minutes. Do not lift the lid during the first 40 minutes; you need to maintain a consistent internal vapor pressure to penetrate the tough outer hull.
Pro Tip: This is where the molecular structure of the grain changes. The heat allows water to infuse the starch granules, causing them to swell and eventually rupture the pericarp. Constant lid-lifting releases the steam required for this process.
Step 4: The Visual Audit and Drain
At the 50-minute mark, check the grains. They should be curled and "bloomed," showing the white interior. If the texture is tender but firm, use a fine-mesh strainer to drain any excess liquid immediately.
Pro Tip: Do not let the rice sit in the remaining hot water once it has reached the desired texture. Residual heat will continue to render the starches, leading to a gummy mouthfeel.
Step 5: The Steam Finish
Return the drained rice to the warm pot (off the heat), add your butter or oil, and cover with a clean kitchen towel and the lid. Let it rest for 10 minutes.
Pro Tip: The towel acts as a moisture regulator, absorbing excess steam while the fat helps to aerate and separate the grains. Use a bench scraper or a fork to gently fluff the rice after the rest period.
Section B: Prep & Timing Fault-Lines:
The most common timing error is the "Hard Boil Trap." If you boil the rice too vigorously, the exterior will disintegrate before the heat reaches the core. This results in a grainy, sandy center. If you find the water is evaporating too quickly, your simmer is too high. Conversely, if the grains haven't bloomed after 60 minutes, your heat was too low, or your water was too alkaline. Adding a tiny splash of lemon juice can sometimes help break down a particularly stubborn bran layer in hard water environments. Always use a timer; guessing the duration is the fastest way to ruin a premium batch of wild rice.
THE VISUAL SPECTRUM
Section C: Thermal & Visual Troubleshooting:
Referencing the Masterclass photo, you are looking for the "Butterfly Effect." The grains should not be straight; they should be slightly curved with the white endosperm visible. If your rice looks dull and grey, it likely lacked a proper rinse or was cooked in unfiltered water with high mineral content. If the rice looks "exploded" and fuzzy, you have over-hydrated it. To fix over-hydrated rice, spread it out on a sheet tray and place it in a 150-degree oven for five minutes to drive off surface moisture. For uneven browning, ensure you are not using a pot with a thin bottom that creates hot spots. A high-quality saucier is your best defense against scorched, discolored grains.
THE DEEP DIVE
Macro Nutrition Profile:
Wild rice is a nutritional powerhouse. A single cooked cup provides approximately 160 calories, 6.5 grams of protein, and 3 grams of fiber. It is significantly higher in protein than most other whole grains and contains essential minerals like magnesium, phosphorus, and zinc. Its low glycemic index makes it an excellent choice for sustained energy.
Dietary Swaps:
- Vegan: Use high-quality extra virgin olive oil or avocado oil instead of butter.
- Keto: Wild rice is not keto-friendly due to its carbohydrate content; however, it can be used in small quantities as a "garnish" for flavor.
- GF: Naturally gluten-free, but always check for cross-contamination labels if you have Celiac disease.
Meal Prep & Reheating Science:
Wild rice holds its molecular structure better than almost any other grain. To reheat, add a tablespoon of water or stock per cup of rice and microwave covered, or sauté in a pan with a lid. The starch in wild rice undergoes retrogradation slowly, meaning it stays "fresh" in the refrigerator for up to five days without becoming excessively hard.
THE KITCHEN TABLE
Why is my wild rice still crunchy after an hour?
You likely have old grain or "hard" water. Try adding a pinch of baking soda to the water next time to soften the hull, or pre-soak the rice overnight to jumpstart the Wild Rice Hydration process.
Can I cook wild rice in a rice cooker?
Yes, but use the "Brown Rice" setting. The standard "White Rice" cycle is too short to penetrate the tough pericarp. Ensure you use a 1:3 rice-to-water ratio for the best results in an automated cooker.
What is the best liquid for boiling?
While water works, a savory vegetable or chicken bone broth adds significant depth. The rice will infuse with the flavors of the liquid, creating a more piquant and complex flavor profile than plain water ever could.
Should I salt the water at the beginning?
Absolutely. Salting at the start allows the seasoning to penetrate the grain as it hydrates. If you salt only at the end, the exterior will taste salty while the interior remains bland and unseasoned.