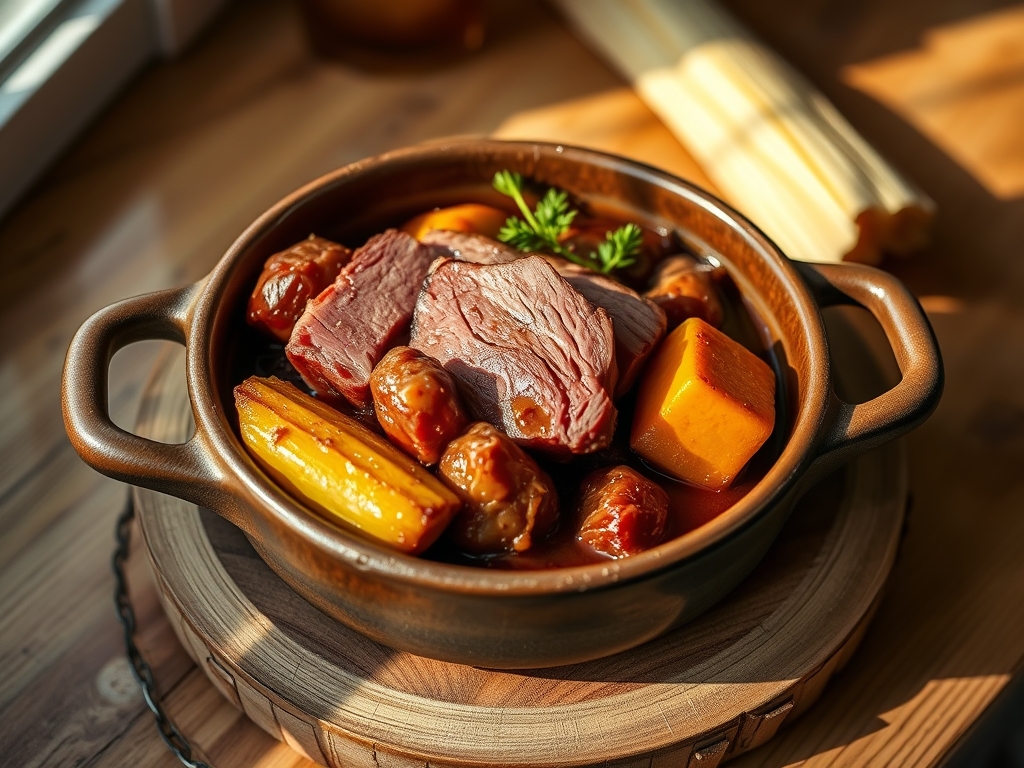
Forget the timid cuts of steak or the predictable chicken breast; we are entering the realm of anatomical architecture where the muscle is dense and the connective tissue is legendary. We are talking about the Beef Tongue Boil. To the uninitiated, this looks like a daunting slab of prehistoric protein. To the culinary auditor, it is a treasure chest of collagen waiting to be liquidated into silk. This is not a quick sear. This is a high stakes thermal intervention. You are dealing with a muscle that has spent a lifetime in constant motion, resulting in a grain so tight it requires a full scale molecular assault to break down. When done correctly, the result is a rich, buttery yield that puts the finest wagyu to shame. If you fail, you are left with a rubbery, unyielding tire. We do not accept failure in this kitchen. We optimize for tenderness. We calibrate for flavor. We execute the perfect boil with the precision of a laboratory technician and the soul of a chef.
THE DATA MATRIX
| Metric | Specification |
|---|---|
| Prep Time | 30 Minutes |
| Execution Time | 3.5 to 4 Hours |
| Yield | 6 to 8 Servings |
| Complexity (1-10) | 7 (Precision dependent) |
| Estimated Cost per Serving | $4.50 – $6.00 |
THE GATHERS
Ingredient Protocol:
- 1.5kg / 3.3lbs Fresh Beef Tongue
- 2.5L / 10.5 cups Filtered Water
- 150g / 1 large White Onion, quartered
- 100g / 2 medium Carrots, rough chop
- 75g / 3 stalks Celery, sliced
- 6 cloves Garlic, smashed
- 15g / 1 tbsp Black Peppercorns
- 30g / 2 tbsp Kosher Salt
- 2 large Bay Leaves
- 15ml / 1 tbsp Apple Cider Vinegar
Section A: Ingredient Quality Audit:
If your raw material arrives with a greyish hue or a slick, slimy film, the audit is failed before it begins. Freshness is non-negotiable. If the tongue has been frozen and thawed improperly, the cellular walls may have ruptured, leading to a "mushy" final texture. To fix a slightly older (but safe) specimen, increase the acidity in your poaching liquid. Use 30ml / 2 tbsp of vinegar instead of 15ml to help tighten the surface proteins. If your aromatics are wilted, do not just toss them in; sear them in a dry pan first to render their essential oils and infuse the liquid with deeper char notes.
THE MASTERCLASS
1. The Pre-Boil Sanitation Scan
Scrub the tongue under cold running water. Use a stiff kitchen brush to remove any surface impurities. Place the tongue in a large saucier or stockpot and cover with cold water. Bring to a rapid boil for ten minutes, then discard that water entirely.
Pro Tip: This initial "blanch and purge" removes excess blood and surface proteins that cause cloudy, bitter foam. A professional bench scraper can be used to clear any stubborn debris from your workstation after this stage.
2. The Thermal Calibration
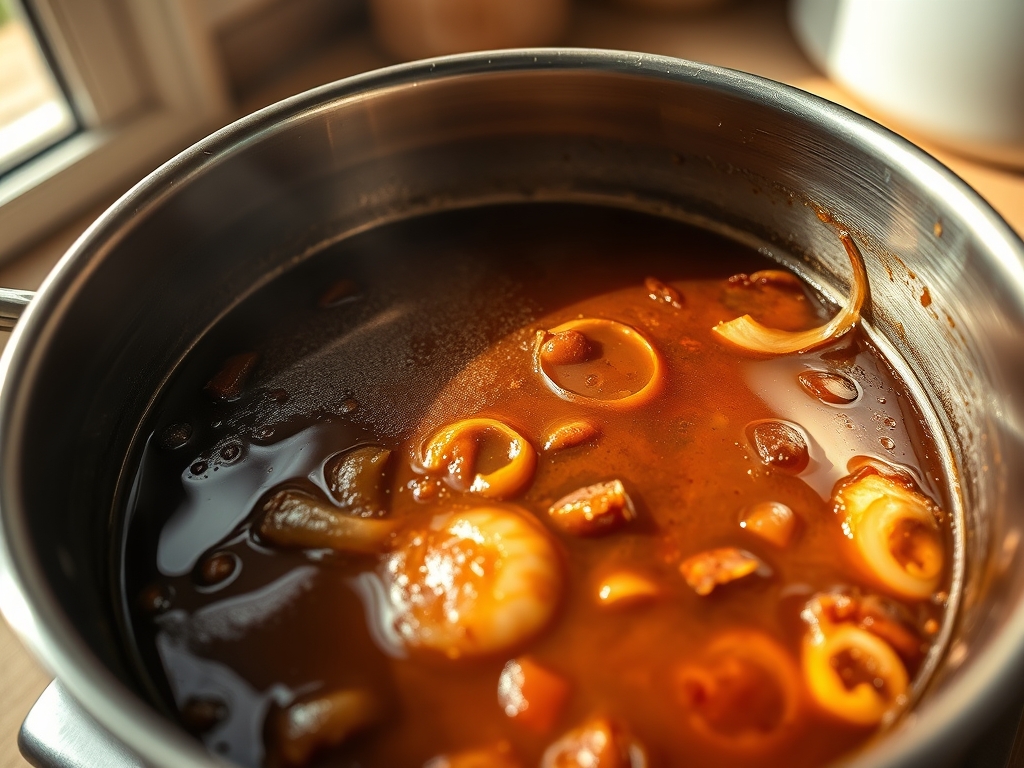
Refill the pot with your 2.5L of filtered water and add your aromatics, salt, and peppercorns. Bring the liquid to a gentle simmer (approximately 90C / 195F). Do not let it reach a rolling boil.
Pro Tip: Use a digital scale to measure your salt precisely; a 1.2 percent salinity in the poaching liquid ensures the salt penetrates the center of the dense muscle via osmosis.
3. The Long Phase Hydrolysis
Cover the pot with a tight fitting lid to prevent evaporation. Maintain the simmer for 3 to 4 hours. You are looking for "fork tender" status, where a probe slides in with zero resistance.
Pro Tip: This is where connective tissue hydrolysis occurs. Collagen transforms into gelatin at sustained temperatures between 70C and 85C. Using a heavy bottomed pot ensures even heat distribution and prevents hot spots.
4. The Peeling Operation
Once tender, remove the tongue and immediately plunge it into an ice bath for 60 seconds. While still warm, use your fingers or a paring knife to peel away the thick, leathery outer skin.
Pro Tip: If you let the tongue cool completely before peeling, the skin will bond back to the meat, making removal nearly impossible without shredding the precious muscle underneath.
5. The Final Slicing Logic
Once peeled, return the tongue to the warm poaching liquid to rest for 20 minutes. This allows the fibers to reabsorb some of the viscous broth. Slice against the grain into 5mm rounds.
Pro Tip: Use a long, sharp carving knife. Slicing against the grain shortens the muscle fibers, which maximizes the perceived tenderness on the palate.
Section B: Prep & Timing Fault-Lines:
The most common failure in a Beef Tongue Boil is the "Internal Rawness" error. If you pull the meat too early, the center will be tough and rubbery. If the water boils too vigorously, the exterior will become stringy while the interior remains hard. Use a digital probe thermometer to verify an internal temperature of at least 90C (194F). If your timing is off and guests arrive early, do not crank the heat; instead, slice the tongue thinner to compensate for any remaining structural integrity.
THE VISUAL SPECTRUM
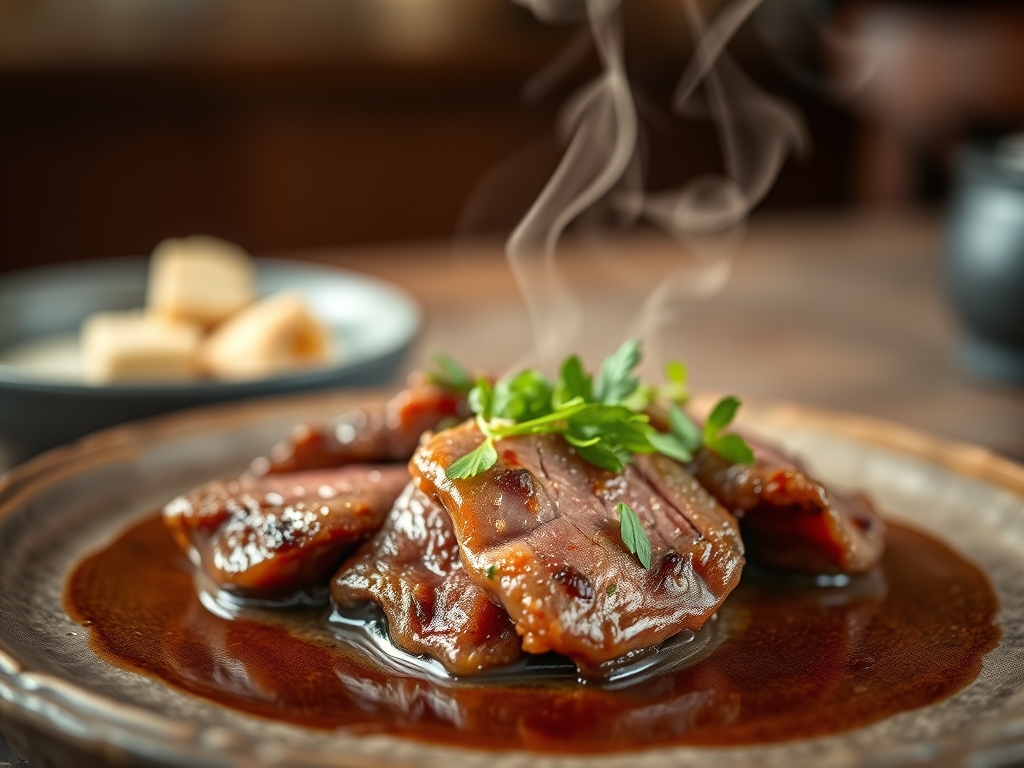
Section C: Thermal & Visual Troubleshooting:
Referencing the Masterclass photo, your final product should exhibit a soft, pinkish grey interior with a glistening, moist surface. If the meat looks dull or "chalky," it has likely oxidized or dried out. To fix this, deglaze a pan with a splash of the poaching liquid and a knob of butter, then toss the slices to create a piquant glaze. If the browning is uneven during a secondary sear, ensure your pan is high carbon steel or cast iron for superior heat retention. If the texture feels "grainy," the simmer was likely too hot, causing the proteins to tighten and squeeze out their moisture.
THE DEEP DIVE
- Macro Nutrition Profile: Beef tongue is a caloric powerhouse, high in monounsaturated fats and zinc. A 100g serving provides roughly 15g of protein and 19g of fat. It is an elite choice for those seeking nutrient density.
- Dietary Swaps:
- Vegan: Substitute with large "King Oyster" mushrooms poached in a kombu and soy broth to mimic the texture.
- Keto/GF: The standard boil is naturally Keto and Gluten Free. Avoid adding flour based thickeners to the resulting broth.
- Meal Prep & Reheating Science: To maintain the molecular structure, store the sliced tongue submerged in its own poaching liquid. When reheating, use a low temperature water bath (sous vide) or a covered pan on low heat. Avoid the microwave, as it causes rapid protein coagulation, turning your tender masterpiece into leather.
THE KITCHEN TABLE
How do I know if the tongue is done without a thermometer?
Perform the "Skewer Test." Insert a metal skewer into the thickest part of the muscle. If it slides out with absolutely no resistance, the collagen has successfully converted to gelatin.
Why is my poaching liquid so cloudy?
You likely skipped the "purge" step or allowed the liquid to reach a rolling boil. Boiling agitates fats and proteins, creating an emulsion that clouds the water. Keep it at a gentle simmer.
Can I save the leftover broth?
Absolutely. That liquid is liquid gold, packed with dissolved gelatin and aromatics. Strain it through a fine mesh sieve and use it as a base for a high protein ramen or a rich demi-glace.
Is it necessary to peel the skin?
Yes. The outer membrane is structurally unpalatable and has a sandpaper like texture. It must be removed entirely after the boil to reveal the tender meat beneath.
Can I cook this in a pressure cooker?
Yes, you can reduce the time to 60 to 90 minutes. However, the rapid depressurization can sometimes cause the meat to dry out. A slow, traditional simmer yields the most consistent texture.