Listen up, kitchen operatives. We are moving beyond the realm of casual breakfast and into the high-stakes world of structural avian protein. You think you know how to boil an egg? You are likely wrong. Most of you are out there producing sulfurous, rubbery spheres that resemble bouncy balls more than gourmet fuel. This is the Hard Boiled Egg Audit; a rigorous examination of the thermal dynamics required to transform a fragile, viscous liquid into a perfectly set, creamy-centered masterpiece. We are hunting for that precise moment where the proteins denature without descending into a chalky, gray-ringed nightmare. We want a yolk that glows like a sunset and whites that possess the structural integrity of a high-end silicone mold without the chewiness of a radial tire. This is about precision, timing, and the ruthless elimination of mediocrity. If you cannot master the basic infrastructure of a boiled egg, you have no business wielding a chef's knife in a professional theater. Let us begin the audit.
THE DATA MATRIX
| Metric | Specification |
|---|---|
| Prep Time | 2 Minutes |
| Execution Time | 12 Minutes |
| Yield | 6 Servings |
| Complexity (1-10) | 3 |
| Estimated Cost per Serving | $0.25 |
THE GATHERS
Ingredient Protocol:
- 6 Large Grade A Eggs (approx. 340g / 12 oz)
- 2 Liters Water / 8.5 Cups
- 30g Kosher Salt / 2 Tablespoons
- 500g Ice Cubes / 4 Cups (for the thermal shock bath)
Section A: Ingredient Quality Audit:
The primary failure point in any avian protein infrastructure is the age of the raw material. Fresh eggs possess a lower pH level, which causes the inner shell membrane to bond aggressively to the albumen. If you find your shells are tearing chunks out of the whites during peeling, your eggs are too fresh. The technical fix is controlled aging; let your eggs sit in the refrigerator for at least seven days before the audit. If you are forced to use farm-fresh stock, add 5ml of baking soda to the water to increase alkalinity, which helps weaken that stubborn membrane bond. Furthermore, check for micro-fractures in the shell. Any compromise in the calcium carbonate structure will lead to a blowout during the rapid expansion phase of heating.
THE MASTERCLASS
1. Thermal Priming and Vessel Selection
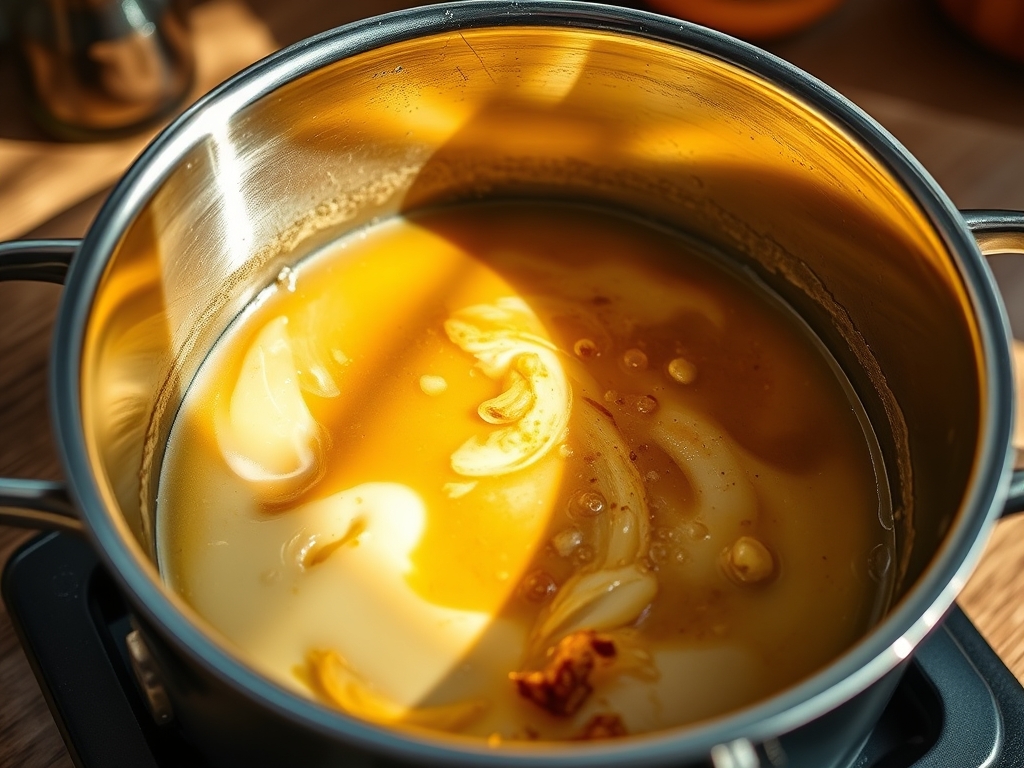
Fill a heavy-bottomed saucier or 3-quart pot with enough water to submerge the eggs by at least two centimeters. Bring this to a rolling, aggressive boil. Do not place the eggs in cold water. Starting with cold water allows the proteins to fuse slowly to the shell membrane, making them impossible to peel. We require a "hot start" to shock the exterior proteins into immediate coagulation.
Pro Tip: Use a digital scale to ensure your salt-to-water ratio is precise. Salinity does not just season; it increases the density of the water, which can subtly influence the rate of heat transfer through the shell.
2. The Controlled Descent
Lower the heat to a simmer so the eggs do not crack upon impact. Use a slotted spoon or a wire spider to gently lower each egg into the water. Once all units are deployed, return the heat to a medium-high setting to maintain a steady, gentle boil. This prevents the eggs from bouncing against the stainless steel walls and fracturing their delicate protective housing.
Pro Tip: Professional kitchens use a bench scraper to keep the workstation clear of stray salt or moisture during this phase, ensuring total environmental control.
3. The Chronometric Countdown
Set your timer for exactly 11 minutes for a standard hard-set yolk. If you prefer a "jammy" or more viscous center, aim for 7 to 8 minutes. During this window, the heat energy penetrates the shell, causing the proteins to uncoil and link up. If you exceed 12 minutes, you trigger the "sulfur iron equilibrium" where the iron in the yolk reacts with hydrogen sulfide in the white, creating that hideous green ring.
Pro Tip: Use a high-quality digital timer. Mechanical timers are prone to variance that can ruin the delicate molecular transition of the yolk.
4. The Cryogenic Shock
While the eggs are under thermal load, prepare a large bowl with equal parts cold water and ice. This is the "Kill Bath." As soon as the timer expires, move the eggs immediately from the boiling water into the ice. This stops the carry-over cooking instantly, locking in the color and preventing the yolk from over-curing.
Pro Tip: A spider strainer is the superior tool here for rapid transit; it allows for maximum drainage so you do not dilute your ice bath with hot process water.
5. The Structural Deconstruction
Allow the eggs to rest in the ice bath for at least 10 minutes. The cold causes the egg to contract slightly inside the shell, creating a microscopic air gap. Gently crack the shell all over by tapping it on a flat surface. Peel the eggs under a thin stream of cool running water. The water acts as a lubricant, helping the shell slide off in large, satisfying sections.
Pro Tip: If the shell is sticking, use the side of a teaspoon to slide between the white and the membrane to infuse the space with water and release the bond.
Section B: Prep & Timing Fault-Lines:
The most common human error is the "Cold Start" fallacy. When you start with cold water, you lose control over the exact duration of the cook because every stove reaches a boil at a different speed. This leads to inconsistent results. Another fault-line is overcrowding the vessel. If you pack too many eggs into a small pot, the water temperature drops too sharply upon immersion, dragging the eggs through a "danger zone" of slow coagulation that ruins the texture. Always ensure your vessel has enough thermal mass to recover its boil within 60 seconds of egg deployment.
THE VISUAL SPECTRUM
Section C: Thermal & Visual Troubleshooting:
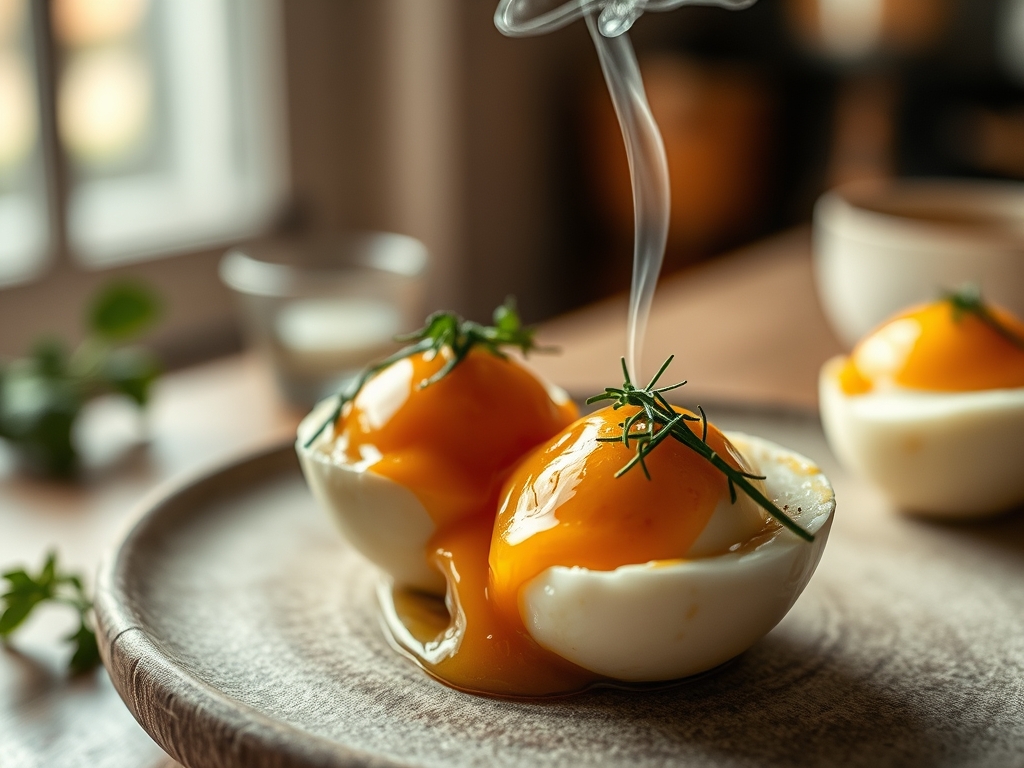
Look closely at the Masterclass photo. You will notice the whites are opaque and matte, not shiny or translucent. Translucence indicates under-cooking and a failure to fully render the proteins into a solid state. If you see a green or gray perimeter around the yolk, your timing was too long or your cooling was too slow. The yolk should be a uniform, vibrant yellow from edge to center. If the yolk is off-center, it means the eggs were stored on their sides for too long; store them large-end up to keep the yolk suspended in the center of the albumen. A dimple at the bottom of the egg is normal; it is the air cell, but a massive crater indicates an older egg that has lost significant moisture.
THE DEEP DIVE
From a macro perspective, the hard-boiled egg is a metabolic powerhouse. A single large unit provides roughly 6g of high-biological-value protein and 5g of healthy fats. It is the ultimate keto and gluten-free fuel. For vegan operatives, there is no direct structural equivalent that replicates the sulfur-iron profile, though "tofu eggs" seasoned with black salt (kala namak) can mimic the piquant aroma.
When it comes to meal prep, do not peel the eggs until you are ready to consume them. The shell acts as a pressurized, sterile environment that maintains the molecular structure of the white. Once peeled, the proteins begin to dehydrate and the surface will become rubbery. If you must reheat, do not use a microwave; the rapid agitation of water molecules will cause the egg to explode. Instead, soak the peeled egg in hot (not boiling) water for 5 minutes to gently bring it to service temperature.
THE KITCHEN TABLE
Why is my yolk green?
The green ring is a chemical reaction between sulfur in the whites and iron in the yolk. It occurs when the egg is overcooked or cooled too slowly. Stick to the 11-minute rule and use an ice bath.
How do I make them easier to peel?
Use eggs that are at least one week old and always start them in boiling water. The "thermal shock" prevents the membrane from fusing to the white, making the shell slide off effortlessly.
Can I cook eggs in an air fryer?
You can, but the heat distribution is less uniform than water. For a true infrastructure audit, water is the only medium that ensures 360-degree thermal consistency. Stick to the saucier for professional results.
How long do they last in the fridge?
Unpeeled hard-boiled eggs will maintain their structural integrity for up to seven days. Once peeled, they should be consumed within 24 hours to avoid a rubbery exterior and flavor degradation.