Listen to that sound. It is not a crunch; it is a structural failure of a pressurized cellulose wall. When you execute Blanched Snow Peas with surgical precision, you are not just cooking a legume. You are managing a hydraulic system. The goal is to arrest the enzymatic decay of chlorophyll while simultaneously softening the fibrous "string" that runs the length of the pod. Most home cooks treat blanching like a warm bath. That is a tactical error. This is a high-stakes thermal shock operation. We are looking for that neon, radioactive green that screams freshness and a texture that offers a defiant snap before surrendering to a sweet, vegetal interior. If your peas look like olive-drab curtains or feel like wet cardboard, your culinary infrastructure has collapsed. We are here to rebuild it. We are going to harness the power of boiling point elevation and rapid cryo-stabilization to ensure every single pod is a masterpiece of crunchy, vibrant engineering. Prepare for impact.
THE DATA MATRIX
| Metric | Specification |
|---|---|
| Prep Time | 10 Minutes |
| Execution Time | 2 Minutes |
| Yield | 4 Servings |
| Complexity (1-10) | 3 |
| Estimated Cost per Serving | $1.25 |
THE GATHERS
Ingredient Protocol:
- 500g / 1.1 lbs Fresh Snow Peas (trimmed)
- 4L / 1.05 Gallons Filtered Water
- 60g / 4 tbsp Kosher Salt (for the blanching liquor)
- 15ml / 1 tbsp Extra Virgin Olive Oil or Neutral Oil
- 2g / 0.5 tsp Flaky Sea Salt (for finishing)
- 2000g / 4.5 lbs Ice Cubes (for the shock bath)
Section A: Ingredient Quality Audit:
The primary failure point in this workflow is the raw material. If your snow peas are limp or display "pitting" (small brown depressions), the cellular structure is already compromised. You cannot infuse life back into a dying pod. To test for viability, bend a pod; it should resist and eventually snap cleanly. If it folds like a piece of felt, it is destined for the compost bin. Another common issue is "over-maturation," where the internal peas have grown too large, stretching the pod and making it tough. The technical fix for slightly older peas is a 30-second increase in blanching time combined with a more aggressive salt concentration in the water to help break down the toughened hemicellulose.
THE MASTERCLASS
Step-by-Step Execution:
1. The Hydraulic Preparation
Before the heat hits, you must de-string the pods. Use a small paring knife or a bench scraper to nick the stem end and pull the fibrous thread down the length of the pod. This is non-negotiable. If left intact, this fiber acts like a steel cable, ruining the mouthfeel.
Pro Tip: Use a digital scale to measure your salt. You want a 1.5 percent salinity in your blanching water. This high salt concentration prevents the natural sugars and minerals in the peas from leaching out into the water via osmosis.
2. The Thermal Saturation
Bring your water to a rolling, violent boil in a large saucier or stockpot. Do not crowd the pot. If the water temperature drops significantly when you add the peas, you are steaming them, not blanching them. Drop the peas in all at once.
Pro Tip: The science here is "Enzymatic Inactivation." Rapid heating destroys the enzymes responsible for browning and flavor loss. A large volume of water ensures the temperature recovers in under 15 seconds.
3. The 90-Second Window
Set a timer. For standard Blanched Snow Peas, the sweet spot is between 60 and 90 seconds. You are looking for the moment the color shifts from dull green to a vibrant, electric emerald.
Pro Tip: The chlorophyll molecule contains a magnesium atom. If you cook the peas too long, hydrogen replaces the magnesium, turning the peas a dull grey-brown. Precision timing is the only defense against this chemical transition.
4. The Cryo-Shock
Immediately remove the peas using a spider strainer and plunge them into a pre-prepared "Ice Bath" (50/50 ice and water). They must stay here until they are cold to the core. If they are even slightly warm, the internal residual heat will continue to cook the starch, leading to a mushy texture.
Pro Tip: This process is known as "thermal shocking." It halts the cooking process instantly, locking the vibrant green color and the snapped texture into place.
5. The Surface Desiccation and Finish
Remove the peas from the ice bath and dry them thoroughly on a clean lint-free towel. Water is the enemy of flavor. Once dry, toss them in a bowl with a light coating of oil to render a glossy sheen and sprinkle with flaky salt.
Pro Tip: Drying the peas allows the oil to adhere to the surface rather than sliding off. This creates a lipid barrier that prevents the peas from drying out if they sit for a few minutes before service.
Section B: Prep & Timing Fault-Lines:
The most common human error is the "Slow Recovery." This happens when you use too little water for the volume of peas. The water temperature plunges, the boil stops, and the peas sit in tepid water while the stove struggles to bring the pot back to 100 degrees Celsius. This results in a "soggy" exterior and a raw interior. Always use a ratio of at least 4 parts water to 1 part vegetable by weight. Another fault-line is the "Short Shock." If you only leave the peas in the ice bath for ten seconds, the exterior cools but the core remains at 90 degrees. Once you plate them, that internal heat migrates outward, turning your crisp peas into limp disappointments within minutes.
THE VISUAL SPECTRUM
Section C: Thermal & Visual Troubleshooting:
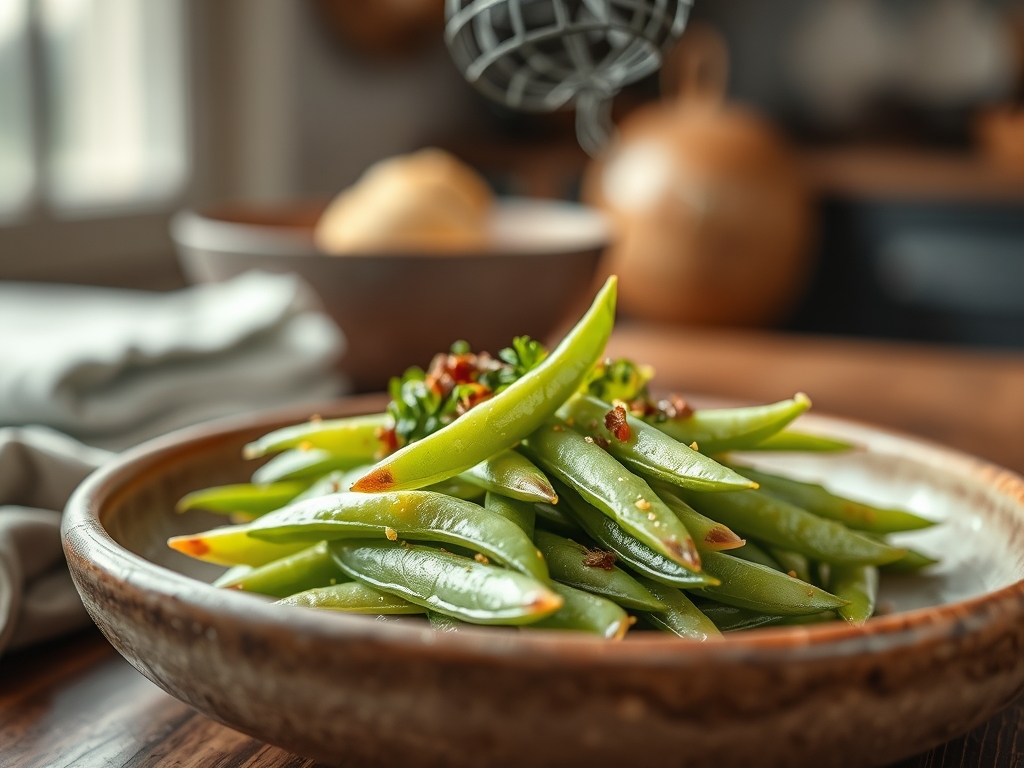
Referencing the Masterclass photo, you should see a consistent, high-gloss finish with no visible shriveling. If your peas look "wrinkled," you have overcooked them, causing the internal moisture to evaporate and the skin to collapse. If the color is dull or "mossy," your water was likely not salty enough or your blanching time exceeded two minutes. If you see uneven browning, this is not a result of blanching but likely happened during storage; the pods suffered from "chilling injury" in a refrigerator that was too cold. To fix dull colors after the fact, a quick toss in a viscous glaze made of honey and lemon juice can provide an artificial sheen, but it will not fix the underlying structural failure.
THE DEEP DIVE
Macro Nutrition Profile:
Blanched Snow Peas are a nutritional powerhouse with a low glycemic index. A standard 100g serving contains approximately 42 calories, 7g of carbohydrates, 3g of fiber, and 2.8g of protein. They are exceptionally high in Vitamin C and Vitamin K, provided the blanching time is kept under two minutes to prevent vitamin leaching.
Dietary Swaps:
- Vegan: Already compliant. Ensure the finishing fat is plant-based.
- Keto: High fiber makes these excellent for low-carb protocols. Swap the finishing oil for browned butter to infuse a nutty flavor profile.
- GF: Naturally gluten-free. Ensure no cross-contamination if using pre-packaged seasonings.
Meal Prep & Reheating Science:
To maintain molecular structure when reheating, avoid the microwave. The microwave agitates water molecules, which can rupture the cell walls you worked so hard to preserve. Instead, flash-saute the cold peas in a hot pan for 30 seconds or dip them back into boiling water for 10 seconds. This restores the temperature without compromising the snap.
THE KITCHEN TABLE
Why are my snow peas stringy even after cooking?
You failed the de-stringing protocol. The lateral fiber is made of lignin, which does not break down at standard boiling temperatures. You must manually remove it before the peas enter the water.
Can I blanch these without an ice bath?
Technically yes, but you will fail the quality audit. Without a rapid shock, the residual heat continues to cook the peas, destroying the vibrant color and crisp texture within seconds of removal.
What is the best way to season blanched peas?
Keep it simple. A high-quality lipid like olive oil or butter combined with flaky sea salt is best. You can deglaze a pan with a splash of lemon juice for a piquant finish.
How long do these stay fresh in the fridge?
Properly blanched and shocked snow peas will maintain their structural integrity for 3 to 4 days in an airtight container. Ensure they are bone-dry before storing to prevent bacterial growth.