Steam rises in a violent, sugar-choked plume that smells like the very soul of a hardwood forest. This is not a casual weekend hobby; it is a high-stakes battle against thermodynamics. When you engage in a Maple Syrup Boil, you are participating in a massive reduction event where forty gallons of translucent, watery sap are sacrificed to produce a single gallon of liquid gold. The air in the sugar shack becomes thick and heavy with humidity as the water molecules escape, leaving behind a concentrated solution of sucrose, glucose, and minerals. You are looking for that precise moment when the liquid transforms from a thin wash into a viscous, amber elixir that clings to the back of a spoon. The chemistry is brutal and unforgiving. One minute of inattention can turn a masterpiece into a scorched, carbonized disaster. We are here to audit your infrastructure, streamline your thermal output, and ensure your sugar-to-sap ratios are mathematically perfect. Let us begin the reduction.
THE DATA MATRIX
| Metric | Specification |
|---|---|
| Prep Time | 2 Hours (Collection & Filtering) |
| Execution Time | 12 to 18 Hours (Volume Dependent) |
| Yield | 1 Gallon per 40 Gallons of Sap |
| Complexity (1-10) | 8 (Thermal Management Intensive) |
| Estimated Cost per Serving | $1.25 |
THE GATHERS
Ingredient Protocol:
- 40 Gallons / 151.4 Liters Raw Maple Sap (Freshly harvested)
- 5 ml / 1 tsp Neutral Vegetable Oil or Butter (As a defoamer)
- 100 ml / 0.4 cup Filtered Water (For hydrometer calibration)
- 10 grams / 0.35 oz Diatomaceous Earth (Optional food-grade filtering agent)
Section A: Ingredient Quality Audit:
The primary failure point in any Maple Syrup Boil is the quality of the raw sap. If your sap has been sitting in a warm bucket for more than twenty-four hours, it will begin to ferment. This microbial activity converts sucrose into invert sugars, which leads to an excessively dark, "buddy" flavor profile that tastes more like yeast than forest. To fix this, ensure your storage tanks are kept packed in snow or refrigerated below 38 degrees Fahrenheit. If the sap appears cloudy, it is already compromised. Another technical hurdle is the presence of "sugar sand" or calcium malate. This grit forms during the boil and can ruin the mouthfeel. Always utilize a high-micron felt filter pre-warmed with hot water to ensure the minerals are trapped before the final bottling phase.
THE MASTERCLASS
1. The Initial Evaporation Phase
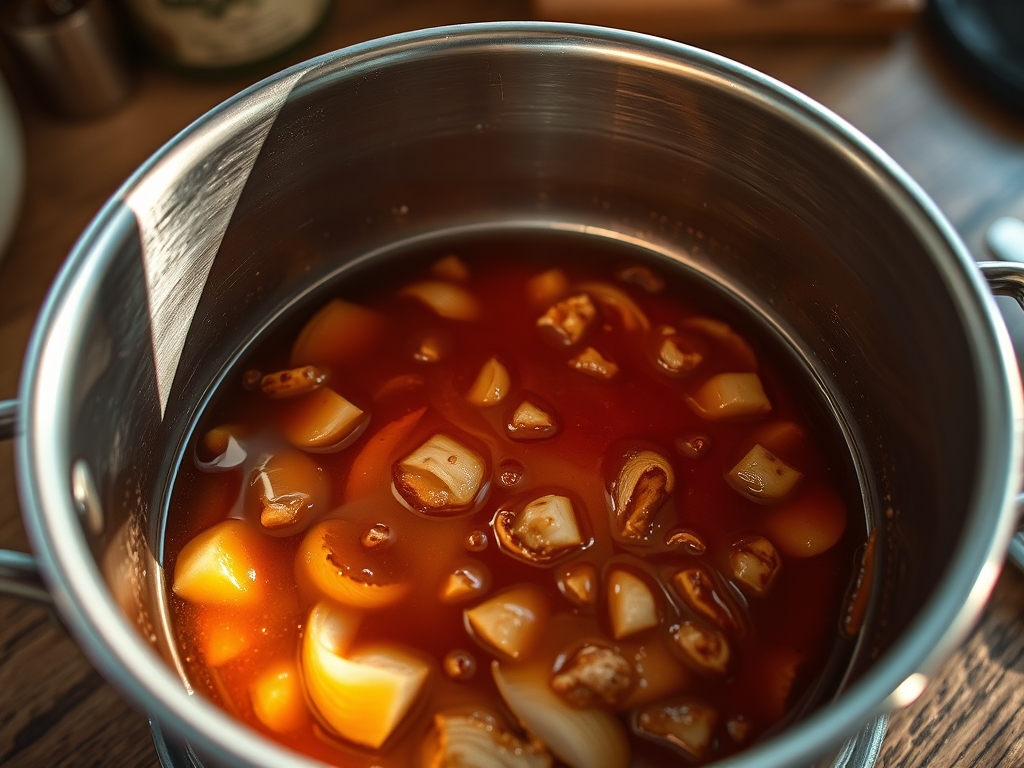
Fill your evaporator pan or a wide-bottomed stainless steel saucier with raw sap, maintaining a depth of at least two inches. Apply maximum BTUs to achieve a rolling, aggressive boil. As the water evaporates, the liquid will transition from clear to a pale straw yellow.
Pro Tip: Use a wide surface area vessel to increase the rate of evaporation. The science here is simple: more surface area allows more water molecules to escape simultaneously, preventing the sugars from over-cooking and darkening too early in the process.
2. Managing the Foam Infrastructure
As the sap concentrates, proteins and impurities will rise to the surface in a thick, tan foam. This foam can easily boil over, creating a massive mess and wasting your precious yield. Add a drop of oil or a small pat of butter to break the surface tension.
Pro Tip: This is a lesson in fluid dynamics. The lipids in the oil disrupt the stability of the protein bubbles, causing them to collapse instantly. Use a digital scale to measure your defoamer if you are working with smaller batches to avoid an oily aftertaste.
3. The Finishing Reduction
Once the sap reaches a temperature of approximately 216 degrees Fahrenheit, transfer it to a smaller, more controlled finishing pan. This allows for precision heat management. You are aiming for exactly 7 degrees Fahrenheit above the boiling point of water at your specific elevation.
Pro Tip: Use a high-precision digital thermometer rather than an analog dial. At this stage, the syrup is highly sensitive to the Maillard reaction. Even a one-degree overshoot can lead to crystallization or a burnt, bitter profile.
4. Density Verification and Filtration
Check the density using a Murphy compensation cup and a hydrometer. The syrup should read 66 to 67 degrees on the Brix scale. While the syrup is still piping hot, pour it through a heavy-duty felt filter to remove any remaining niter or sugar sand.
Pro Tip: If the syrup is too thick, it will crystallize in the jar; if it is too thin, it will mold. Use a bench scraper to clean any spills on your workstation immediately, as cooled syrup acts like industrial-grade epoxy.
Section B: Prep & Timing Fault-Lines:
The most common human error is the "Flash Over." This occurs when the liquid level in the pan drops too low while the heat remains high, causing the sugar to scorch instantly. To prevent this, implement a continuous-feed system where cold sap is trickled into the boiling pan at the same rate as evaporation. This maintains a steady thermal mass. Another timing error is pulling the syrup off the heat too early because of "steam fatigue." If you do not verify the Brix level with a hydrometer, you are guessing, and guessing is the enemy of infrastructure.
THE VISUAL SPECTRUM
Section C: Thermal & Visual Troubleshooting:
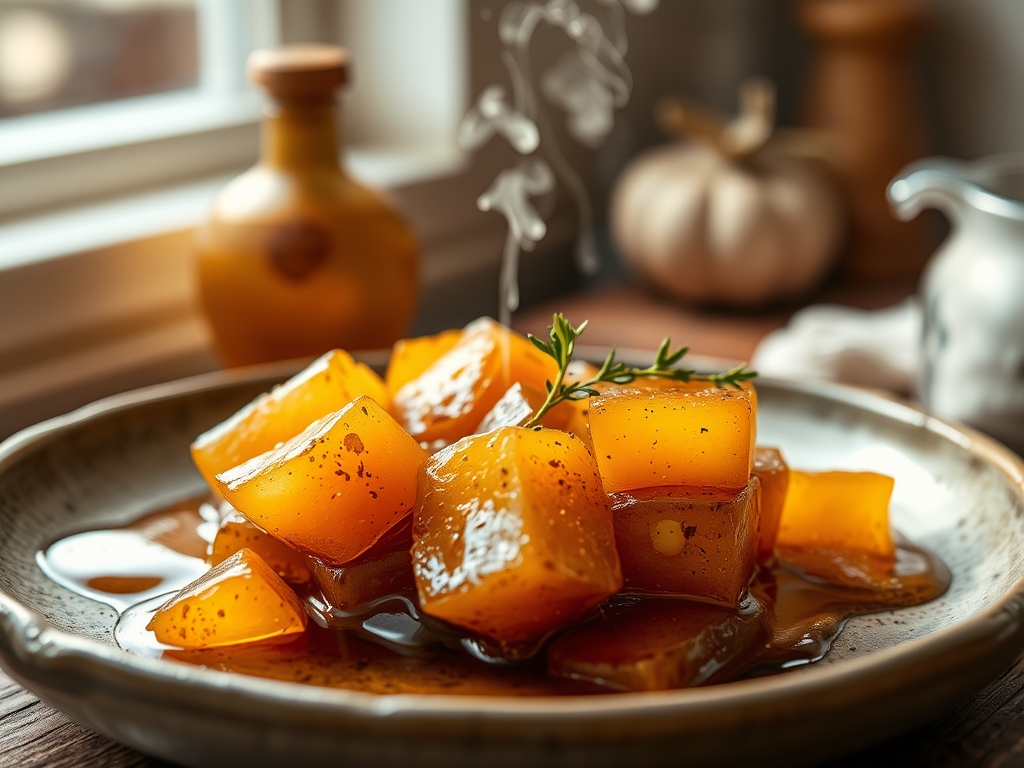
In the Masterclass photo, you will notice the syrup possesses a deep, translucent amber hue with a brilliant clarity. If your syrup looks cloudy, your filtration was insufficient or performed at too low a temperature. If the color is an opaque, muddy brown, you likely had an uneven heat distribution which caused localized scorching. To fix uneven browning, ensure your heat source is centered and the pan is perfectly level. If the syrup appears "thin" visually despite reaching the correct temperature, you may have "false boiling" caused by high mineral content; always trust the hydrometer over the bubble size.
THE DEEP DIVE
Macro Nutrition Profile:
Maple syrup is a concentrated carbohydrate source. A standard 60ml serving contains approximately 216 calories, 53 grams of sugar, and zero fat. However, it is a powerhouse of manganese and riboflavin, providing essential minerals that refined sugars lack.
Dietary Swaps:
- Vegan: Naturally vegan, though ensure your defoamer is vegetable-based rather than butter.
- Keto: There is no direct keto swap for a maple boil, as the entire process is built on sugar concentration. Allulose can be infused with maple extract for a similar flavor profile.
- GF: Naturally gluten-free.
Meal Prep & Reheating Science:
To maintain the molecular structure and prevent crystallization during storage, bottle the syrup at exactly 185 degrees Fahrenheit. This temperature is high enough to kill any latent bacteria or mold spores but low enough to prevent further sugar breakdown. Store in a cool, dark place. If crystals form over time, gently reheat the jar in a water bath to redissolve the sucrose into the solution.
THE KITCHEN TABLE
Why is my syrup gritty?
That grit is "sugar sand," a buildup of concentrated minerals like calcium. It occurs naturally during the boil. To fix it, you must filter the syrup through a heavy-duty felt or synthetic filter while the liquid is still hot.
Can I boil sap on my kitchen stove?
Technically yes, but the massive volume of steam can peel wallpaper and cause mold. For a full 40-gallon boil, an outdoor evaporator or a high-BTU propane burner in a well-ventilated area is the professional standard.
How do I know when it is done without a thermometer?
Look for the "aproning" effect. Dip a cold metal spoon into the boil; if the drops run together and slide off the spoon in a single, wide sheet or "apron," you are approaching the finish line.
My syrup is too dark. What happened?
Dark syrup is usually the result of a slow boil or using old sap. The longer the sugars are exposed to heat, the more they caramelize. For lighter syrup, increase your fire intensity to evaporate the water faster.