Listen up, grease-monkeys and culinary architects. You have been lied to by the cult of the raw-to-fryer purists. They preach the gospel of the cold-start or the double-fry, but they ignore the fundamental structural physics of the avian appendage. If you want a wing that shatters like glass on the surface while the interior remains a succulent, melt-in-your-mouth masterpiece, you must embrace the preliminary thermal bath. We are talking about Boiled Chicken Wings. This is not a retreat into blandness; it is a strategic strike against rubbery skin and stubborn subcutaneous fat. By par-boiling, we initiate the rendering process early, liquefying the collagen and tightening the skin before it ever touches the searing heat of the oil or the convection of the oven. This technical audit will dismantle your preconceived notions and rebuild your wing protocol from the marrow up. We are here to achieve total skin softening and fat evacuation. Prepare for a high-velocity dive into the molecular mechanics of the perfect wing.
THE DATA MATRIX
| Metric | Specification |
|---|---|
| Prep Time | 15 Minutes |
| Execution Time | 35 Minutes |
| Yield | 4 Servings (approx. 24 wings) |
| Complexity | 3 / 10 |
| Estimated Cost per Serving | $4.50 USD |
THE GATHERS
Ingredient Protocol:
- 1.36 kg / 3 lbs Fresh Chicken Wings (flats and drums separated)
- 2.84 liters / 12 cups Filtered Water
- 30g / 2 tbsp Kosher Salt
- 15ml / 1 tbsp Apple Cider Vinegar
- 5g / 1 tsp Black Peppercorns (whole)
- 2 Large Bay Leaves
- 60g / 0.25 cup High-Smoke Point Oil (for finishing)
- 120ml / 0.5 cup Buffalo or Piquant Glaze
Section A: Ingredient Quality Audit:
Sub-par raw materials are the silent killers of the Boiled Chicken Wings protocol. If your wings arrive with a "woody" texture or a gray tint, you are dealing with oxidation or poor freezing practices. Technical Fix: If the skin appears excessively translucent or slimy, perform a quick brine in a 5 percent saline solution for 20 minutes to reset the surface pH. If your aromatics are stale, do not just toss them in; toast the peppercorns in a dry saucier until they aerate and release their essential oils before adding the water. This ensures the flavor will infuse the meat during the simmer rather than just floating uselessly on the surface.
THE MASTERCLASS
Step-by-Step Execution:
1. The Aqueous Calibration
Fill a large saucier or stockpot with your filtered water and add the salt, vinegar, and aromatics. Bring the liquid to a rolling boil. The vinegar is crucial here; it lowers the pH of the water, which helps break down the peptide bonds in the skin collagen without turning the meat into mush.
Pro Tip: Use a digital scale to measure your salt. Volumetric measurements are for amateurs. A precise 1.1 percent salinity in your boiling liquid ensures the osmotic pressure seasons the wing to the bone.
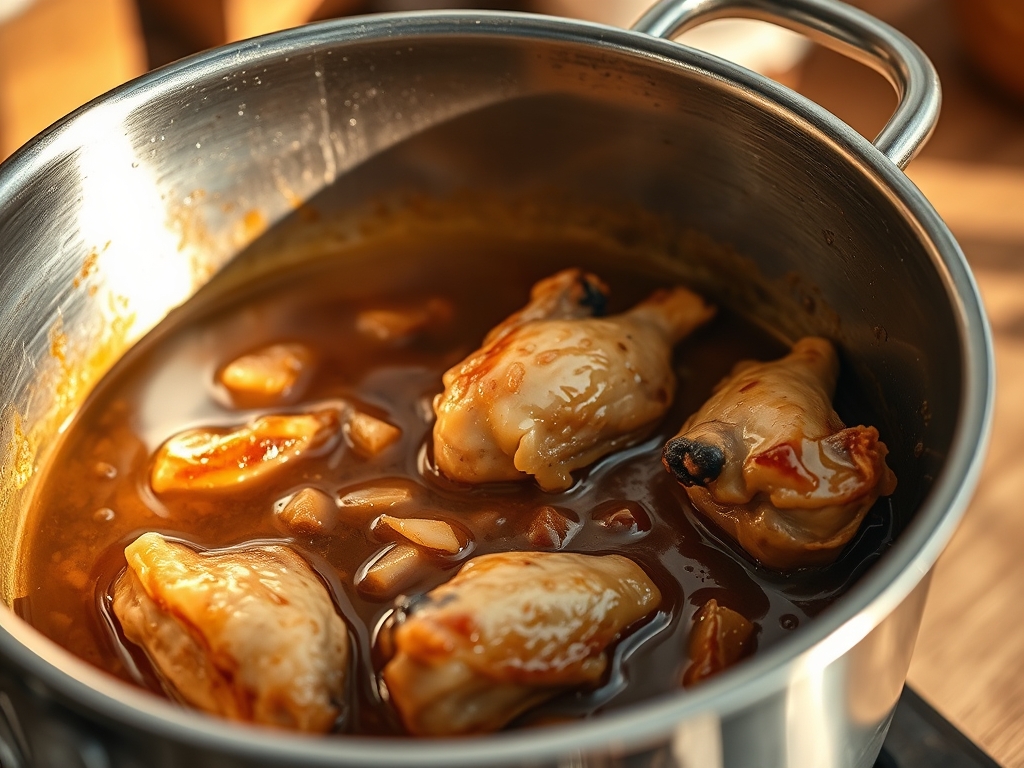
2. The Thermal Shock
Carefully submerge the wings into the boiling liquid. The temperature will drop immediately. Maintain a steady simmer (around 90 degrees Celsius) rather than a violent boil. You want to render the fat slowly so it escapes the skin without toughening the muscle fibers.
Pro Tip: Use a spider skimmer to move the wings. This professional tool allows for maximum drainage and prevents you from splashing boiling, fat-infused water across your workstation.
3. The Desiccation Phase
After 8 to 10 minutes, remove the wings and place them on a wire cooling rack set over a sheet pan. This is the most critical step. You must allow the surface moisture to evaporate completely. A wet wing will never crisp; it will only steam.
Pro Tip: Use a bench scraper to clear any debris from your workspace while the wings air-dry. For an elite finish, aim a high-velocity fan at the wings for 15 minutes to accelerate the skin-tightening process.
4. The Maillard Activation
Once dry, you can flash-fry, air-fry, or roast at high heat (220 degrees Celsius). Because the fat has already been rendered and the skin softened, the exterior will undergo the Maillard reaction with incredible speed, creating a viscous, golden-brown crust.
Pro Tip: Use an infrared thermometer to check the surface temperature of your frying vessel. You are looking for a precise 190 degrees Celsius to ensure the final crunch is instantaneous.
Section B: Prep & Timing Fault-Lines:
The biggest failure in this protocol is the "Over-Boil." If you exceed the 12-minute mark in the water, the connective tissue holding the wing together will dissolve entirely, and your wings will fall apart before they hit the crisping stage. Technical Fix: If you notice the meat pulling back too far from the bone (the "lollipop" effect), immediately plunge the wings into an ice bath for 30 seconds to halt the carry-over cooking. This preserves the structural integrity while keeping the skin prepped for the fryer.
THE VISUAL SPECTRUM
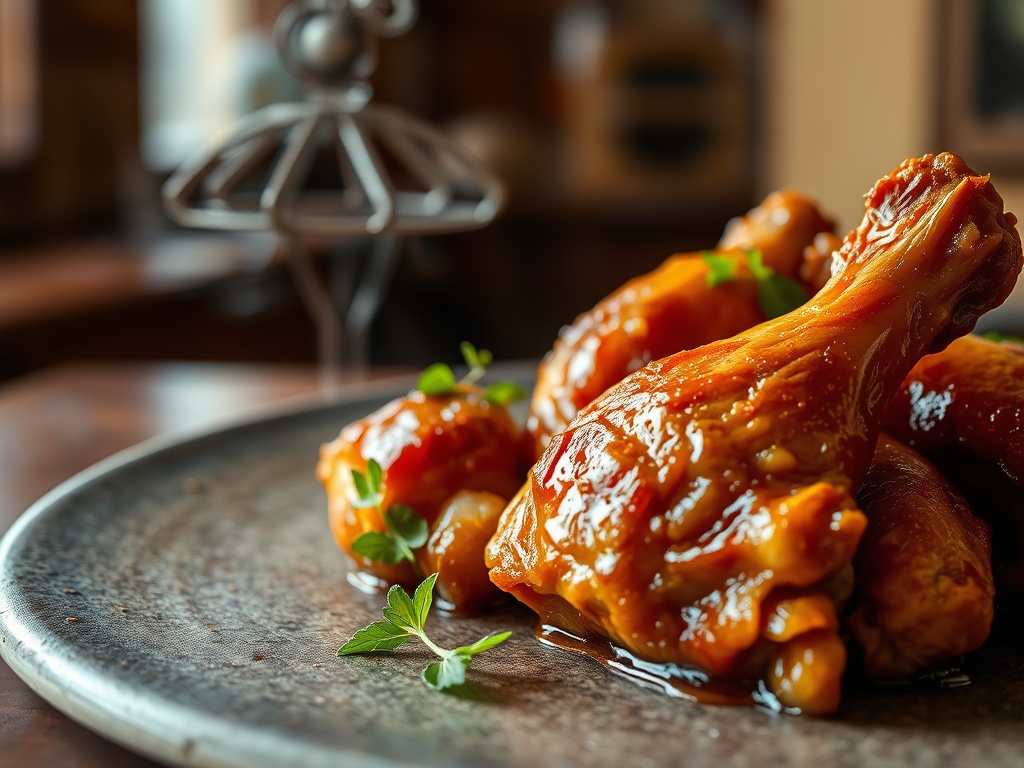
Section C: Thermal & Visual Troubleshooting:
Look at the Masterclass photo above. Notice the uniform, micro-blistered texture of the skin. This is the hallmark of a successful boil-to-fry transition. If your wings look smooth and "tight" like plastic, you did not boil them long enough to break down the surface proteins. If they appear dull or matte, you likely skipped the desiccation phase, and the remaining surface water inhibited the browning. Technical Fix: To fix a dull wing mid-cook, lightly dust them with a pinch of cornstarch or baking powder using a fine-mesh sieve. This will absorb residual moisture and provide the alkaline environment necessary to deglaze the surface and kickstart browning.
THE DEEP DIVE
Macro Nutrition Profile:
A standard serving of these wings (6 pieces) yields approximately 450 calories, 32g of protein, and 35g of fat. By boiling first, you actually reduce the final fat content by roughly 15 to 20 percent compared to traditional deep frying, as much of the saturated fat is left behind in the boiling liquid.
Dietary Swaps:
- Vegan: This protocol is specific to avian collagen. For a plant-based alternative, use cauliflower florets but reduce the boil time to 3 minutes to avoid total cellular collapse.
- Keto/GF: This method is naturally Keto-friendly. Ensure your final glaze does not contain hidden sugars or flours.
Meal Prep & Reheating Science:
To maintain the molecular structure during reheating, avoid the microwave at all costs. The microwave agitates water molecules, which will turn your crisp skin into a soggy, rubbery mess. Instead, use a toaster oven or air fryer at 180 degrees Celsius for 5 minutes. This re-activates the rendered fats within the skin to restore the original crunch.
THE KITCHEN TABLE
Why boil wings instead of just frying them longer?
Boiling renders the thick subcutaneous fat that frying often misses. It ensures the skin becomes paper-thin and brittle rather than chewy. It also seasons the meat deeply through osmosis, which a dry rub cannot achieve as efficiently.
Does boiling the chicken take away the flavor?
Only if you use plain water. By heavily salting and adding aromatics like bay leaves and peppercorns to the liquid, you actually infuse the meat with flavor while it cooks, creating a more complex profile than un-boiled wings.
Can I boil them the day before?
Absolutely. In fact, chilling the boiled wings overnight in the refrigerator uncovered is a pro move. It allows the skin to dehydrate completely, leading to an even more dramatic crunch when you finally apply high heat.
What is the best sauce for this method?
A viscous, buttery Buffalo sauce is classic. The softened, blistered skin created by the boiling process has more surface area (nooks and crannies) to grab onto the sauce, ensuring every bite is fully coated and piquant.